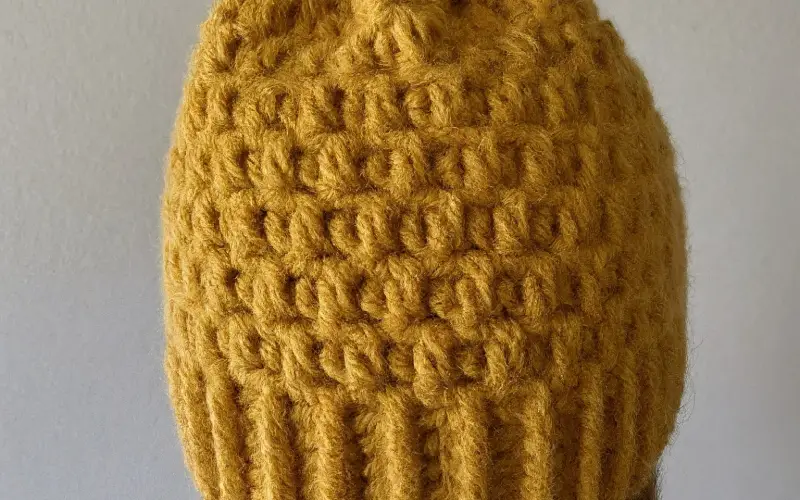
Step 1: Create the Base
We’ll start by crocheting a basic circle to form the top of the beanie.
Begin with a magic ring. Chain 2 (does not count as a stitch here). Work 12 dc into the ring. Pull the ring tight and join with a sl st to the first dc.
Round 1: Chain 2, then work 2 dc into each dc around (24 dc total). Join with a sl st to the top of the first dc.
Round 2: Chain 2, 1 dc in next dc, 2 dc in next dc. Repeat from * around (36 dc total). Join with a sl st.
Round 3: Chain 2, 1 dc in each of the next 2 dc, 2 dc in next dc. Repeat from * around (48 dc total). Join with a sl st.
Round 4: Chain 2, 1 dc in each of the next 3 dc, 2 dc in next dc. Repeat from * around (60 dc total). Join with a sl st.
Step 2: Add Texture
Now, we’ll add some fun texture to make this beanie stand out.
Round 5: Chain 2, hdc in next dc, dc in next dc, hdc in next dc, 1 sc in next dc. Repeat from * around. Join with a sl st.
Round 6: Chain 2, hdc in next sc, dc in next hdc, hdc in next dc, 1 sc in next dc. Repeat from * around. Join with a sl st.
Round 7-10: Repeat Round 6 until your piece measures approximately 7 inches from the top of the head. Adjust rounds for a different length if needed.
Step 3: Finish the Beanie
We’ll add a simple edge to give your beanie a neat finish.
Round 11: Chain 1, 1 sc in each stitch around. Join with a sl st.
Round 12: Chain 1, 1 sc in each sc around. Join with a sl st.
Cut the yarn, leaving a long tail. Use your tapestry needle to weave in any loose ends.
Step 4: Final Touches
Blocking (Optional): Lightly block your beanie to even out the texture and give it a more polished look.
Add a pom-pom to the top or a decorative button to make it uniquely yours.
