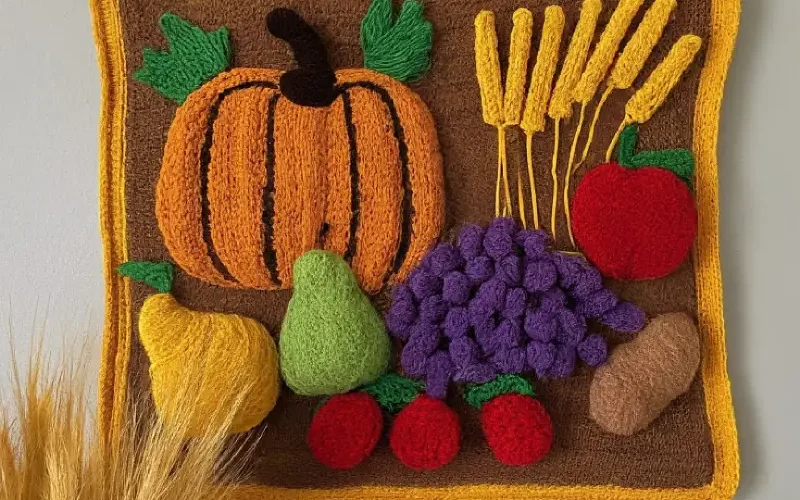
Step 1: Create the Base of the Wall Hanging
Choose Your Pattern
The base of your wall hanging can be as simple or intricate as you like.
You can crochet a series of simple granny squares, a chevron pattern, or a textured stitch like bobbles or puff stitches.
For this project, let’s go with a classic chevron pattern in alternating fall colors.
Start with a Foundation Chain
Begin by chaining a multiple of 12, plus 2 for the turning chain.
For a medium-sized wall hanging, around 48-60 chains should be good.
Work the Chevron Pattern
Row 1: Starting in the 2nd chain from the hook, single crochet across.
Row 2: Chain 2, skip 2 stitches, work 3 double crochets in the next stitch, skip 2 stitches, single crochet in the next stitch, repeat across.
Row 3: Chain 1, single crochet in each stitch across, making sure to work evenly into the tops of the double crochets from the previous row.
Repeat Rows 2 and 3, alternating colors every few rows to create a vibrant, striped chevron pattern.
Continue until your wall hanging reaches the desired length, usually about 15-18 inches.
Step 2: Add Decorative Elements
Crochet Leaves and Pumpkins
To give your wall hanging a true harvest feel, let’s add some crochet leaves and mini pumpkins.
Use a smaller hook (like a G/4.0mm) and contrasting yarn colors.
Leaves
Start with a chain of 10. Single crochet in the second chain from the hook, half double crochet in the next stitch, double crochet in the next 3 stitches, half double crochet in the next stitch, single crochet in the last 2 stitches.
Work around the other side of the chain to create the other side of the leaf, mirror the stitches, and slip stitch to finish.
Mini Pumpkins
Chain 5, join to form a ring. Work 6 single crochets into the ring, then increase in each stitch around for 2 rounds.
Decrease in each stitch around, stuff lightly, and close with a slip stitch. Add a tiny green stem with a few chain stitches.
Attach to the Base
Once your leaves and pumpkins are ready, arrange them on your base.
Use your tapestry needle and yarn to sew them in place, creating a cascading effect down the sides or across the top of your chevron pattern.
Fringe or Tassels (Optional)
Add some extra flair to the bottom of your wall hanging by attaching fringe or tassels.
Cut lengths of yarn, fold them in half, and use your crochet hook to pull the looped end through the bottom stitches.
Pull the loose ends through the loop and tighten to secure.
Step 3: Assemble the Wall Hanging
Attach to the Dowel
Fold the top edge of your wall hanging over the dowel, and use your tapestry needle to sew it in place, ensuring the stitches are tight and secure.
Add a Hanging Loop
Cut a length of yarn or use a piece of twine to create a loop on each end of the dowel for hanging. Tie the ends securely and trim any excess.
Finishing Touches
Weave in any remaining loose ends, and give your wall hanging a gentle steam block if needed to smooth out any wrinkles.
