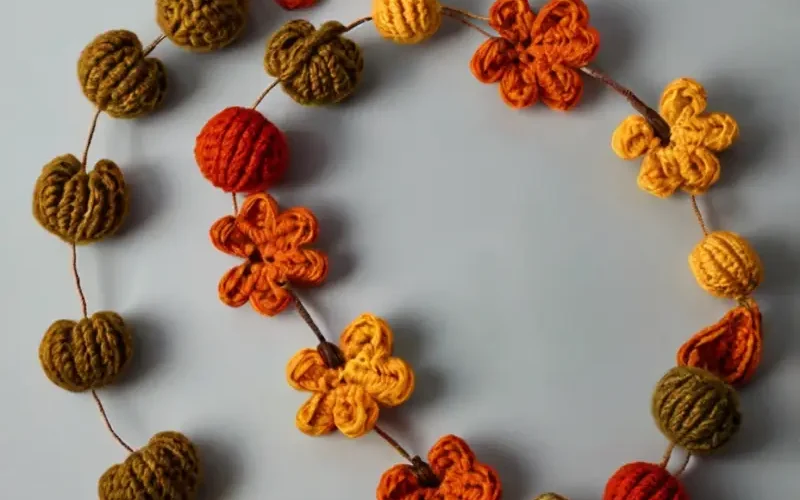
Step 1: Create Your Crochet Elements
We’ll be making a variety of autumn-themed crochet pieces for the garland. Here’s how to make some of the most popular choices:
1. Crochet Leaves:
Foundation Chain: Start by chaining 12.
Leaf Shape:
Row 1: Single crochet (sc) in the second chain from the hook, half double crochet (hdc) in the next 2 chains, double crochet (dc) in the next 4 chains, hdc in the next 2 chains, and sc in the last 2 chains. Turn your work.
Row 2: Chain 1, sc in each stitch across, then single crochet in the side of the leaf to create a slight curve.
Row 3: Repeat Row 2, making sure to add a few extra sc stitches around the edges to enhance the leaf shape.
Finish
Fasten off and weave in ends. Repeat to make as many leaves as you want for your garland.
2. Crochet Pumpkins:
Foundation Ring: Start with a magic circle, chain 1, and make 6 single crochets into the circle.
Increase Rounds:
Round 1: 2 single crochets in each stitch around (12 stitches).
Round 2: 1 single crochet in the next stitch, 2 single crochets in the next stitch around (18 stitches).
Round 3: 1 single crochet in the next 2 stitches, 2 single crochets in the next stitch around (24 stitches).
Shape the Pumpkin
Continue in single crochet rounds until the pumpkin is the desired size.
To create a pumpkin shape, use a long piece of yarn to sew through the top and bottom of the pumpkin, pulling tight to gather and form ridges.
Add a small green stem on top using a few rounds of single crochet in green yarn. Fasten off and weave in ends.
3. Crochet Acorns:
Cap
Chain 4, join to form a ring.
Round 1: 6 single crochets into the ring.
Round 2: 2 single crochets in each stitch around (12 stitches).
Round 3: 1 single crochet in the next stitch, 2 single crochets in the next stitch around (18 stitches).
Nut
Chain 2, and work 2 half double crochets in each stitch around (12 stitches). Fasten off and leave a long tail for attaching.
Sew the nut to the cap and use a few stitches to attach a small brown stem to the top. Weave in ends.
Step 2: Assemble the Garland
Prepare Your Stringing Thread
Cut a length of thread or yarn that’s long enough to hold all your crochet pieces, plus a little extra for hanging.
Arrange Your Pieces
Lay out your crochet leaves, pumpkins, and acorns in the order you’d like them to appear on the garland.
You can alternate colors and shapes or create a pattern that suits your style.
String the Pieces
Using a tapestry needle, thread your yarn or thread through the tops of your crochet pieces.
Space them out evenly along the length of your string, and tie knots between each piece to keep them in place.
Secure the Ends
Once all your pieces are strung, secure the ends of the thread or yarn with a knot.
You can also add loops at the ends for easy hanging.
