How to Crochet a Granny Square: The Ultimate Guide for Every Crochet Enthusiast
Whether you’re a beginner just dipping your toes into the world of crochet or a seasoned pro looking to revisit a classic, the granny square is a must-have skill in your crochet toolbox.
These versatile, timeless squares are not only fun to make but can also be the foundation of so many different projects, from blankets and bags to clothing and home decor.
In this post, we’re diving deep into the art of crocheting a granny square.
By the end, you’ll be armed with all the know-how you need to create your own beautiful squares, ready to be pieced together into whatever your creative heart desires.
So, grab your hook and yarn, and let’s get started!


Why the Granny Square is a Crochet Staple
The granny square has been a beloved staple in the crochet world for generations.
Its simplicity makes it a fantastic starting point for beginners, while its versatility keeps even the most experienced crocheters coming back for more.
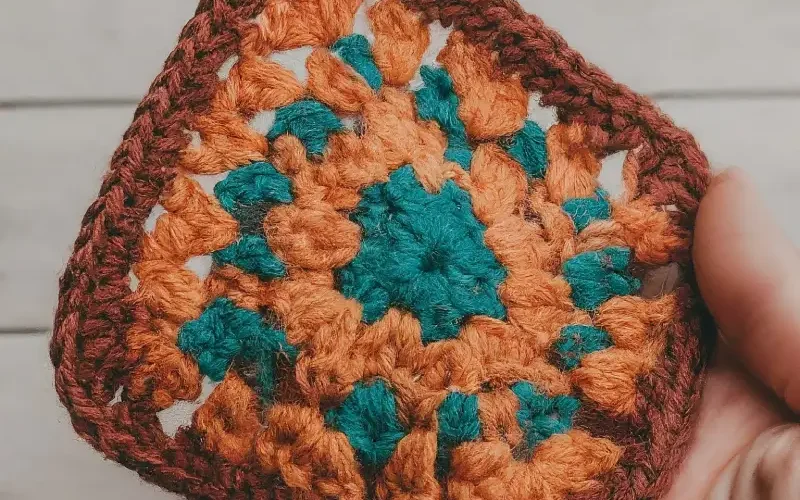
The basic granny square is made up of clusters of double crochet stitches, worked in rounds from the center outwards, creating a charming, classic pattern.
But beyond its aesthetic appeal, the granny square is incredibly practical.
Because it’s worked in small, manageable pieces, you can take your crochet with you wherever you go, working on individual squares until you’re ready to join them together.
It’s also a fantastic way to use up leftover yarn, making it both an eco-friendly and cost-effective project.
What You’ll Need
Before we jump into the step-by-step instructions, let’s go over the essentials:
- Yarn: Any yarn will work for a granny square, but a medium-weight (worsted) yarn is a good choice for beginners. You can also experiment with different colors to create unique designs.
- Crochet Hook: Use the hook size recommended for your chosen yarn. For worsted weight yarn, a 5.0 mm (H-8) hook is typically ideal.
- Scissors: For snipping yarn when you’re done.
- Yarn Needle: For weaving in your ends once you’ve finished your square.
How to Crochet a Basic Granny Square: Step by Step

Ready to get started? Let’s walk through how to crochet a basic granny square.
This tutorial covers the traditional square, but once you’ve mastered it, feel free to experiment with different stitches, colors, and patterns!
Step 1: Create a Slip Knot and Chain 4
Begin by making a slip knot and placing it on your hook. Next, chain 4.
These chains will form the base of your first round.
Step 2: Form a Ring
To form a ring, insert your hook into the first chain you made (the one furthest from your hook). Yarn over and pull through both loops on your hook to make a slip stitch.
Now you have a small ring, which will be the center of your granny square.
Step 3: Chain 3 (Counts as Your First Double Crochet)
To start the first round, chain 3.
This chain acts as your first double crochet (dc). The chain 3 is necessary to bring your work up to the height of a double crochet stitch.
Step 4: Work 2 Double Crochets into the Ring
Yarn over, insert your hook into the center of the ring, yarn over again, and pull up a loop (you should have 3 loops on your hook).
Yarn over and pull through the first two loops on your hook, then yarn over and pull through the remaining two loops.
That’s your first double crochet. Repeat this process once more to make the second double crochet.
You’ve now completed your first cluster of 3 double crochets (remember, the chain 3 counts as the first one).
Step 5: Chain 2
Chain 2 to form a corner. The chain 2 spaces in a granny square are what create the square’s corners and allow it to grow outward.
Step 6: Create 3 More Double Crochet Clusters
You’re going to repeat the process of making a cluster of 3 double crochets followed by a chain of 2, three more times.
This will give you four clusters in total, each separated by a chain-2 space.
These spaces will form the corners of your square.
Step 7: Close the Round
After your fourth cluster, chain 2 one last time.
Then, insert your hook into the top of the initial chain 3 you made at the start of the round.
Slip stitch to close the round.
Congratulations, you’ve completed the first round of your granny square!
Step 8: Start Round 2 with a Chain 3
For round 2, start by slip stitching into the next chain 2 space (the corner space).
Chain 3 to begin the round, which counts as your first double crochet.
Step 9: Work 2 Double Crochets into the Corner
In the same chain-2 space (corner), work 2 more double crochets.
This completes your first cluster of the new round.
Step 10: Chain 2 and Work 3 Double Crochets in the Same Corner
Chain 2 (to form the new corner) and work 3 more double crochets into the same chain-2 space.
Now, you’ve created your first full corner of the second round.
Step 11: Move to the Next Corner
Chain 1 to move to the next corner. In the next chain-2 space, work 3 double crochets, chain 2, and 3 more double crochets.
Repeat this process for each of the remaining corners.
Step 12: Close Round 2
Once you’ve completed all four corners, chain 1, and slip stitch into the top of the starting chain 3 to close the round. Round 2 is done!
Step 13: Continue Adding Rounds
To keep growing your granny square, you’ll repeat the process:
slip stitch into the corner, chain 3 to start the round, and continue working 3 double crochets into each chain-1 space along the sides, and 3 double crochets, chain 2, 3 double crochets into each corner space.
As your square gets larger, you’ll add more clusters along the sides between the corners.
Step 14: Finish and Weave in Ends
Once your granny square reaches the desired size, finish off by cutting the yarn and pulling the tail through the loop on your hook to secure it.
Use your yarn needle to weave in the ends neatly.
Granny Square Variations
Now that you’ve mastered the basic granny square, it’s time to get creative!
Here are a few ideas to mix things up:
Color Changes
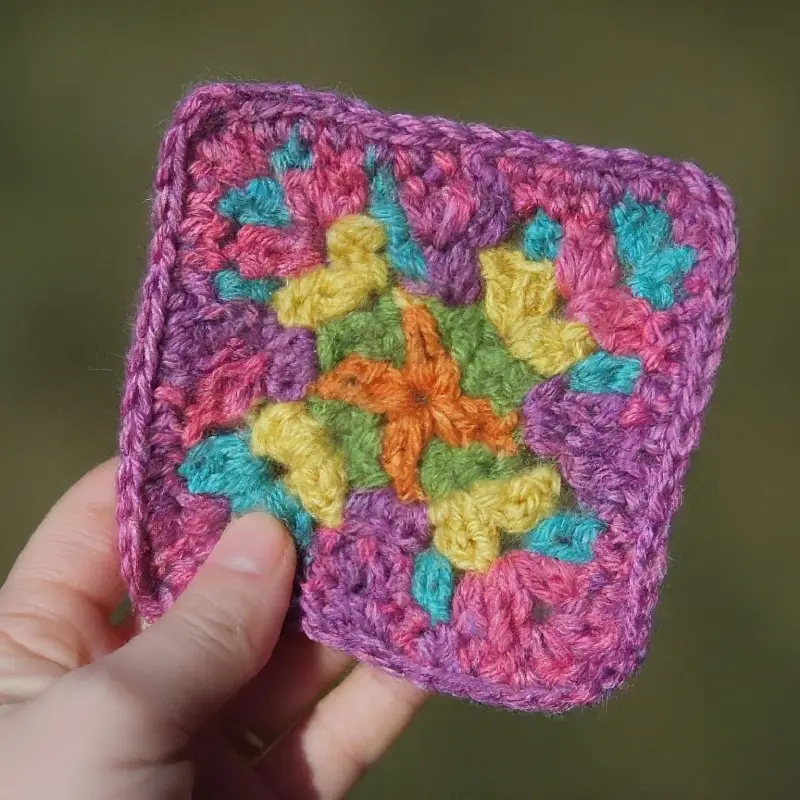
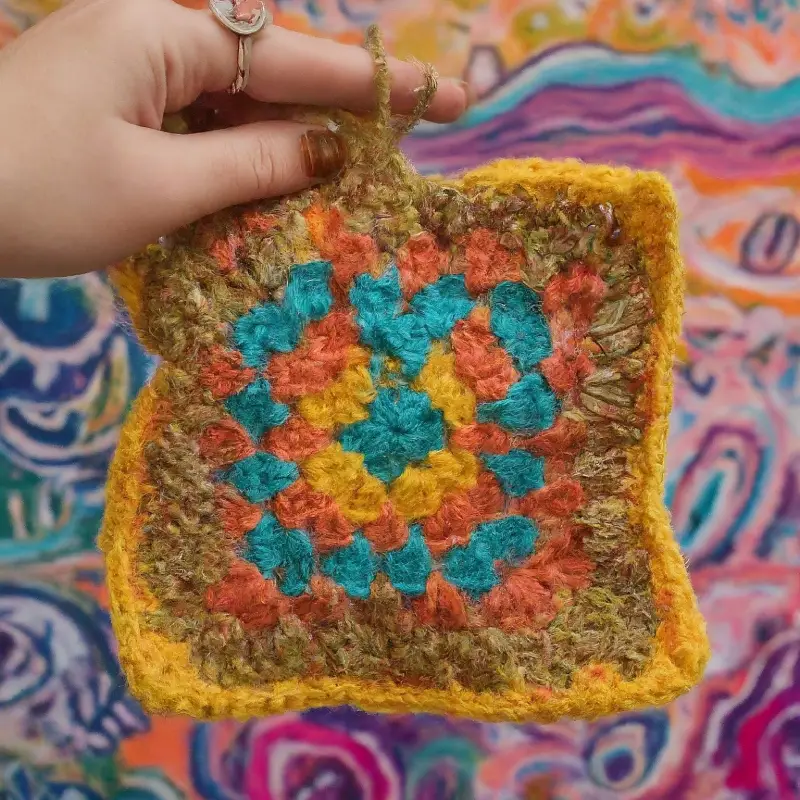
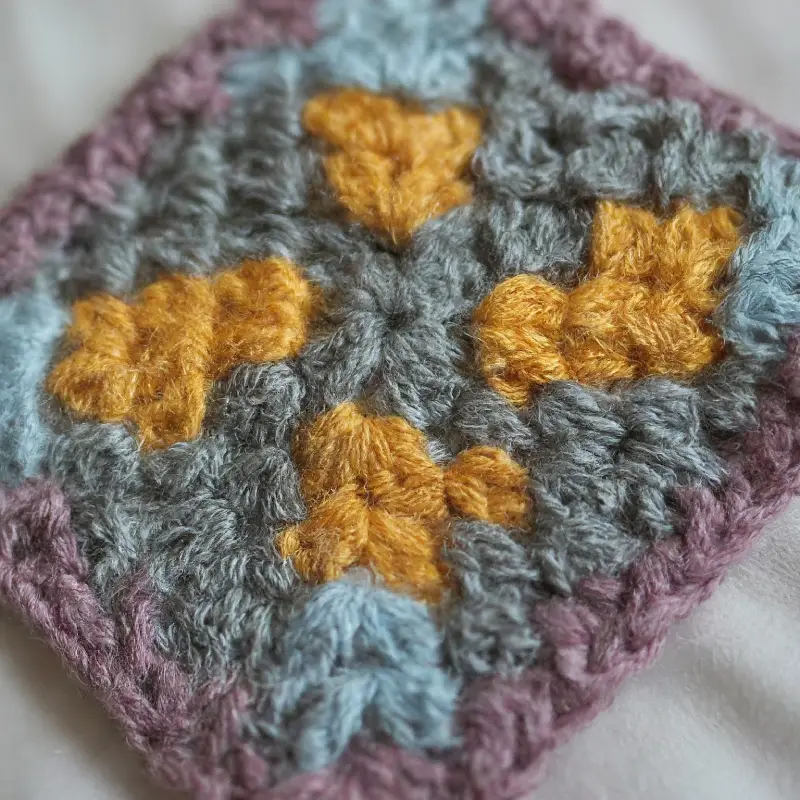
Switch colors at the end of each round to create a vibrant, multi-colored square.
Simply fasten off at the end of a round and join a new color with a slip stitch to begin the next round.
Different Stitches
Experiment with different stitches like half-double crochet or treble crochet to create a different texture.
Solid Granny Square
Instead of creating holes between your clusters, work into the spaces between the stitches to create a solid fabric.
Granny Hexagons or Triangles
Once you’re comfortable with squares, why not try granny hexagons or triangles?
The concept is similar but with a different number of sides and corners.
Projects You Can Make with Granny Squares
Granny squares are incredibly versatile and can be used to create a wide range of projects.
Here are just a few ideas to inspire you:
Blankets
Join several granny squares together to create a cozy, colorful blanket.
You can use a single color scheme or mix and match for a patchwork effect.
Bags
Granny squares make excellent building blocks for bags.
Sew a few squares together, add a lining and handles, and you’ve got a one-of-a-kind tote.
Garments
From vests to cardigans, granny squares can be pieced together to create unique, wearable art.
Pillows
A few large granny squares can be joined to make a lovely pillow cover.
Just stitch them together and add a fabric backing.
Home Decor
Think beyond the traditional, granny squares can be used to make everything from table runners to coasters, or even wall hangings!
Thoughts
The granny square is a cornerstone of crochet, offering endless possibilities for creativity.
Whether you’re just starting out or looking to revisit a classic, mastering the granny square is a rewarding experience that opens up a world of crochet projects.
Remember, practice makes perfect! Don’t be afraid to experiment with colors, stitches, and variations.
The beauty of granny squares lies in their simplicity and the joy of watching your creation grow, one round at a time.
Be sure to share your beautiful work on crochet patternz community. I’d love to see how you personalize your project!
Happy crocheting, and may your granny squares be as beautiful and unique as you are!


