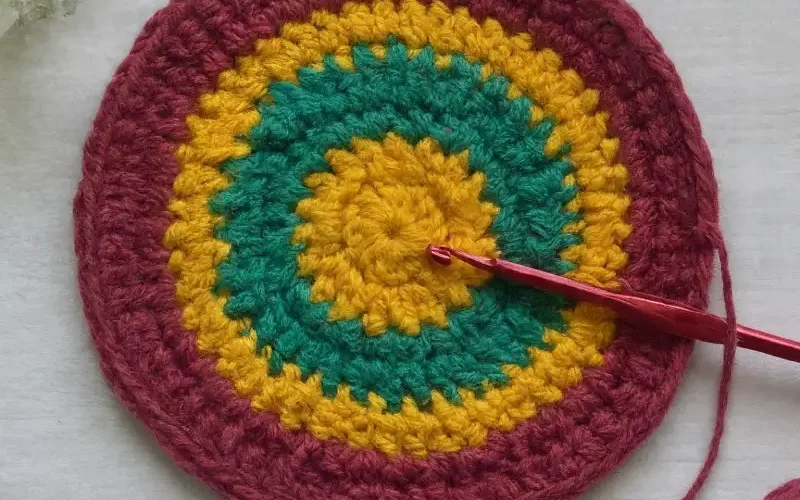
How to Crochet a Flat Circle: A Step by Step Guide
Whether you’re working on a coaster, a hat, or the base of a basket, knowing how to crochet a flat circle is an essential skill.
Flat circles are the foundation for countless crochet projects, and mastering this technique will open up a world of possibilities in your crafting journey.
But if you’ve ever tried to crochet a flat circle, you might have encountered some common issues like curling edges, wavy sides, or even an accidental cone shape.
Don’t worry, these problems are easily fixable with the right techniques!
In this blog post, I’ll walk you through everything you need to know to crochet a perfectly flat circle, from understanding the basic principles to troubleshooting common mistakes.
By the end of this guide, you’ll be able to create smooth, even circles every time. Let’s dive in!
Understanding the Basics of Crocheting a Flat Circle

Before we get into the actual steps, let’s go over some key concepts that will help you understand how to create a flat circle.
The Magic Circle (or Magic Ring)
Most flat circles start with a magic circle (also known as a magic ring).
This technique allows you to pull the center of your circle tight, eliminating any hole in the middle.
If you’re new to this method, don’t worry, it’s easier than it sounds and creates a much neater finish than starting with a chain.
Stitch Increases
To keep your circle flat, you’ll need to increase stitches at regular intervals.
The number of stitches you increase in each round will determine whether your circle stays flat, curls up, or becomes wavy.
Typically, you’ll increase by the same number of stitches in each round, which we’ll break down further below.
Understanding the Formula
There’s a basic formula for crocheting a flat circle that applies whether you’re using single crochet, half double crochet, or double crochet:
Round 1: Start with a certain number of stitches (e.g., 6 for single crochet, 8 for half double crochet, or 12 for double crochet).
Round 2: Increase in every stitch (double the number of stitches).
Round 3: Increase in every second stitch (1 stitch, increase, 1 stitch, increase).
Round 4: Increase in every third stitch (2 stitches, increase, 2 stitches, increase).
And so on. The number of stitches between each increase grows by one with each round.
This ensures that your circle stays flat and doesn’t warp.
How to Crochet a Flat Circle: Step by Step Guide
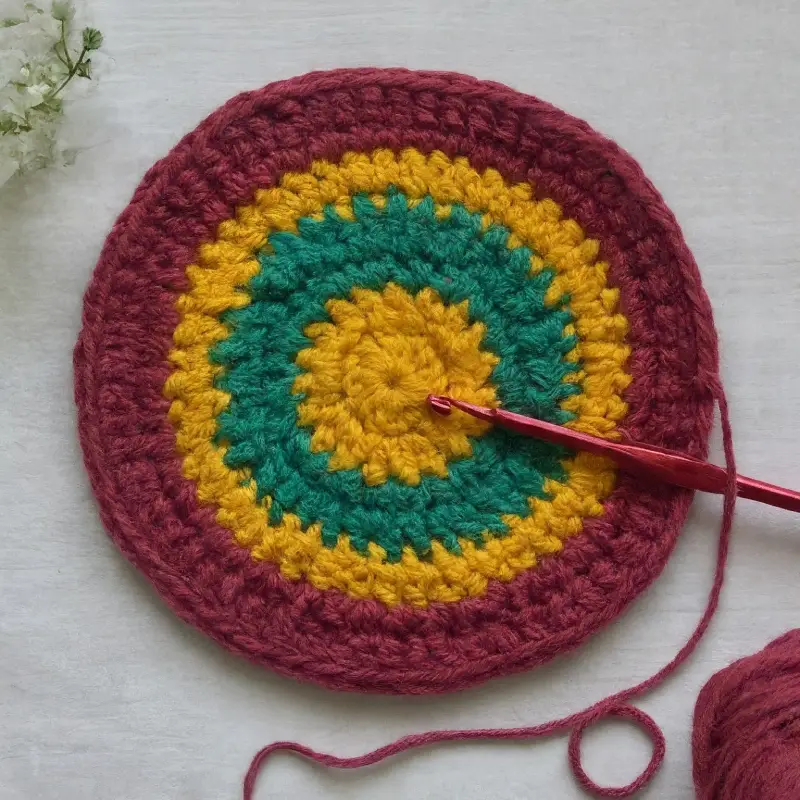
Let’s crochet a flat circle together!
For this tutorial, I’ll use single crochet (sc), but the principles apply to any stitch.
Materials Needed
- Yarn: Any weight of yarn will work, but I recommend starting with a medium-weight yarn (like worsted weight) for practice.
- Crochet Hook: Use a hook size that matches your yarn. For worsted weight yarn, a 5.0 mm (H-8) hook is typically recommended.
- Scissors: To cut your yarn.
- Yarn Needle: For weaving in the ends.
Step 1: Start with a Magic Circle
Begin by making a magic circle:
Hold the tail of your yarn in your left hand (if you’re right-handed) and wrap the yarn around your fingers to create a loop.
Insert your hook into the loop, yarn over, and pull up a loop.
Chain 1 (if you’re using single crochet; chain 2 for half double crochet, or chain 3 for double crochet).
Step 2: Crochet the First Round
Work your first round of stitches into the magic circle:
For single crochet, make 6 single crochet stitches into the circle.
For half double crochet, make 8 half double crochet stitches.
For double crochet, make 12 double crochet stitches.
Pull the tail of the yarn to tighten the circle and close the hole.
Slip stitch into the first stitch to join the round.
Step 3: Increase in the Second Round
For the second round, you’ll increase in every stitch:
Chain 1 (for single crochet).
Work 2 single crochet stitches in each stitch around. You should have 12 stitches at the end of this round (16 for half double crochet, 24 for double crochet).
Slip stitch to the first stitch to join the round.
Step 4: Continue Increasing
Now that your circle is started, continue increasing in each round as follows:
Round 3: Chain 1. 1 single crochet in the first stitch, 2 single crochet in the next stitch.
You should have 18 stitches at the end of this round (24 for hdc, 36 for dc).
Round 4: Chain 1. 1 single crochet in each of the first 2 stitches, 2 single crochet in the next stitch.
You should have 24 stitches at the end of this round (32 for hdc, 48 for dc).
Round 5: Chain 1. 1 single crochet in each of the first 3 stitches, 2 single crochet in the next stitch.
You should have 30 stitches at the end of this round (40 for hdc, 60 for dc).
Continue this pattern, increasing the number of stitches between each increase by one in each round, until your circle reaches the desired size.
Some Common Issues
If your circle isn’t lying flat, don’t worry, there are a few common issues that are easy to fix.
Curling or Buckling
If your circle is curling up at the edges, it’s usually because you have too few increases.
This is common if you accidentally skip an increase or if your tension is too tight. To fix this, make sure you’re following the increase pattern correctly and try loosening your tension a bit.
2. Wavy or Ruffled Edges
If your circle is wavy or ruffled, it means you have too many increases.
This can happen if you accidentally add extra stitches.
To correct it, you can either pull out the round and redo it with fewer increases or continue without increasing as many stitches in the next round to even it out.
Cone-Shaped Circle
If your circle is turning into a cone, it’s likely because your increases aren’t evenly spaced.
Make sure you’re distributing your increases evenly around the circle and following the pattern correctly.
Applying the Technique to Different Projects
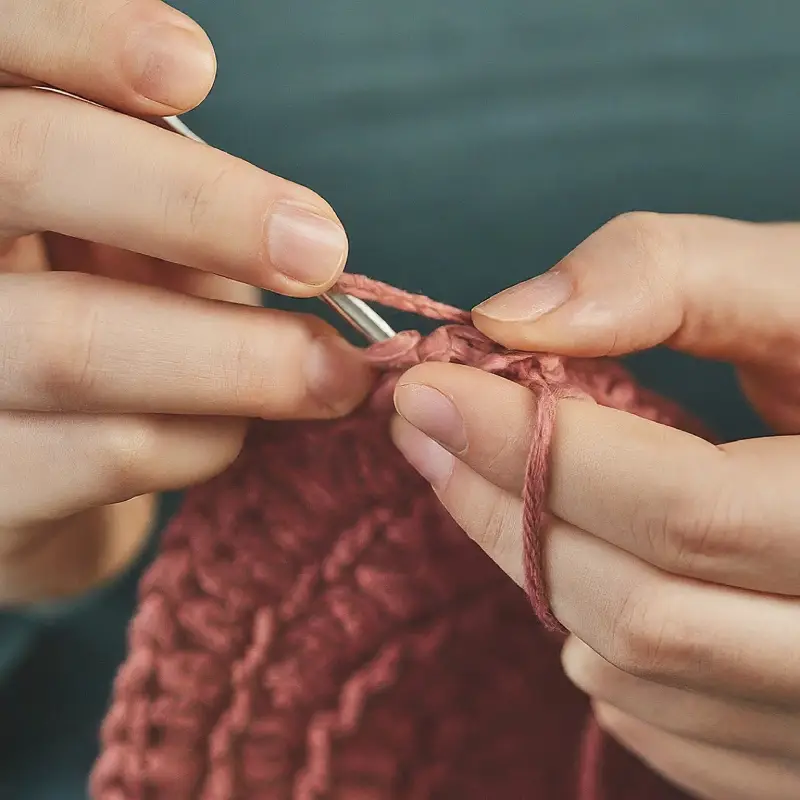
Now that you know how to crochet a flat circle, let’s talk about some of the ways you can use this technique in your projects.
Hats and Beanies
The top of many hats and beanies starts with a flat circle.
After reaching the desired diameter, you’ll stop increasing and continue working even rounds to form the sides of the hat.
Coasters and Placemats
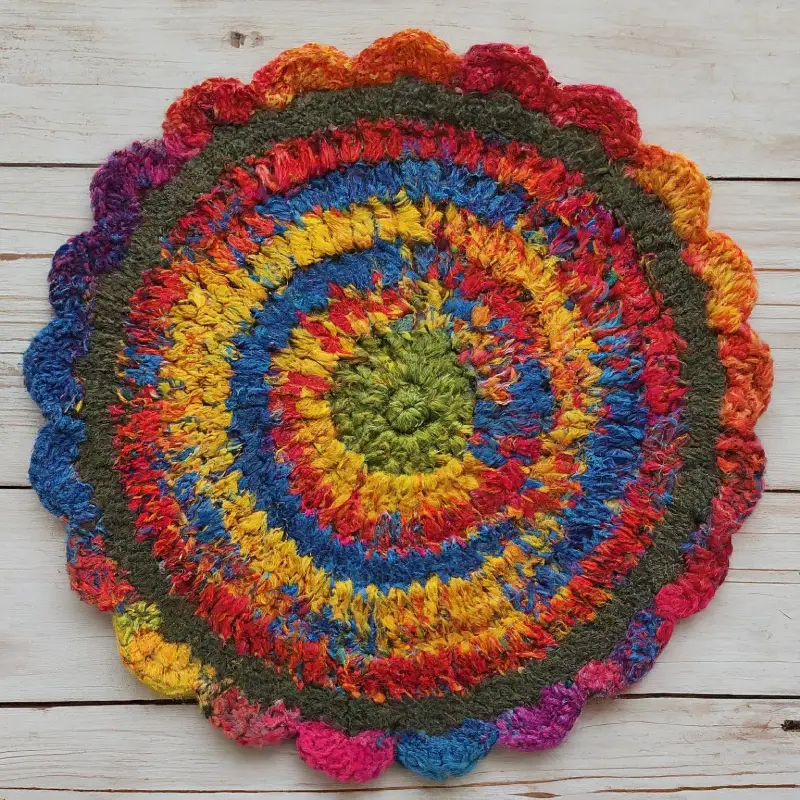
Flat circles are perfect for making coasters, placemats, or even rugs.
You can use different colors or stitch patterns to create interesting designs.
Amigurumi Bases
Amigurumi toys often start with a flat circle for the base of the head or body.
Once you have the desired size, you’ll stop increasing and continue working in the round to build the 3D shape.
Bags and Baskets
The base of many bags and baskets begins with a flat circle.
Once the base is the right size, you’ll work the sides without increasing.
Customizing Your Flat Circle
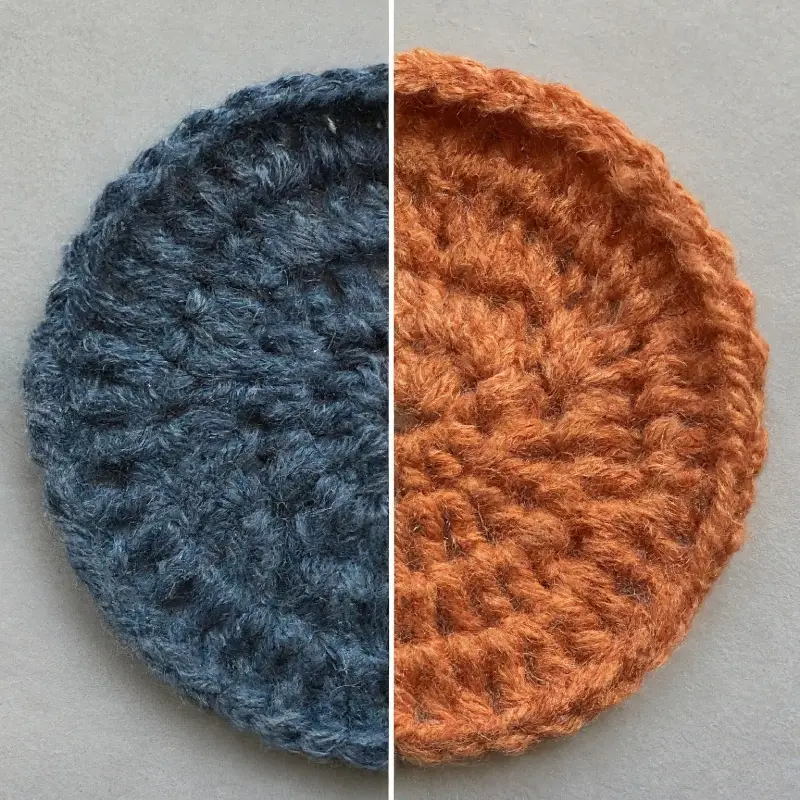
Flat circles are incredibly versatile and easy to customize.
Here are a few ideas to make your circles unique:
Change the Stitch
Experiment with different stitches like half double crochet or double crochet for a taller, looser circle.
Use Multiple Colors
Create stripes or color blocks by changing yarn colors between rounds.
Add Texture
Try working in the back loop only or using a textured stitch like the puff stitch for added dimension.
Thoughts
Crocheting a flat circle is a fundamental skill that every crocheter should master.
Once you get the hang of it, you’ll be amazed at how many projects you can create using this simple technique.
Whether you’re making a hat, a coaster, or an amigurumi, the possibilities are endless.
Remember, the key to a perfect flat circle is consistency.
Keep an eye on your stitch count, maintain even tension, and don’t be afraid to pull out a round and try again if it doesn’t look quite right.
With a little practice, you’ll be crocheting smooth, flat circles like a pro in no time.
Happy crocheting, and may your circles always be perfectly flat!
Be sure to share your beautiful work on crochet patternz community. I’d love to see how you personalize your project!

