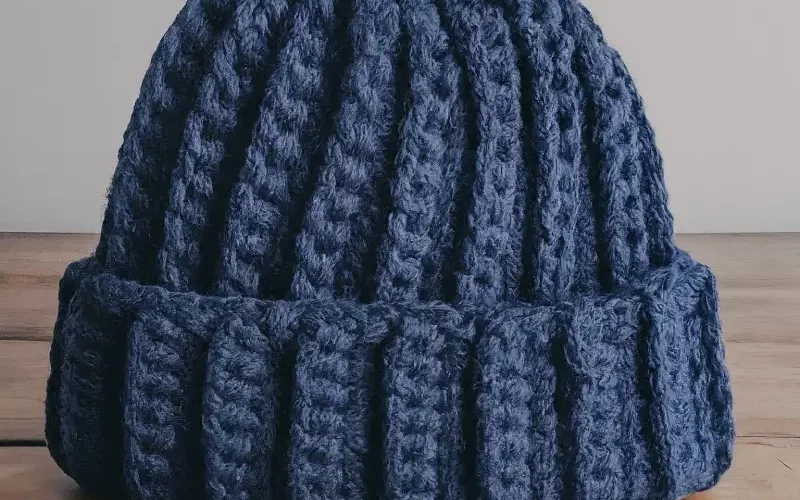
How to Crochet a Hat: A Step by Step Guide for Beginners
There’s something incredibly satisfying about crocheting your own hat.
Whether it’s a snug beanie for winter, a light summer sun hat, or a stylish beret, crocheting a hat is not only a rewarding project but also a practical one.
Hats are versatile, make great gifts, and are the perfect way to showcase your crochet skills.
In this blog post, I’ll walk you through the process of crocheting a basic hat from start to finish.
We’ll cover the materials you need, the steps involved, and some tips and tricks to help you along the way.
So, grab your yarn and hook, and let’s get started!
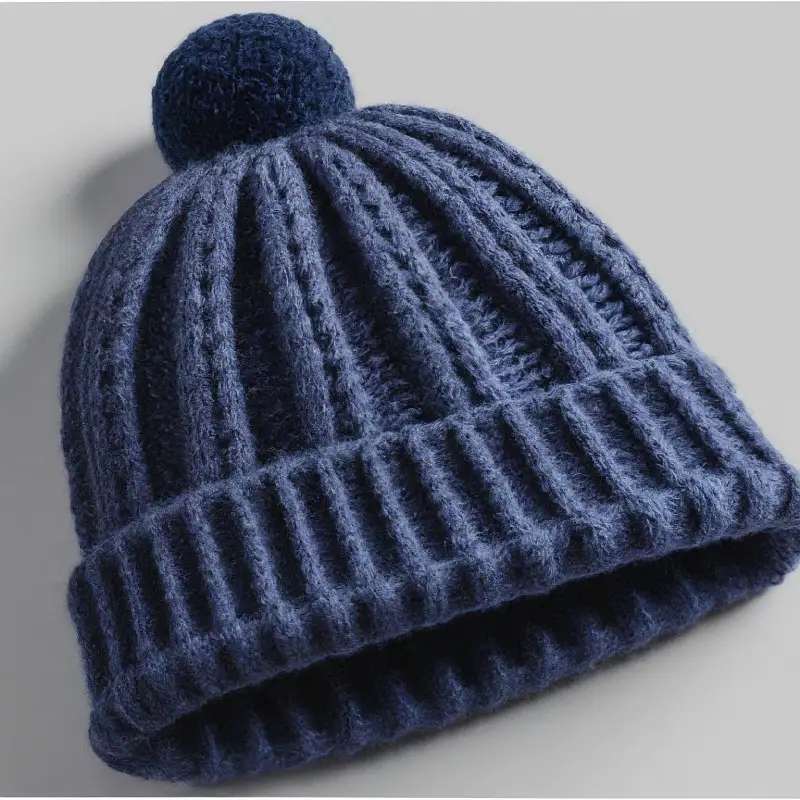
Why Crochet a Hat?
Before we dive into the steps, let’s talk about why crocheting a hat is such a fantastic project:
Quick and Fun
Hats are relatively quick to make, making them a great project for beginners or anyone looking for a satisfying, short-term project.
Customizable
You can easily adjust the size, style, and color of your hat to suit your taste or to match your wardrobe.
Practical
Hats are not only stylish but also functional, providing warmth in the winter or shade in the summer.
Great for Gifts
Handmade hats make thoughtful and personal gifts for friends and family.
Materials You’ll Need
Before you begin, make sure you have the following materials:
- Yarn: Choose a yarn that’s suitable for the season and style of hat you’re making. For a winter beanie, opt for a cozy wool or acrylic yarn. For a summer hat, you might prefer a lightweight cotton yarn.
- Crochet Hook: Use a hook size that matches your yarn. The yarn label usually provides a recommended hook size, but you can adjust this based on your tension and the look you want to achieve.
- Scissors: For cutting your yarn.
- Yarn Needle: For weaving in the ends.
- Stitch Markers (optional): These can help you keep track of the beginning of your rounds, especially when working in the round.
Step by Step Guide: Crocheting a Basic Beanie
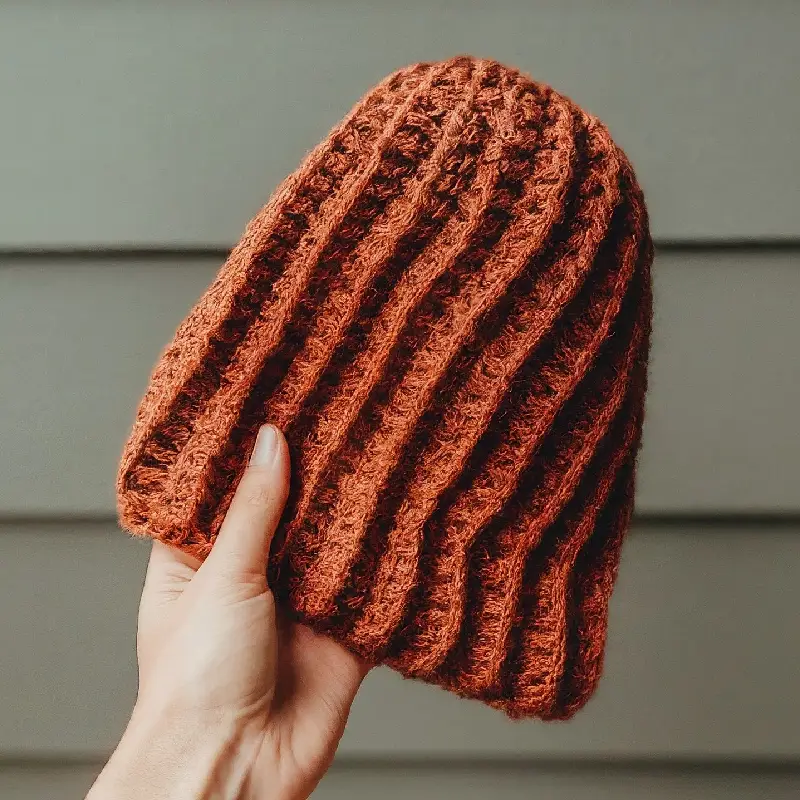
For this tutorial, we’ll crochet a simple, classic beanie.
This pattern is perfect for beginners and can be easily customized with different colors or stitch patterns.
Step 1: Start with a Magic Circle
Most hats start at the crown and work their way down. To begin, create a magic circle (or magic ring):
Hold the tail of your yarn in your left hand (if you’re right-handed) and wrap the yarn around your fingers to create a loop.
Insert your hook into the loop, yarn over, and pull up a loop.
Chain 1 (if you’re using single crochet) or chain 2 (if you’re using half double crochet or double crochet) to secure the ring.
Step 2: Crochet the First Round
Work your first round of stitches into the magic circle. For this pattern, we’ll use double crochet (dc):
Work 12 double crochet stitches into the magic circle.
Pull the tail of the yarn to close the circle tightly.
Slip stitch into the top of the first double crochet to join the round.
Step 3: Increase Evenly
To create the crown of the hat, you’ll need to increase stitches evenly in each round. Here’s how:
Round 2: Chain 2 (this counts as your first double crochet), then work 1 double crochet into the same stitch. Work 2 double crochet stitches in each stitch around.
You should have 24 stitches at the end of this round.
Round 3: Chain 2, then work 1 double crochet in the same stitch.
Work 1 double crochet in the next stitch, then 2 double crochet in the following stitch.
You should have 36 stitches at the end of this round.
Round 4: Chain 2, then work 1 double crochet in the same stitch.
Work 1 double crochet in each of the next 2 stitches, then 2 double crochet in the following stitch.
You should have 48 stitches at the end of this round.
Continue increasing in this manner until your circle reaches the diameter that matches the size of the head you’re making the hat for.
Here’s a rough guide for head sizes:
- Baby: 4.5–5 inches (11.5–12.5 cm)
- Child: 6–6.5 inches (15–16.5 cm)
- Adult: 7–7.5 inches (18–19 cm)
Step 4: Work Even Rounds
Once your crown is the correct size, you’ll stop increasing and start working even rounds.
This means you’ll crochet one double crochet in each stitch around, without adding any new stitches.
Continue working even rounds until the hat reaches the desired length.
Here’s a general length guide:
- Baby: 5–6 inches (12.5–15 cm)
- Child: 7–8 inches (18–20.5 cm)
- Adult: 8–10 inches (20.5–25.5 cm)
Step 5: Finish with a Ribbed Edge (Optional)
To give your hat a snug fit around the edge, you can add a ribbed band. Here’s how to do it:
Switch to a smaller hook size if you want a tighter band.
Work 1 front post double crochet (fpdc) and 1 back post double crochet (bpdc) in each stitch around. This creates a ribbed texture.
Continue working fpdc and bpdc around for 4–6 rounds, or until the band is the desired width.
Slip stitch to join the last round, then fasten off your yarn.
Step 6: Weave in the Ends
Finally, use your yarn needle to weave in any loose ends.
Make sure to secure the tail from the magic circle so it doesn’t come undone.
Customizing Your Hat
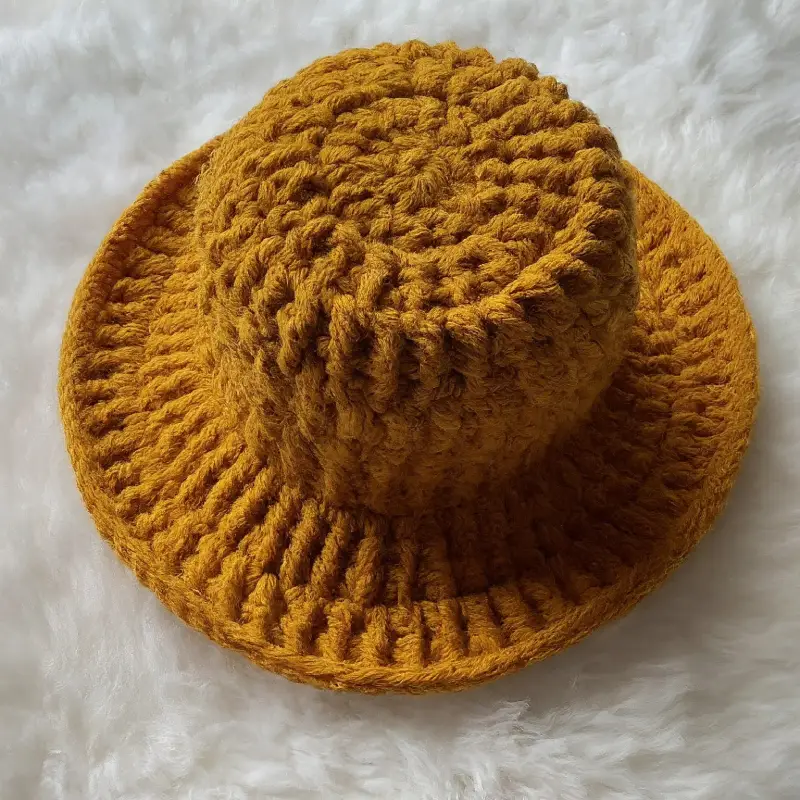
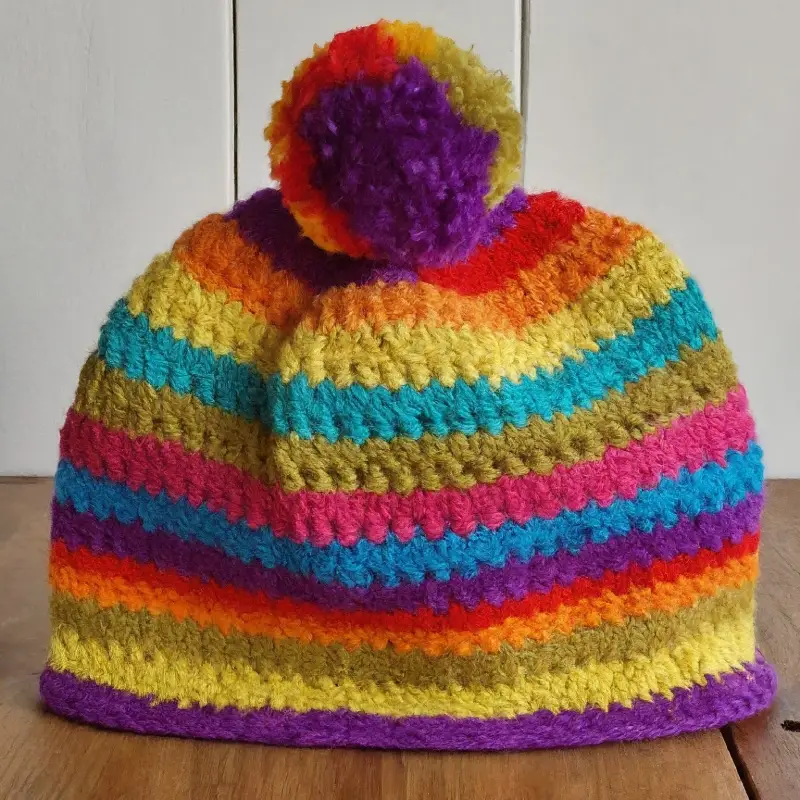
Now that you’ve mastered the basic beanie, you can easily customize your hat to make it unique. Here are a few ideas:
Change the Stitch
Try using half double crochet (hdc) or single crochet (sc) for a different texture.
You can also experiment with more advanced stitches like the shell stitch or the puff stitch.
Add Stripes
Change colors every few rounds to create stripes.
This is a great way to use up leftover yarn and add some personality to your hat.
Add a Pom-Pom
A fluffy pom-pom on top can give your hat a fun and playful look.
You can make your own pom-pom with a pom-pom maker or by hand.
Add a Brim
For a more casual look, add a brim by working a few rounds of single crochet and increasing in each round.
Fix Common Issues
If you encounter any problems while crocheting your hat, don’t worry, these are common and easy to fix!
The Hat is Too Tight or Too Loose
If your hat is too tight, you might be crocheting too tightly or using a hook that’s too small.
Try loosening your tension or switching to a larger hook.
If your hat is too loose, try using a smaller hook or crocheting with a tighter tension.
The Hat is Too Short or Too Long
If your hat is too short, simply add more rounds until it reaches the desired length.
If it’s too long, you can frog (undo) a few rounds to shorten it.
The Crown is Pointy
If the top of your hat is pointy instead of rounded, it’s usually because the increases aren’t spaced evenly.
Make sure you’re following the increase pattern correctly and adjusting the spacing as needed.
Final Thoughts
Crocheting a hat is a wonderful project for both beginners and experienced crocheters.
It’s a chance to practice your skills, experiment with new techniques, and create something that’s both beautiful and functional.
Whether you’re making a simple beanie or a more intricate design, the key is to take your time and enjoy the process.
Remember, every hat you make is a unique creation, so don’t be afraid to put your own spin on it.
Play with colors, stitches, and embellishments to make a hat that’s truly one-of-a-kind.
join us on crochet patternz community. I’d love to see how you personalize your project!
Happy crocheting, and may all your hats be warm and cozy!

