How to Crochet Pumpkin Coasters: A Fun and Festive Fall Project
As the leaves change color and the air turns crisp, it’s time to bring out those cozy, autumn-themed crochet projects.
If you’re looking for something quick, easy, and perfect for the season, why not try making some adorable pumpkin coasters?
These little cuties are not only functional but also add a touch of festive charm to your home.
In this blog post, I’ll guide you through the steps to crochet your very own pumpkin coasters.
Whether you’re a seasoned pro or a crochet newbie, you’ll find this project fun and straightforward. Grab your hook and yarn, and let’s get started!

Why Crochet Pumpkin Coasters?
Pumpkin coasters are a delightful addition to your fall decor. They’re small, quick to make, and require only a small amount of yarn, making them an ideal project for using up scraps. Plus, they make great gifts for friends and family, especially during the autumn months. Here are a few reasons why you’ll love crocheting these coasters:
Quick and Easy: You can whip up a set of coasters in an afternoon, making this a great last-minute project.
Beginner-Friendly: The stitches used are basic, so even if you’re new to crochet, you can create these with confidence.
Customizable: You can easily adjust the size, colors, and details to suit your personal style or match your home decor.
Festive and Fun: These coasters are a cute way to bring the spirit of fall into your home, whether you’re using them under your coffee mug or as part of a seasonal table setting.
What You’ll Need
Before we dive into the pattern, let’s gather the materials you’ll need:
- Yarn: Choose a worsted weight (category 4) yarn in orange for the pumpkin body, green or brown for the stem, and an optional yellow for the leaf. You won’t need much, so this is a great project for using up leftover yarn.
- Crochet Hook: A 4.0 mm (G) or 5.0 mm (H) hook is recommended, depending on your tension and the size you want for your coasters.
- Yarn Needle: For weaving in ends and sewing on details like the stem and leaf.
- Scissors: To cut your yarn.
- Stitch Marker (optional): To keep track of your rounds.
Pumpkin Coasters Crochet Pattern
Ready to start crocheting your pumpkin coasters? Let’s go!
Step 1: Create the Pumpkin Base
The main part of the coaster is worked in the round, starting with a magic circle or a simple chain loop.
Magic Circle or Chain 4: Start with a magic circle, or if you prefer, chain 4 and join with a slip stitch to form a ring.
Round 1: Chain 2 (does not count as a stitch), work 12 double crochets (dc) into the circle or ring. Join with a slip stitch to the first dc. (12 stitches)
Round 2: Chain 2, work 2 dc in each stitch around. Join with a slip stitch to the first dc. (24 stitches)
Round 3: Chain 2, 2 dc in the first stitch, 1 dc in the next stitch, repeat from * to * around. Join with a slip stitch to the first dc. (36 stitches)
Round 4: Chain 2, 2 dc in the first stitch, 1 dc in each of the next 2 stitches, repeat from * to * around. Join with a slip stitch to the first dc. (48 stitches)
You now have the round base of your pumpkin. If you want a slightly larger or smaller coaster, you can add or reduce rounds, adjusting the increases as needed.
Step 2: Shape the Pumpkin
To give the coaster that classic pumpkin shape, we’ll add some ridges by working into the front and back loops of the stitches.
Round 5: Chain 2, work a front post double crochet (fpdc) around the first dc, then a back post double crochet (bpdc) around the next dc.
Continue alternating fpdc and bpdc around. Join with a slip stitch to the first fpdc. (48 stitches)
Front Post Double Crochet (fpdc): Yarn over, insert hook from front to back around the post of the next stitch, yarn over and pull through (3 loops on hook), yarn over and pull through 2 loops, yarn over and pull through remaining 2 loops.
Back Post Double Crochet (bpdc): Yarn over, insert hook from back to front around the post of the next stitch, yarn over and pull through (3 loops on hook), yarn over and pull through 2 loops, yarn over and pull through remaining 2 loops.
Round 6: Repeat Round 5, maintaining the front post and back post pattern.
This will create ridges that mimic the sections of a pumpkin.
Step 3: Add the Stem
Now that your pumpkin base is done, it’s time to add a little stem to complete the look.
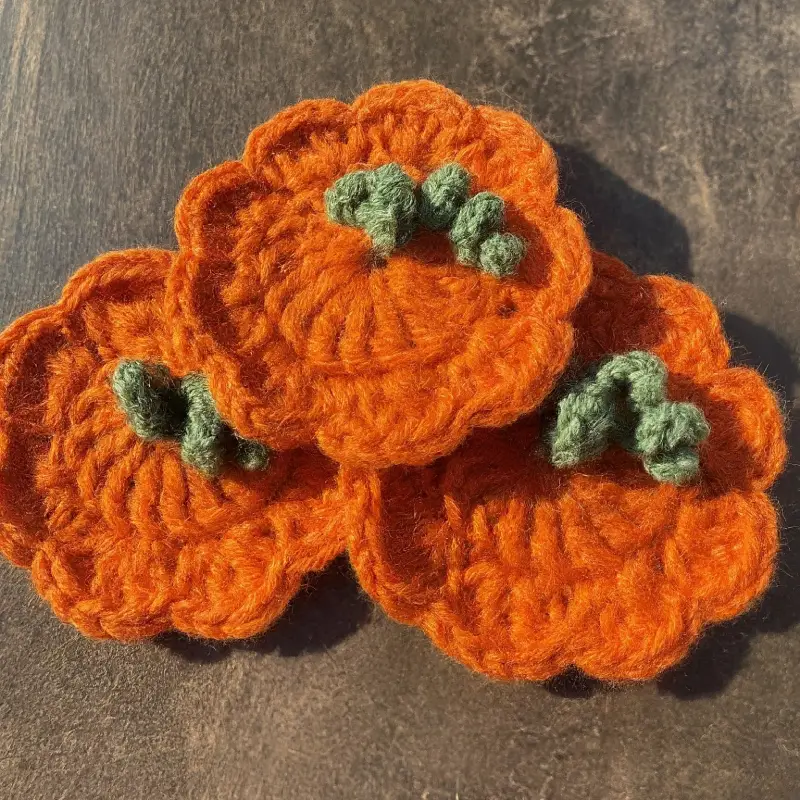
Attach Green or Brown Yarn: Join your green or brown yarn with a slip stitch in any stitch on the outer edge of the pumpkin.
Chain 6: This will form the stem. You can make it longer or shorter, depending on your preference.
Single Crochet Back: Starting in the second chain from the hook, work 1 single crochet (sc) in each chain back to the base of the pumpkin. Slip stitch to the next stitch on the pumpkin to secure it.
Fasten Off: Cut the yarn, leaving a small tail, and weave it into the pumpkin.
Step 4: Optional Leaf
For an extra touch, you can add a small leaf next to the stem.
Attach Yellow Yarn: Join yellow yarn with a slip stitch near the base of the stem.
Chain 4: This forms the base of the leaf.
Work into the Chain: Starting in the second chain from the hook, work 1 slip stitch (sl st), 1 half double crochet (hdc), and 1 double crochet (dc) in the last chain.
Fasten Off: Cut the yarn, leaving a tail, and weave it into the pumpkin.
Step 5: Finishing Touches
Now that your pumpkin coaster is complete, weave in any remaining ends with a yarn needle.
Give your coaster a gentle block if needed, to ensure it lies flat.
Customizing Your Pumpkin Coasters


Here are a few ways to customize your pumpkin coasters and make them uniquely yours:
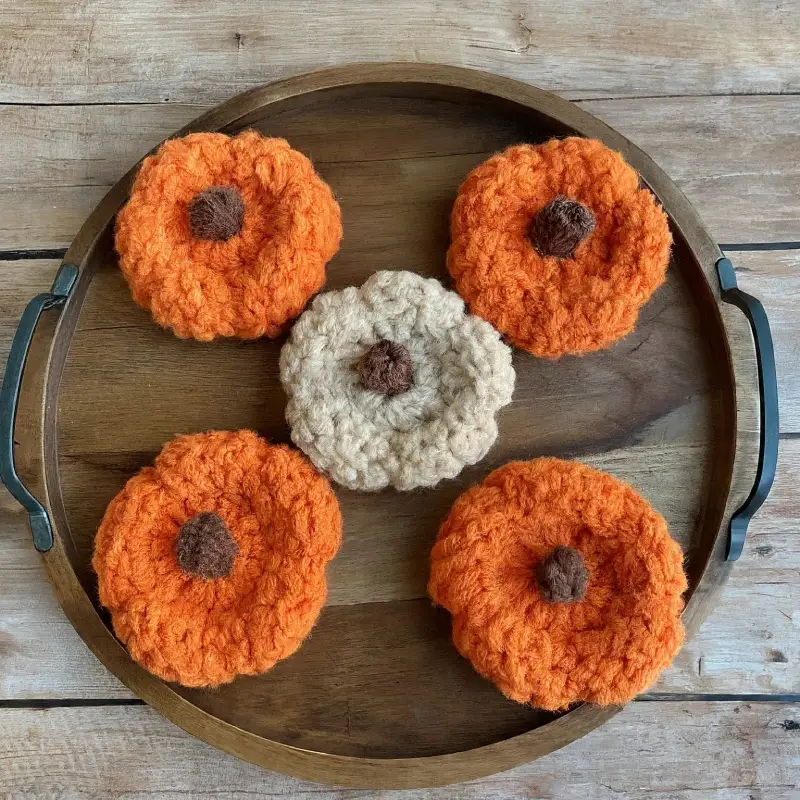
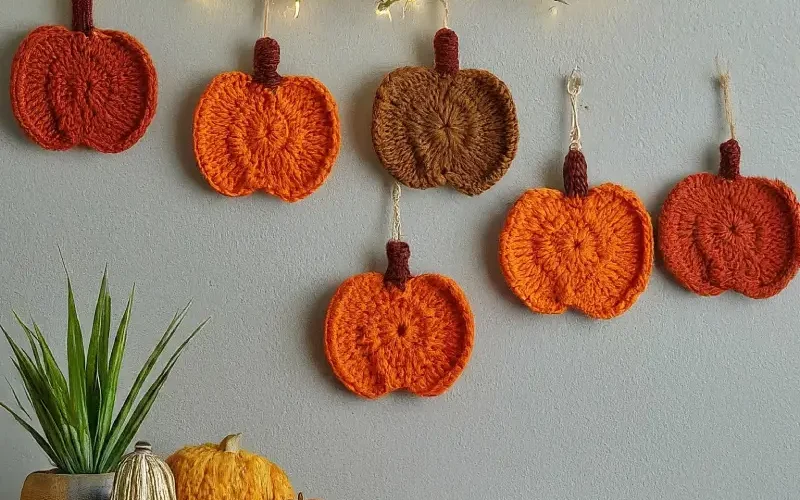
Different Colors: While orange is the traditional pumpkin color, feel free to experiment with other autumnal shades like cream, mustard, or even a deep plum.
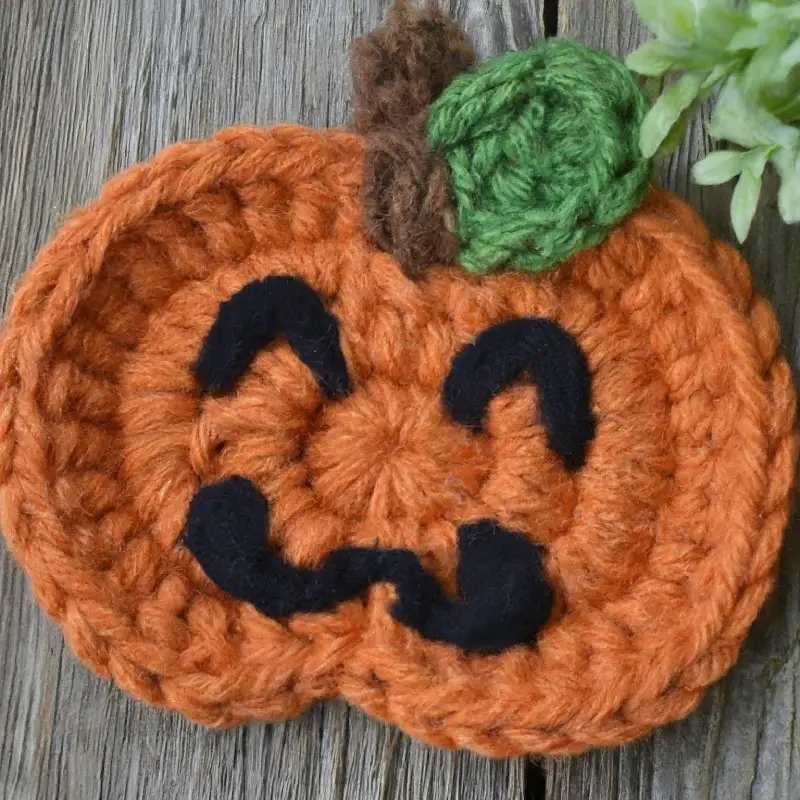
Face Details: For a Halloween twist, use black yarn to embroider a simple jack-o’-lantern face on your coaster.
Larger Size: If you’d like to use your pumpkin coaster as a trivet or pot holder, simply increase the number of rounds and adjust the stitch count accordingly.
Pumpkin Sets: Create a whole set of pumpkin coasters in varying sizes for different types of cups and mugs, or make a set to give as a seasonal gift.
Final Thoughts
Crocheting pumpkin coasters is a delightful way to celebrate the fall season and add a handmade touch to your home.
This project is quick, easy, and allows for plenty of creativity, whether you’re making them for yourself or as a gift for someone else.
I hope this tutorial has inspired you to pick up your hook and start crocheting some cozy, festive pumpkin coasters.
They’re sure to bring a bit of autumn warmth to your home and make every coffee break feel a little more special.
Be sure to share your beautiful work on Crochet Patternz Community. I’d love to see how you personalize your project!
Happy crocheting, and enjoy the season!


