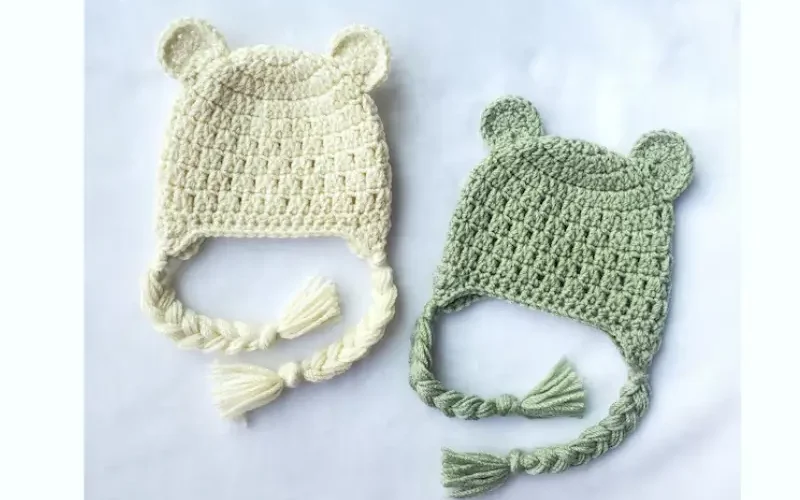
Let’s Get Hooking!
Step 1: Start with a Magic Circle
If you’ve never worked with a magic circle before, it’s a great technique to create a tight, neat start for round projects like hats. Here’s how:
Make a loop with your yarn, crossing the tail over the working yarn.
Insert your hook into the loop, grab the working yarn, and pull up a loop.
Chain 1 to secure, and you’re ready to crochet into the circle!
If the magic circle still feels tricky, you can start with a chain 3 and join with a slip stitch to form a loop.
It’s a great alternative while you practice your magic circle!
Step 2: Round 1 – The Crown of the Hat
We’ll begin by building the crown of the hat, working in the round.
Round 1: Chain 2 (this counts as your first double crochet), then work 11 more double crochets into the magic circle.
Pull the tail tight to close the circle, then join with a slip stitch to the top of your first double crochet (12 stitches total).
Pro Tip for Beginners
Use a stitch marker to mark the first stitch of each round if you’re worried about losing your place, especially handy for rounds that increase in size.
Step 3: Round 2 – Increasing the Crown
Round 2: Chain 2, double crochet into the same stitch.
Work 2 double crochets in each stitch around. Join with a slip stitch.
You should have 24 stitches.
The key to making the hat fit nicely is getting the crown to the right width.
We’re building the shape by adding stitches in each round, and this part goes quickly!
Step 4: Round 3 – More Increases!
Round 3: Chain 2, double crochet in the same stitch, double crochet in the next stitch, then 2 double crochets in the following stitch.
Join with a slip stitch. You should have 36 stitches now.
Step 5: Rounds 4-8 – Building the Body of the Hat
Now we’re moving into the body of the hat, so no more increasing. We’re going to double crochet in every stitch to build the height.
Rounds 4-8: Chain 2, double crochet in each stitch around.
Join with a slip stitch at the end of each round.
Keep an eye on your stitch count (36), and use that stitch marker if you need to!
By now, your baby bear hat is starting to take shape!
Depending on the size you’re going for, you can stop here or keep adding rounds to make it longer.
Step 6: The Bear Ears – Get Ready for Cuteness!
What’s a bear hat without those adorable little ears? For the ears, we’ll make two small circles and attach them to the top of the hat.
Ear 1:
Round 1: Start with a magic circle, chain 2, and work 8 double crochets into the circle.
Pull the tail to tighten and close the circle. Slip stitch to the first double crochet to join.
Round 2: Chain 2, double crochet in the same stitch, 2 double crochets in each stitch around.
Join with a slip stitch. You should have 16 stitches.
Ear 2: Repeat the above steps for the second ear.
You can make the ears larger by adding another round with 2 double crochets in every second stitch.
Step 7: Attaching the Ears
Position the ears on top of the hat (about an inch apart) and use your tapestry needle to sew them securely in place.
Make sure you attach them firmly, as these will be pulled and played with!
Step 8: Finishing Touches
Weave in all your yarn ends using the tapestry needle.
Give the hat a little stretch and fluff up the ears to make sure they’re nice and round.
