How to Crochet a Fox Amigurumi: A Step-by-Step Guide for Beginners
Crocheting amigurumi, the Japanese art of creating cute, stuffed toys from yarn, has captured the hearts of makers all over the world.
One of the most popular and charming amigurumi projects is the fox.
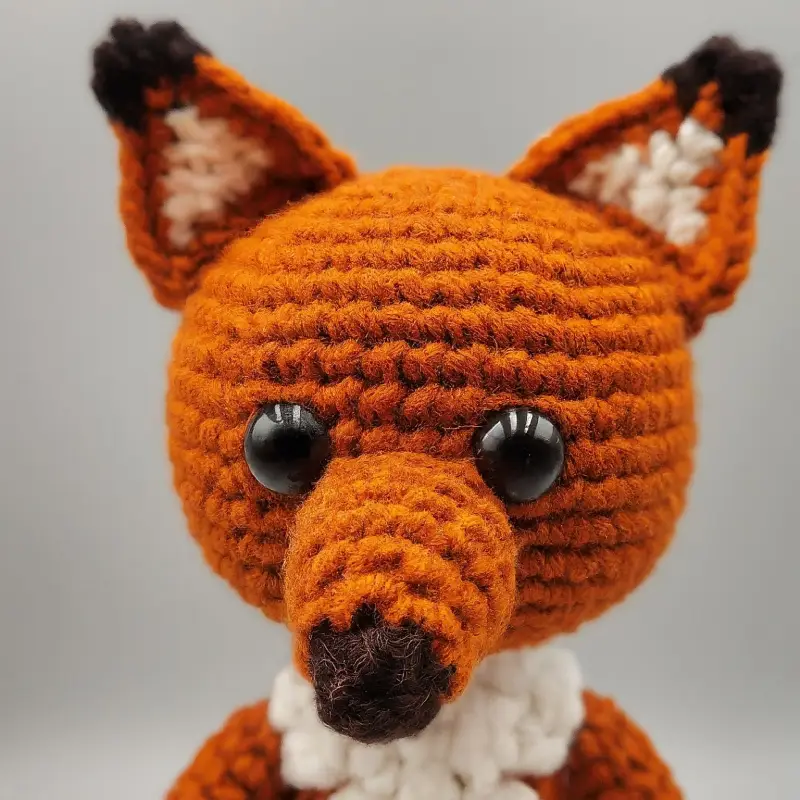
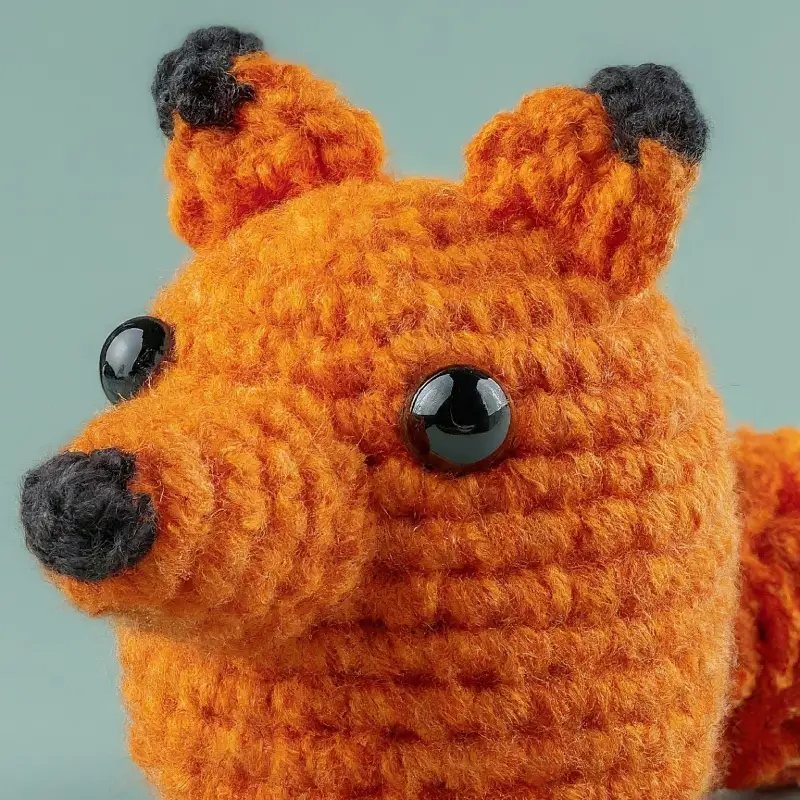
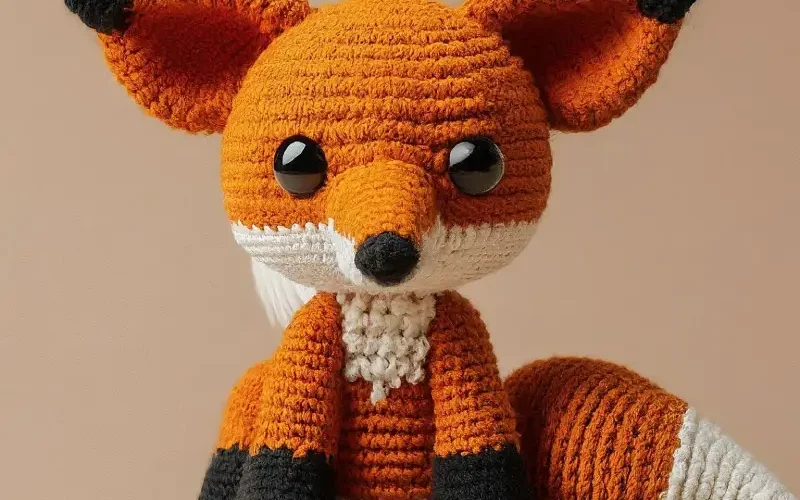
With its pointy ears, bushy tail, and adorable little face, a fox amigurumi can make a delightful gift, decoration, or addition to your crochet collection.
In this step by step guide, we’ll walk you through how to crochet a fox amigurumi.
Whether you’re a beginner or a more advanced crocheter, this project is fun, achievable, and a great way to practice working in the round.
So, grab your yarn and hook, and let’s get started on your very own crocheted fox!
Materials You’ll Need:
- Yarn: Worsted weight yarn in orange (main body), white (for the belly, ears, and tail tip), and black (for the paws and eyes)
- Crochet Hook: Size G-6 (4.0 mm) hook
- Safety Eyes: 9-10 mm black safety eyes (or you can embroider the eyes if preferred)
- Stuffing: Poly-fil or your choice of stuffing
- Tapestry Needle: For sewing parts together and weaving in ends
- Scissors
- Stitch Marker: Optional, but helpful to keep track of rounds when working in a spiral
Stitches You’ll Need to Know:
- Magic Ring
- Chain (ch)
- Single Crochet (sc)
- Increase (inc) – 2 single crochet stitches in one stitch
- Decrease (dec) – Combine two stitches into one (also known as sc2tog)
- Slip Stitch (sl st)
- Fasten Off – Finish the yarn by cutting it and pulling the yarn tail through the loop
If you’re new to some of these stitches, don’t worry! Amigurumi is often worked in basic stitches, making it a great project for beginners.
How to Crochet a Fox Amigurumi: A Step-by-Step Guide for Beginners

Step 1: Making the Fox’s Head
The head of the fox is worked in a continuous spiral, so be sure to use a stitch marker to mark the beginning of each round.
Start with Orange Yarn:
Round 1: Begin with a magic ring. Work 6 single crochet (sc) into the ring.
Pull the ring tight to close. (6 sts)
Round 2: Increase in each stitch around (2 sc in each stitch) for a total of 12 stitches.
Round 3: (1 sc, inc) repeat around, for a total of 18 stitches.
Round 4: (2 sc, inc) repeat around, for a total of 24 stitches.
Round 5: (3 sc, inc) repeat around, for a total of 30 stitches.
Rounds 6-12: Work 1 sc in each stitch around for a total of 30 stitches in each round.
You’ve now created the main shape for the head! Before you finish, it’s time to insert the safety eyes.
Step 2: Adding the Fox’s Eyes
For a fox’s cute, wide-eyed look, we’ll add the safety eyes around Round 8.
Insert Safety Eyes: Place them about 7 stitches apart between Rounds 8 and 9.
If you want to customize your fox’s expression, experiment with the eye spacing until it looks just right.
Embroider the Nose (Optional): You can embroider a little black nose at the top center of the head (near Round 1) using black yarn.
Step 3: Finishing the Head
Once the eyes are secure, continue crocheting to shape the head.
Round 13: (3 sc, dec) repeat around, for a total of 24 stitches.
Round 14: (2 sc, dec) repeat around, for a total of 18 stitches.
Round 15: (1 sc, dec) repeat around, for a total of 12 stitches.
At this point, stuff the head with poly-fil or your preferred stuffing material.
Don’t overstuff; you want it to be firm but still soft and squishy.
Round 16: Decrease in each stitch around (sc2tog) to finish, for a total of 6 stitches.
Fasten Off and leave a long tail for sewing. Use your tapestry needle to weave the yarn tail through the remaining stitches and pull tight to close.
Step 4: Crocheting the Fox’s Body
Now let’s move on to the body. It’s worked similarly to the head, starting with a magic ring and working in rounds.
Start with Orange Yarn:
Round 1: Make a magic ring and work 6 sc into the ring. (6 sts)
Round 2: Increase in each stitch around, for a total of 12 stitches.
Round 3: (1 sc, inc) repeat around, for a total of 18 stitches.
Round 4: (2 sc, inc) repeat around, for a total of 24 stitches.
Rounds 5-12: Work 1 sc in each stitch around, keeping the body at 24 stitches for these rounds.
At this point, we’ll start decreasing to shape the body.
Round 13: (2 sc, dec) repeat around, for a total of 18 stitches.
Round 14: (1 sc, dec) repeat around, for a total of 12 stitches.
Stuff the body and then continue decreasing.
Round 15: Decrease in each stitch around, for a total of 6 stitches.
Fasten Off and leave a long tail for sewing.
Just like with the head, weave through the remaining stitches and pull tight to close.
Step 5: Crocheting the Fox’s Ears
The fox’s ears are worked separately and then sewn onto the head.
Start with Orange Yarn:
Round 1: Make a magic ring and work 6 sc into the ring. (6 sts)
Round 2: (1 sc, inc) repeat around, for a total of 9 stitches.
Rounds 3-6: Work 1 sc in each stitch around, for a total of 9 stitches per round.
Fasten Off and leave a long tail for sewing.
Make two ears and set them aside for assembly.
Step 6: Crocheting the Fox’s Tail
The tail is worked in orange yarn, with the tip in white for that classic fox look.
Start with White Yarn:
Round 1: Make a magic ring and work 6 sc into the ring. (6 sts)
Round 2: (1 sc, inc) repeat around, for a total of 9 stitches.
Round 3: Switch to orange yarn and work 1 sc in each stitch around.
Rounds 4-10: Continue with 1 sc in each stitch around.
Stuff the tail lightly and fasten off, leaving a long tail for sewing.
Step 7: Crocheting the Legs and Arms
For the fox’s legs and arms, we’ll use black yarn for the paws and orange for the limbs.
Start with Black Yarn:
Round 1: Make a magic ring and work 6 sc into the ring. (6 sts)
Round 2: Work 1 sc in each stitch around. (6 sts)
Round 3: Switch to orange yarn and continue working 1 sc in each stitch for the next 6 rounds.
Make four limbs total and stuff each lightly.
Step 8: Assembly
Now that all your parts are crocheted, it’s time to put your fox together!
Sew the Ears onto the top of the head, making sure they are evenly spaced.
Attach the Head to the Body using the long tail left from the head.
Sew the Arms and Legs onto the sides of the body.
Attach the Tail to the back of the body, angling it slightly for a playful look.
Step 9: Final Details
Use your tapestry needle and black yarn to embroider a little nose if you haven’t already.
Adjust the stuffing in the body, head, and limbs to make sure everything is well-balanced.

That’s it
Congratulations! You’ve just created your own adorable fox amigurumi.
Whether you’re gifting it to a child, keeping it for yourself, or adding it to your crochet collection, this fox is sure to bring joy with its cute and cuddly appearance.
Plus, you’ve practiced working in the round, increasing, decreasing, and assembling different parts—a great skill-building project for any crocheter.
Join us on Crochet Patternz Community
Enjoy your new fox friend, and happy crocheting!


