How to Crochet a Pumpkin Spice Pillow: Cozy Up Your Fall Decor
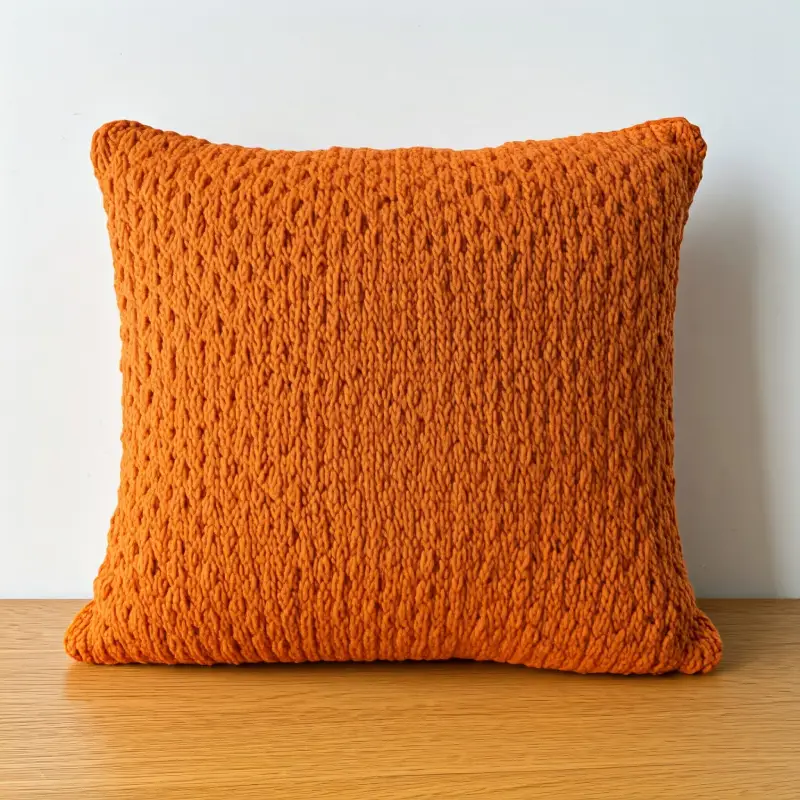
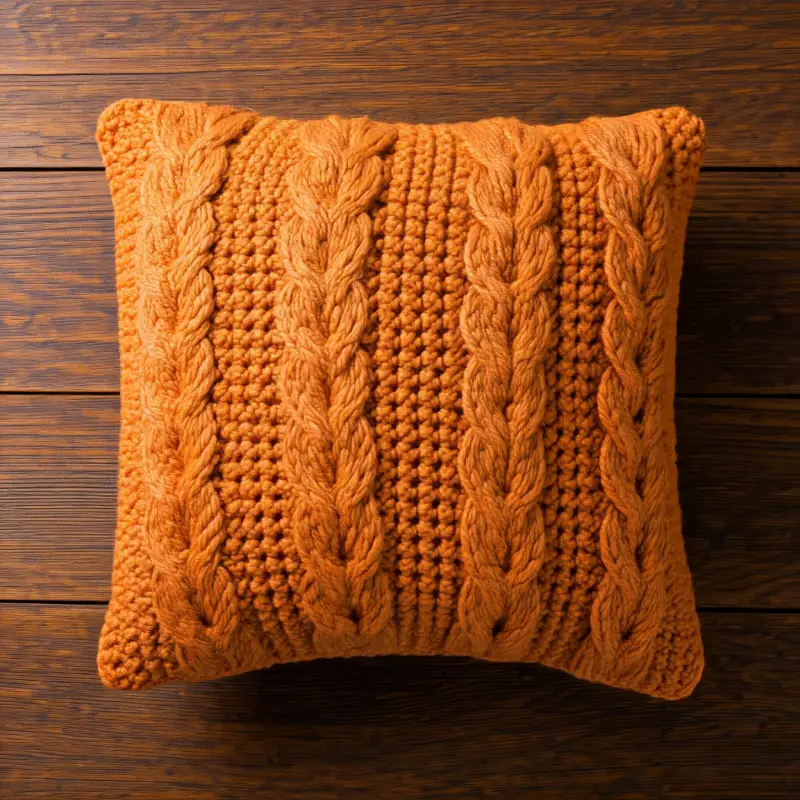
Fall is here, and nothing says cozy quite like a soft, squishy Pumpkin Spice Pillow!
Whether you’re decorating your home for the season or adding a touch of autumn charm to your couch or bed, this crochet pillow is the perfect seasonal project.
With its cute pumpkin shape, warm fall colors, and comfy texture, it’s sure to bring those warm, pumpkin spice vibes into your living space.
Plus, it’s a fun and relatively easy project that’s beginner-friendly but also enjoyable for more experienced crocheters.
In this blog post, I’ll guide you through how to crochet your very own pumpkin spice pillow step by step. Grab your hook and some yarn, and let’s create something cozy together!
Why Crochet a Pumpkin Spice Pillow?
Before we dive into the pattern, let’s talk about why crocheting this adorable pillow is a must for fall:
Festive and Functional: This pillow adds a festive touch to your home decor while also being soft and functional for those fall naps.
Beginner-Friendly: The pattern is simple and uses basic crochet stitches like single crochet, double crochet, and slip stitches, making it perfect for beginners.
Perfect for Fall: The pumpkin shape and warm colors of this pillow are ideal for capturing the cozy fall spirit.
Customizable: You can easily adjust the size and colors to match your home decor, or even add embellishments like leaves or vines.
A Great Gift: This pillow makes an excellent handmade gift for anyone who loves fall, pumpkins, or a good cozy throw pillow!
Materials You’ll Need
Here’s a list of materials you’ll need to crochet your Pumpkin Spice Pillow:
- Yarn: You’ll need super bulky yarn (category 6) for that thick, cozy texture. Orange yarn for the pumpkin body, and brown or green for the stem. You can also use different shades of orange or rust to give your pillow that extra “spice.”
- Crochet Hook: A 6.5 mm (K) or 8.0 mm (L) hook is ideal for this project, depending on how tight or loose you want your stitches.
- Polyester Fiberfill: To stuff the pillow and give it its squishy shape.
- Yarn Needle: For sewing the pieces together and weaving in the ends.
- Scissors: To cut your yarn.
- Stitch Marker (optional): Since this pattern is worked in rounds, a stitch marker will help keep track of your rounds.
Basic Stitches and Techniques
This pillow pattern uses basic crochet stitches, so it’s perfect for beginners. Here are the stitches and techniques you’ll need to know:
Magic Ring: Used to start crocheting in the round.
Single Crochet (sc): A basic crochet stitch that will be used for the main body of the pillow.
Double Crochet (dc): Adds height and texture to the pillow.
Slip Stitch (sl st): Used to join rounds and finish off your work.
Increase: Two single crochets in one stitch to make the piece wider.
Invisible Decrease: A technique to make smooth decreases in your project.
Now that you’ve got your materials and know the stitches, let’s jump into the pattern!

Step by Step Guide: Pumpkin Spice Pillow Pattern
Step 1: Crocheting the Pumpkin Pillow Base
We’ll start by making the two flat, circular panels that will make up the front and back of the pillow.
These will be worked in rounds, and we’ll increase gradually to create the shape of the pumpkin.
Magic Ring or Chain 2: Begin with a magic ring (or chain 2) to work in the round.
Round 1: Work 6 single crochets (sc) into the magic ring. Pull the tail to close the ring tightly. (6 stitches)
Round 2: Work 2 sc in each stitch around. (12 stitches)
Round 3: 1 sc in the next stitch, 2 sc in the following stitch—repeat around. (18 stitches)
Round 4: 1 sc in the next 2 stitches, 2 sc in the following stitch—repeat around. (24 stitches)
Round 5: 1 sc in the next 3 stitches, 2 sc in the following stitch—repeat around. (30 stitches)
Round 6: 1 sc in the next 4 stitches, 2 sc in the following stitch—repeat around. (36 stitches)
Rounds 7-12: Continue increasing in the same manner, adding one more stitch between each increase in every round until your circle is the desired size for your pillow.
For a medium-sized pumpkin pillow, you’ll want the diameter of the circle to be around 14-16 inches.
Adjust the number of rounds based on the size of your pillow.
Step 2: Creating the Texture (Optional)
If you’d like to add more texture to your pillow, switch to double crochet (dc) for the next few rounds.
This will give your pumpkin some height and create a ribbed texture, which will mimic the look of a real pumpkin.
Rounds 13-16: Work 1 dc in each stitch around. This will build up the sides of your pillow.
Round 17: Switch back to single crochet and work 1 sc in each stitch around.
(This is optional but helps give the pumpkin a finished edge.)
Step 3: Making the Pumpkin Stem
Now that the main body of the pumpkin is done, it’s time to crochet the stem.
Magic Ring or Chain 2: Using brown or green yarn, start with a magic ring or chain 2.
Round 1: Work 6 sc into the ring. (6 stitches)
Round 2: Work 1 sc in each stitch around. Continue this for about 4-5 rounds until the stem is your desired length.
Once the stem is long enough, fasten off and leave a long tail for sewing.
You can also make the stem shorter or longer depending on your preference.
Step 4: Assembly and Stuffing
Now that you’ve crocheted both circular panels and the stem, it’s time to assemble the pillow!
Lay the Panels Together: Place the two circular pumpkin panels together, with the right sides facing out.
Join the Panels: Starting at any point, use your yarn needle or hook to slip stitch around the edges of the panels, joining them together. Leave an opening at the top for stuffing.
Stuff the Pillow: Stuff the pillow with polyester fiberfill. Add enough stuffing to make it plump but not overly firm.
Close the Pillow: Once the pillow is stuffed, continue slip stitching around the rest of the edge to close it off.
Step 5: Attaching the Stem
Finally, sew the stem onto the top center of the pumpkin using the long tail of yarn you left earlier.
Use a yarn needle to sew it securely in place, and weave in any remaining ends.

You can customize your pumpkin spice pillow even further with these fun ideas:
Add Leaves
Crochet a few small leaves in green yarn and sew them onto the base of the stem.
Make Vines
Crochet a chain with green yarn, then twist it into a spiral to create cute curly pumpkin vines.
Embroider a Face
Want to give your pillow a Halloween twist?
Use black yarn to embroider a jack-o’-lantern face on one side of the pillow!
Thoughts
And there you have it, your very own Pumpkin Spice Pillow!
This project is not only fun to make, but it’s also the perfect way to add some seasonal charm to your home.
Whether you’re using it as a decorative throw pillow or just cuddling up with it on a chilly fall day, this crochet pumpkin is sure to bring some cozy autumn vibes into your life.
I hope you enjoyed this tutorial and feel inspired to create your own pumpkin pillow!
Don’t forget to share your finished projects with me. I’d love to see how your pillows turn out.
Be sure to share your beautiful work on crochet patternz community. I’d love to see how you personalize your project!
Happy crocheting, and enjoy the fall season!


