A Fun and Easy Project for Beginners
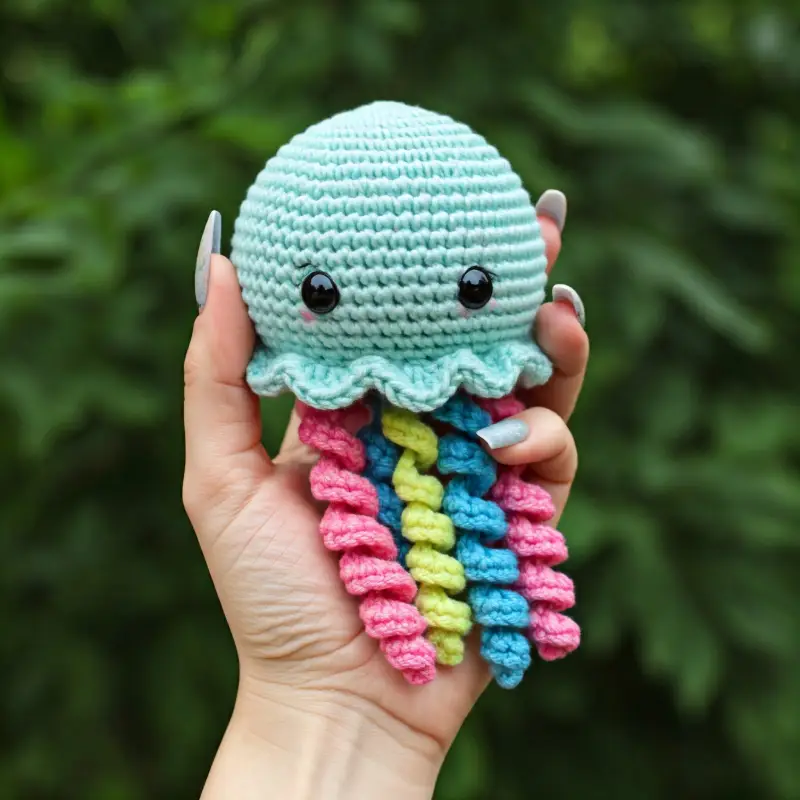
Crocheting amigurumi is a delightful way to bring cute, playful creatures to life, and a jellyfish amigurumi is one of the most charming projects you can try!
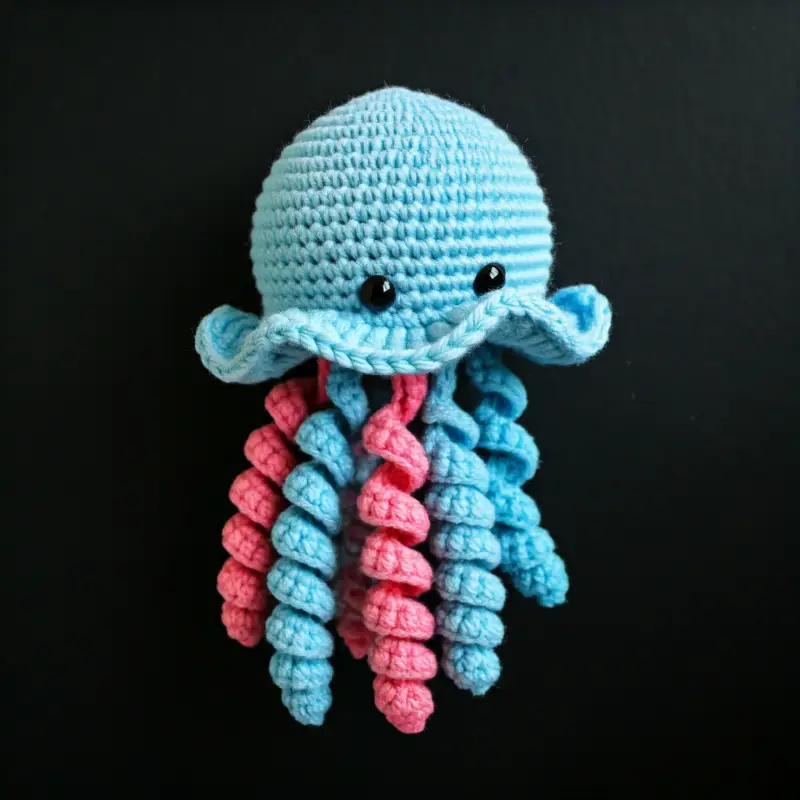
With its round, squishy body and flowing tentacles, this crochet jellyfish makes an adorable toy, decoration, or even a keychain.
Plus, it’s an excellent project for both beginner and seasoned crocheters alike.
In this post, I’ll guide you step by step through the process of crocheting your own jellyfish amigurumi.
We’ll cover the basics of making the round body, the tentacles, and how to assemble everything to create your adorable sea creature.
Materials You’ll Need:
- Yarn: Medium-weight (size 4) yarn in two colors – one for the body and one for the tentacles. You can opt for bright, fun colors to make your jellyfish stand out.
- Crochet Hook: A 3.5 mm (E-4) or 4 mm (G-6) crochet hook, depending on the yarn you choose.
- Polyester Stuffing: To fill the jellyfish body.
- Safety Eyes (optional): For a cute, animated look. You can also use yarn or embroidery thread to sew on eyes if you prefer.
- Tapestry Needle: For sewing the parts together and weaving in ends.
- Stitch Marker: Useful for keeping track of your rounds.
Abbreviations (U.S. terms):
- ch = chain
- sc = single crochet
- inc = increase (work 2 sc in the same stitch)
- dec = decrease (single crochet two stitches together)
- sl st = slip stitch
- st(s) = stitch(es)

Step 1: Crocheting the Jellyfish Body
The body of the jellyfish is made by crocheting a simple sphere.
This is the main part of the amigurumi, and it’s worked in continuous rounds.
Round 1: Starting the Sphere
Begin with a magic ring (or chain 2 and work into the second chain from the hook), and crochet 6 sc into the ring. (6 sts)
Round 2: Inc in each st around. (12 sts)
Round 3: Sc in the next st, inc in the next st. Repeat around. (18 sts)
Round 4: Sc in the next 2 sts, inc in the next st. Repeat around. (24 sts)
Round 5: Sc in the next 3 sts, inc in the next st. Repeat around. (30 sts)
You’ll notice your jellyfish’s body starting to take shape.
If you want to make a bigger jellyfish, you can continue increasing in the same manner by adding more stitches between each increase.
Rounds 6-10: Building the Body
Sc in each st around for the next 5 rounds. (30 sts per round)
At this point, your jellyfish should have a nice, rounded shape.
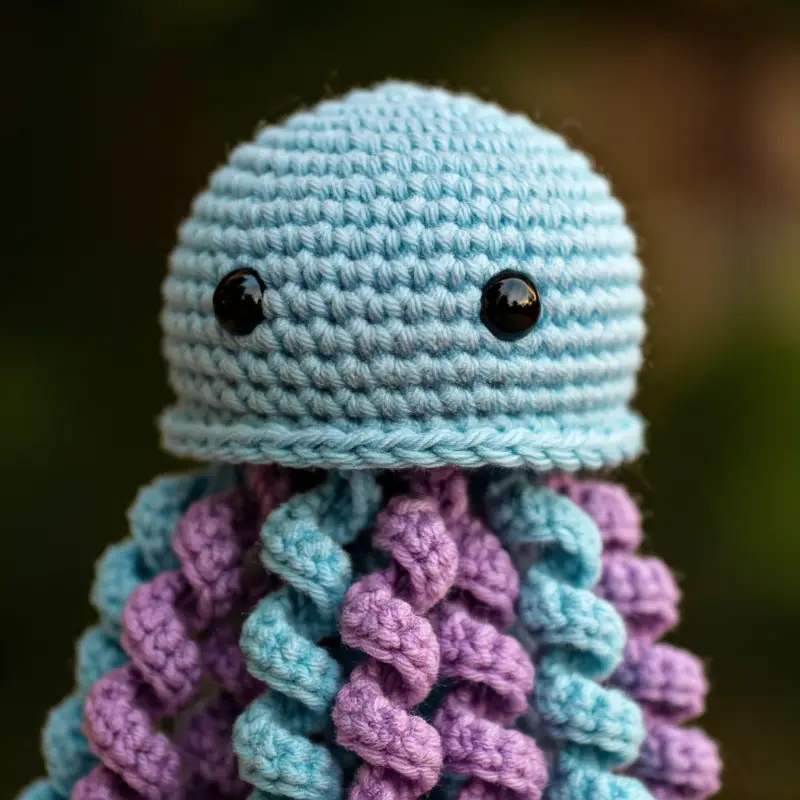
If you’re using safety eyes, you can insert them between rounds 8 and 9, spacing them evenly.
Round 11: Starting the Decreases
Sc in the next 3 sts, dec in the next. Repeat around. (24 sts)
Round 12: Sc in the next 2 sts, dec in the next. Repeat around. (18 sts)
Round 13: Sc in the next st, dec in the next. Repeat around. (12 sts)
Before finishing the last round, take some polyester stuffing and fill the jellyfish body.
Make sure to stuff it firmly, but don’t overstuff it so much that the stitches stretch.
Round 14: Closing the Body
Dec in each st around. (6 sts)
Fasten off, leaving a long tail for sewing.
Use the tail to weave through the remaining stitches and pull tight to close the hole.
Now your jellyfish has a cute, round body! Let’s move on to making the tentacles.
Step 2: Crocheting the Tentacles
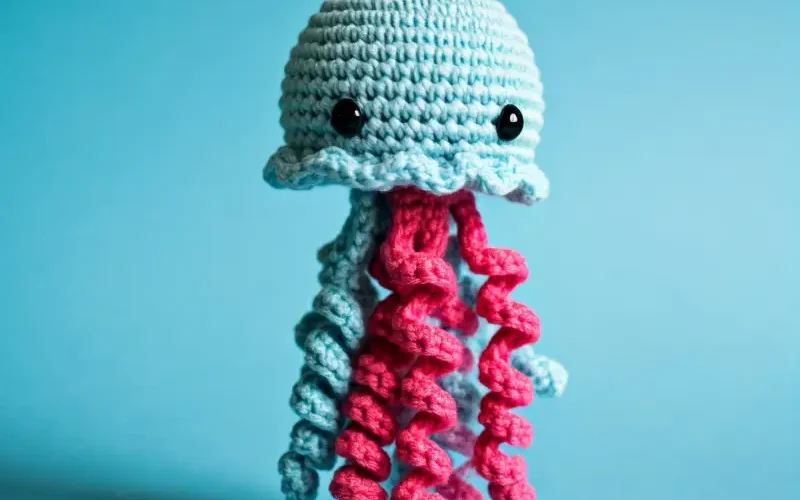
The tentacles are what give your jellyfish that playful, whimsical look, and you can get creative here by making them in different lengths and colors.
For a realistic jellyfish, you’ll need a mix of curly and straight tentacles.
Curly Tentacles:
Ch 20-30 (the length of the chain determines how long your tentacles will be).
In the second chain from the hook, 2 sc. Continue working 2 sc in each ch across.
This will cause the chain to curl into a spiral.
Fasten off, leaving a tail for sewing.
Make 3-5 curly tentacles, varying the length by chaining different numbers (e.g., ch 20 for a short one and ch 30 for a long one).
Straight Tentacles:
Ch 15-20 (depending on how long you want the straight tentacle).
Sl st into each chain across for a simple, straight tentacle.
Fasten off, leaving a tail for sewing.
Make 2-3 straight tentacles to add variety to your jellyfish.
You can use the same color as the curly ones or mix it up with different shades.
Step 3: Crocheting the Jellyfish’s Ruffled Bottom
One of the most charming features of a jellyfish is its ruffled bottom, where the tentacles attach.
To create this, we’ll add a ruffled edge to the underside of the body.
Rejoin your yarn to the bottom of the jellyfish’s body.
Ch 2, dc in the same st, 2 dc in each st around. This will create a wavy, ruffled effect.
Sl st to join and fasten off.
The ruffled bottom adds that extra bit of flair to your jellyfish, giving it a whimsical, floaty look.
Step 4: Assembly
Now that all your parts are crocheted, it’s time to put your jellyfish together.
Attach the Tentacles: Using the tails from the tentacles, sew them onto the underside of the jellyfish’s body.
Spread them out evenly so they form a full set of tentacles.
You can also add more tentacles for extra texture if you want.
Weave in Loose Ends: Once all the tentacles are securely attached, weave in any remaining loose ends with your tapestry needle.
Step 5: Adding the Final Touches
Your jellyfish amigurumi is almost complete! You can add the following final touches:
Eyes: If you haven’t already added safety eyes, you can embroider small eyes with black yarn or thread.
You can also stitch a small smile for a friendly, happy jellyfish.
Cheeks: For an extra cute look, you can add rosy cheeks using pink embroidery thread or small circles of felt.
Customization Ideas


Here are some fun ways to make your jellyfish amigurumi unique:
Rainbow Jellyfish
Use a different color for each tentacle or alternate colors in the body.
Glow-in-the-Dark Jellyfish
Use glow-in-the-dark yarn to make your jellyfish glow at night!
Mini Jellyfish Keychains
Make a smaller version of this jellyfish by using thinner yarn and a smaller hook, and attach it to a keychain ring.
Jellyfish Family
Crochet jellyfish in different sizes to create a whole family of cute sea creatures!
Congratulations!
You’ve successfully crocheted your very own jellyfish amigurumi.
Whether it’s for yourself, a friend, or a child, this adorable sea creature is sure to brighten up any room.
Plus, it’s a fantastic beginner friendly project that allows you to practice basic stitches and get creative with colors.
Don’t be afraid to experiment with different sizes, yarn types, and embellishments.
Crochet is all about creativity and fun, and this jellyfish is a perfect canvas for you to express your unique style.
Be sure to share your beautiful work on crochet patternz community. I’d love to see how you personalize your project!
Happy crocheting, and welcome to the wonderful world of amigurumi


