Crocheting amigurumi is a delightful way to create adorable, plush toys that bring joy to both kids and adults.
If you’re looking for a beginner friendly project that results in a charming little companion, an amigurumi duck is a perfect choice.
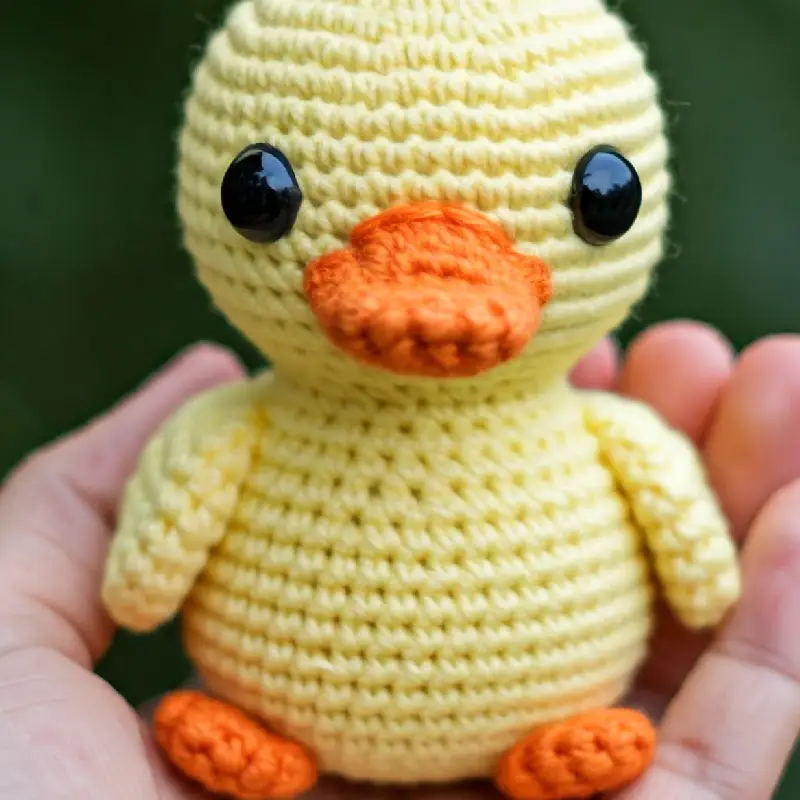
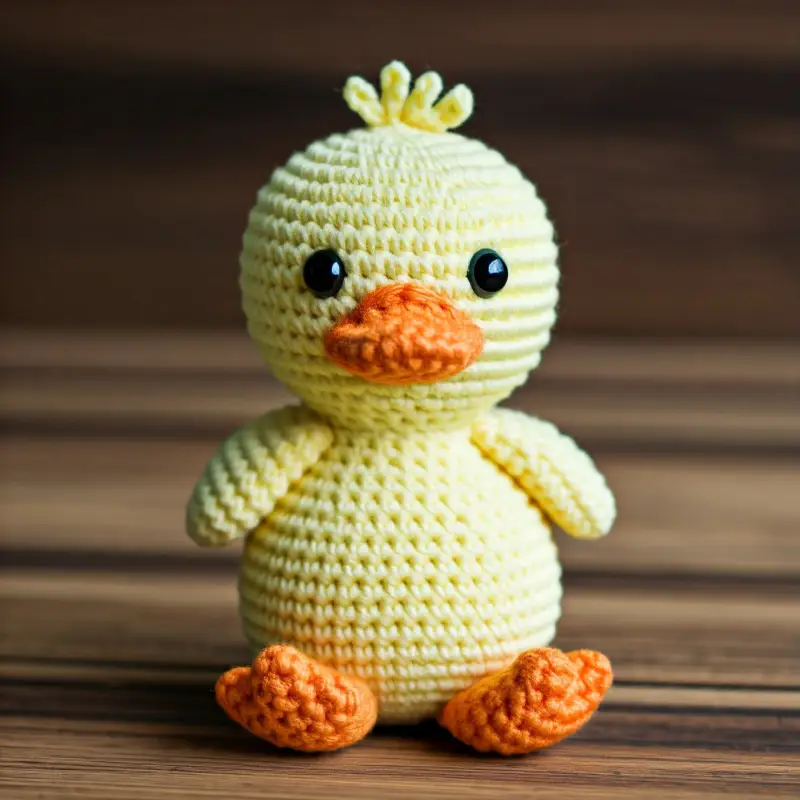
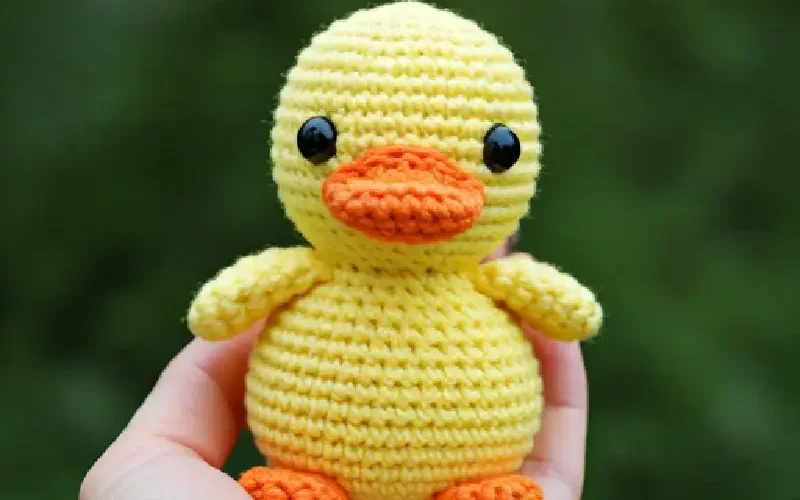
With its round body, cute beak, and little webbed feet, this crochet duck is sure to quack its way into your heart!
In this blog post, I’ll guide you through the process of crocheting your very own amigurumi duck.
Whether you’re new to crochet or an experienced crocheter, this step by step guide will help you make a cute duck you can display on a shelf, gift to a friend, or use as a playful decoration.

Materials You’ll Need:
- Yarn: Medium-weight (size 4) yarn in yellow (for the body), orange (for the beak and feet), and black or white (for eye details if you want to embroider).
- Crochet Hook: A 3.5 mm (E-4) crochet hook works well for a tight stitch that keeps the stuffing inside.
- Polyester Stuffing: For filling the duck’s body and head.
- Safety Eyes (optional): 6mm or 8mm safety eyes, or you can embroider the eyes with black yarn or thread.
- Tapestry Needle: For sewing the parts together and weaving in ends.
- Stitch Marker (optional): To keep track of your rounds.
Abbreviations (U.S. terms):
- ch = chain
- sc = single crochet
- inc = increase (2 sc in the same stitch)
- dec = decrease (single crochet two stitches together)
- sl st = slip stitch
- st(s) = stitch(es)
A Step by Step Guide
Step 1: Crocheting the Duck’s Body
The body of the duck is made by crocheting a simple sphere.
This is the core part of your amigurumi, and we’ll be working in continuous rounds.
Round 1: Starting the Body
Start with a magic ring (or chain 2, and crochet into the second chain from the hook).
Make 6 sc into the ring. (6 sts)
Round 2: Inc in each stitch around (12 sts).
Round 3: Sc in the next stitch, inc in the next stitch. Repeat around (18 sts).
Round 4: Sc in the next 2 stitches, inc in the next stitch. Repeat around (24 sts).
Round 5: Sc in the next 3 stitches, inc in the next stitch. Repeat around (30 sts).
At this point, your duck’s body is starting to form a rounded shape.
Rounds 6-11: Shaping the Body
Sc in each stitch around for 6 more rounds (30 sts per round).
This will create the height and roundness for your duck’s body.
Round 12: Starting the Decreases
Sc in the next 3 stitches, dec in the next. Repeat around (24 sts).
Round 13: Sc in the next 2 stitches, dec in the next. Repeat around (18 sts).
Round 14: Sc in the next stitch, dec in the next. Repeat around (12 sts).
Before you close the body, take some polyester stuffing and fill the body until it’s nice and firm but not overstuffed.
Round 15: Finishing the Body
Dec in each stitch around (6 sts).
Fasten off and leave a long tail.
Use the tapestry needle to weave the tail through the remaining stitches, pulling tight to close the hole.
Congratulations! You’ve just completed the duck’s body. Now, let’s move on to crocheting the head.
Step 2: Crocheting the Duck’s Head
The head is worked similarly to the body, using the same technique of crocheting in rounds.
Round 1: Starting the Head
Magic ring, 6 sc into the ring (6 sts).
Round 2: Inc in each stitch around (12 sts).
Round 3: Sc in the next stitch, inc in the next. Repeat around (18 sts).
Round 4: Sc in the next 2 stitches, inc in the next. Repeat around (24 sts).
Rounds 5-8: Building the Head
Sc in each stitch around for 4 rounds (24 sts per round).
At this point, the duck’s head will have a nice, round shape.
If you’re using safety eyes, insert them between rounds 6 and 7, spacing them evenly.
Rounds 9-10: Decreasing the Head
Round 9: Sc in the next 2 stitches, dec in the next. Repeat around (18 sts).
Round 10: Sc in the next stitch, dec in the next. Repeat around (12 sts).
Stuff the head firmly before finishing the next round.
Round 11: Finishing the Head
Dec in each stitch around (6 sts).
Fasten off, leaving a long tail.
Use the tail to sew the head onto the body, positioning it centrally on the top.
Step 3: Crocheting the Duck’s Beak
The beak is a small, quick piece that adds personality to your amigurumi duck.
Ch 4 to start.
In the second chain from the hook, sc, then sc in the next chain. In the last chain, work 3 sc to turn the corner.
Now work along the other side of the chain: sc in the next stitch, then 2 sc in the final stitch.
Fasten off, leaving a long tail for sewing.
Sew the beak onto the head, slightly below the eyes. You can adjust the placement depending on the expression you want your duck to have!
Step 4: Crocheting the Duck’s Feet
Your duck needs its webbed feet to waddle! Here’s how to make them:
Ch 5 to start.
In the second chain from the hook, sc, then sc in the next two chains.
In the last chain, work 3 sc to turn the corner.
Now work along the other side of the chain: sc in the next two stitches, then 2 sc in the final stitch.
Fasten off, leaving a long tail for sewing.
Make two feet and sew them onto the bottom of the body.
Step 5: Crocheting the Duck’s Wings
The wings are small and simple but add that extra touch of detail.
Ch 4, sc in the second chain from the hook and in the next two chains (3 sts).
Ch 1, turn, sc in each stitch across.
Ch 1, turn, dec across the row (2 sts).
Ch 1, turn, sc across (2 sts).
Fasten off, leaving a tail for sewing.
Make two wings and sew them onto the sides of the body, slightly below the head.
Step 6: Final Touches
Now that all the pieces are crocheted and attached, it’s time to add any final details:
Eyes: If you didn’t use safety eyes, you can embroider small eyes using black yarn or thread.
Cheeks: For a cute, blushing look, you can embroider small pink circles on the cheeks using pink yarn or thread.
Customization Ideas

Here are some fun ways to make your amigurumi duck unique:
Colorful Duck
Don’t limit yourself to just yellow!
You can make a blue, pink, or rainbow duck for a whimsical touch.
Duckling Family
Crochet smaller versions of this pattern to make a whole family of ducks.
Accessories
Add a tiny scarf, bow, or hat to give your duck extra personality.
Congratulations!
You’ve just completed your amigurumi duck.
Whether it’s for a child, a friend, or yourself, this cute little duck is bound to bring joy wherever it goes.
This beginner friendly pattern is a great way to practice basic amigurumi techniques and play with color and creativity.
Enjoy your new crochet buddy, and don’t hesitate to make more in different sizes and colors!
Be sure to share your beautiful work on crochet patternz community. I’d love to see how you personalize your project!
Happy crocheting!


