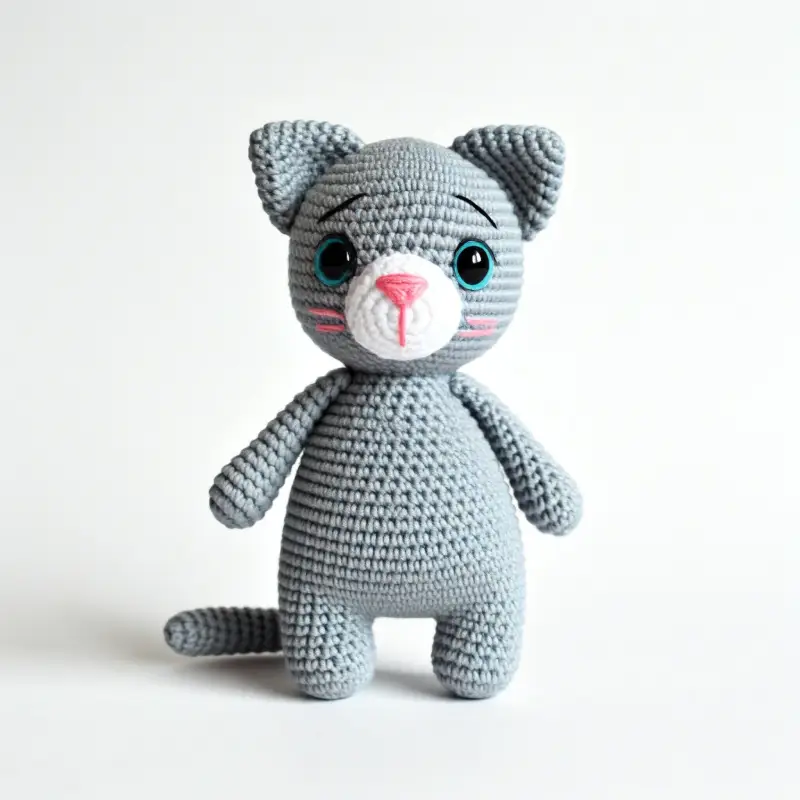
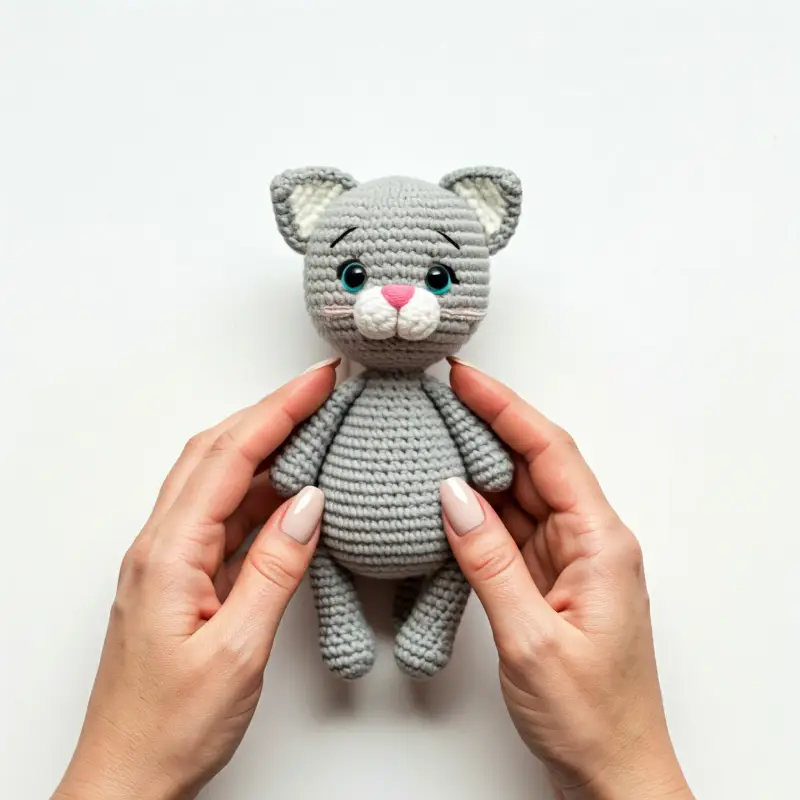
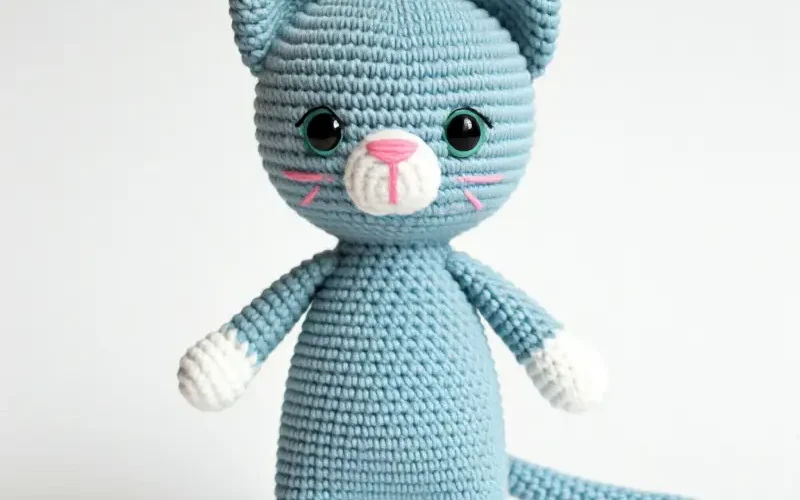
If you’re a cat lover or know someone who adores all things feline, this is the purrfect project for you.
Today, we’re going to crochet an adorable Amigurumi Kitty!
Whether you’re new to amigurumi or a seasoned pro, this cute little kitty will be a fun and rewarding project.
It’s a great beginner-friendly pattern, but even experienced crocheters will enjoy how customizable it is.
Let’s grab our hooks and yarn, and dive into making this adorable kitty that will warm your heart and brighten your day!
Materials You’ll Need:
Before we start, let’s gather everything you’ll need to make this sweet kitty:
Yarn: You can use any color you want, but traditionally you’d go with a main color for the body and an accent color for the paws, nose, and ears.
Main color: For the body (white, grey, black, or even pink for a playful kitty).
Accent color: For the paws, ears, and nose (light pink, grey, or any contrast color).
Crochet Hook: A 3.0 mm or 3.5 mm hook works best for amigurumi. Adjust based on your yarn weight.
Safety Eyes: 6mm or 8mm safety eyes for that cute kitty look.
Stuffing: Polyfill for stuffing the body, head, and limbs.
Tapestry Needle: For sewing pieces together and weaving in ends.
Stitch Marker: To keep track of your rounds.
Scissors: For trimming yarn ends.
Embroidery Thread: For adding the little details like whiskers or mouth (optional).
Stitches You’ll Need:
Let’s cover the basic stitches used in this project.
Don’t worry if you’re new to some of them—they’re all easy to learn!
Magic ring (MR): To start your amigurumi without leaving a hole in the center.
Chain (ch): Foundation stitch.
Single crochet (sc): The most commonly used stitch for amigurumi.
Increase (inc): Two single crochets in one stitch.
Decrease (dec): Single crochet two stitches together.
Slip stitch (sl st): Used to join rounds or finish off pieces.
Fasten off: To secure your yarn and finish your piece.

How to Crochet an Adorable Amigurumi Kitty: A Step by Step Guide

Step 1: Crochet the Kitty’s Head
We’ll start by crocheting the head, which will give our kitty that cute, round look.
With your main color:
Start with a magic ring.
Round 1: 6 sc into the ring. (6)
Round 2: Inc in each stitch around. (12)
Round 3: (Sc in the next stitch, inc) repeat around. (18)
Round 4: (Sc in the next 2 stitches, inc) repeat around. (24)
Round 5: (Sc in the next 3 stitches, inc) repeat around. (30)
Round 6-10: Sc around. (30)
Round 11: (Sc in the next 3 stitches, dec) repeat around. (24)
Round 12: (Sc in the next 2 stitches, dec) repeat around. (18)
At this point, insert the safety eyes between rounds 8 and 9, leaving about 6 stitches between them.
You can also embroider the nose and mouth at this stage.
Round 13: (Sc in the next stitch, dec) repeat around. (12)
Round 14: Dec around. (6)
Stuff the head with polyfill, then fasten off and leave a long tail for sewing. Set the head aside.
Step 2: Crochet the Kitty’s Body
Next up, the body! This will be a basic oval shape, perfect for a cuddly amigurumi kitty.
With your main color:
Start with a magic ring.
Round 1: 6 sc into the ring. (6)
Round 2: Inc in each stitch around. (12)
Round 3: (Sc in the next stitch, inc) repeat around. (18)
Round 4: (Sc in the next 2 stitches, inc) repeat around. (24)
Round 5-9: Sc around. (24)
Round 10: (Sc in the next 2 stitches, dec) repeat around. (18)
Round 11: (Sc in the next stitch, dec) repeat around. (12)
Round 12: Sc around. (12)
Stuff the body with polyfill and fasten off, leaving a long tail for sewing.
Step 3: Crochet the Kitty’s Ears
What’s a kitty without cute, pointy ears?
Let’s make two little triangles to top off the head.
With your main color:
Round 1: Ch 2, sc 4 into the second chain from hook. (4)
Round 2: Inc in each stitch around. (8)
Round 3: (Sc in the next stitch, inc) repeat around. (12)
Fasten off and leave a long tail for sewing. Make two ears, then set them aside for later.
Step 4: Crochet the Legs and Arms
Now we’ll make four cute little limbs for the kitty.
The arms and legs will be similar in shape but slightly different in size.
Legs:
With your main color:
Start with a magic ring.
Round 1: 6 sc into the ring. (6)
Round 2: (Sc in the next stitch, inc) repeat around. (9)
Round 3-5: Sc around. (9)
Fasten off, stuff lightly, and leave a long tail for sewing. Make two legs.
Arms:
With your main color:
Start with a magic ring.
Round 1: 6 sc into the ring. (6)
Round 2-4: Sc around. (6)
Fasten off, stuff lightly, and leave a long tail for sewing. Make two arms.
Step 5: Crochet the Tail
No kitty is complete without a playful tail, right?
Let’s crochet a cute, simple tail.
With your main color:
Start with a magic ring.
Round 1: 6 sc into the ring. (6)
Round 2-8: Sc around. (6)
Fasten off and leave a long tail for sewing.
Step 6: Assemble Your Amigurumi Kitty
Now that all the parts are ready, it’s time to assemble your kitty and watch it come to life!
Attach the head to the body: Use the long tail from the head and sew it onto the top of the body securely.
Sew on the ears: Position the ears on top of the head and sew them in place.
Attach the arms and legs: Use the long tails to sew the arms to the sides of the body and the legs to the bottom.
Sew on the tail: Attach the tail to the back of the body for that playful look.
Embroider the details: If you haven’t already, use embroidery thread to stitch on a little nose, mouth, and whiskers.
Step 7: Add Final Touches
Your Amigurumi Kitty is almost done! You can now add any extra details you like to personalize your kitty. Some ideas include:
Adding a cute little bow or scarf around the neck.
Using different yarn colors to create stripes, spots, or patches on the kitty.
Adding tiny claws or paw pads using embroidery thread.
Feel free to get creative and make your kitty unique!

Congratulations
you’ve just crocheted an adorable Amigurumi Kitty! Isn’t it amazing how a few stitches and some yarn can turn into such a cute little friend?
This project is a fantastic introduction to amigurumi, and it’s perfect for gifting or simply keeping for yourself as a cute companion.
As always, I’d love to see your finished kitties! Share them with me on social media, and don’t forget to tag me in your posts.
Let’s fill the world with crocheted kitties, one stitch at a time!
Be sure to share your beautiful work on crochet patternz community. I’d love to see how you personalize your project!
Happy crocheting,


