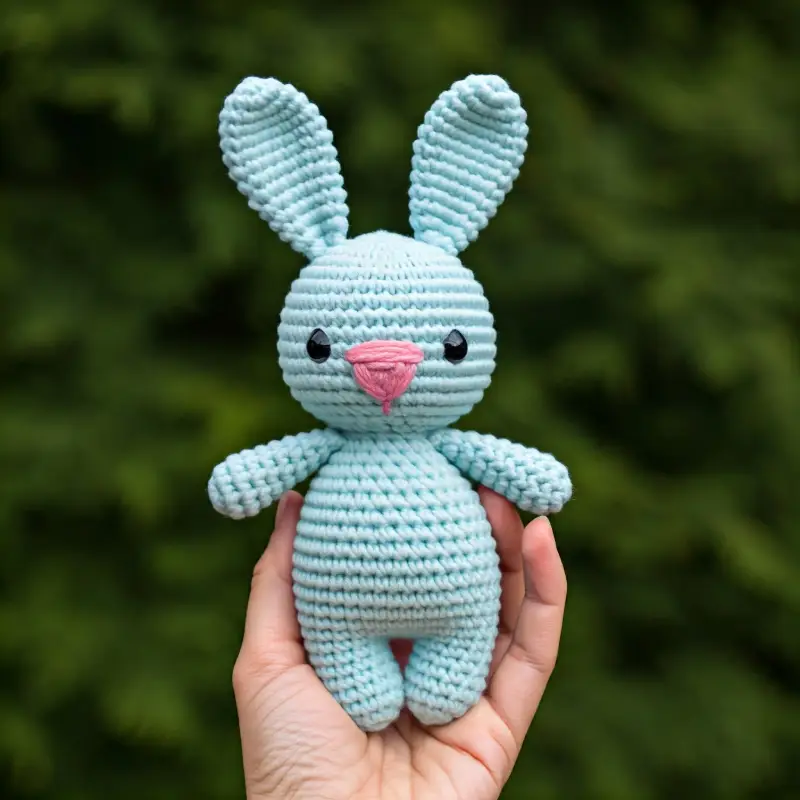
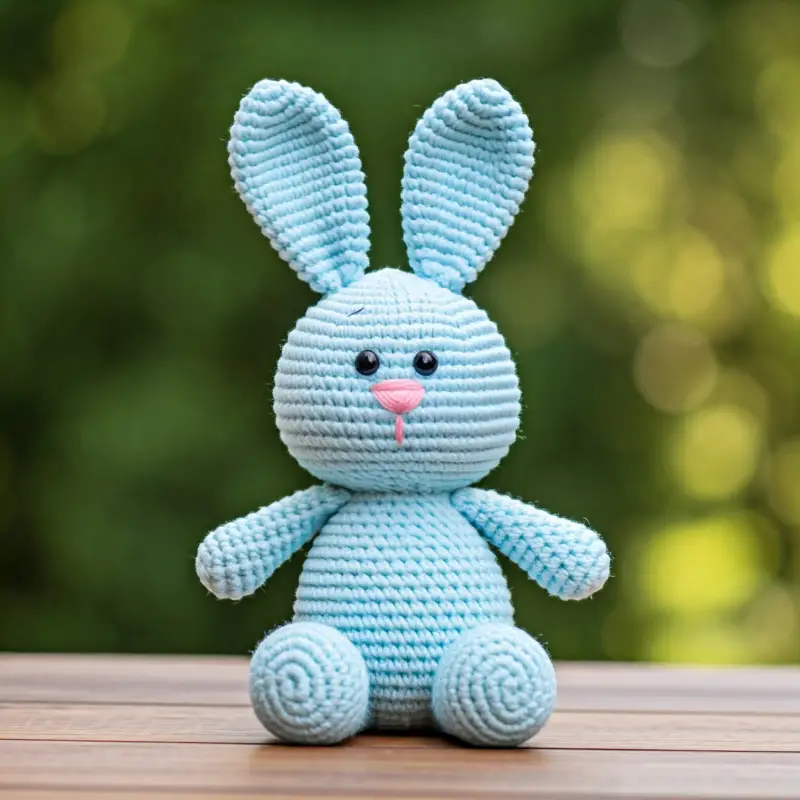
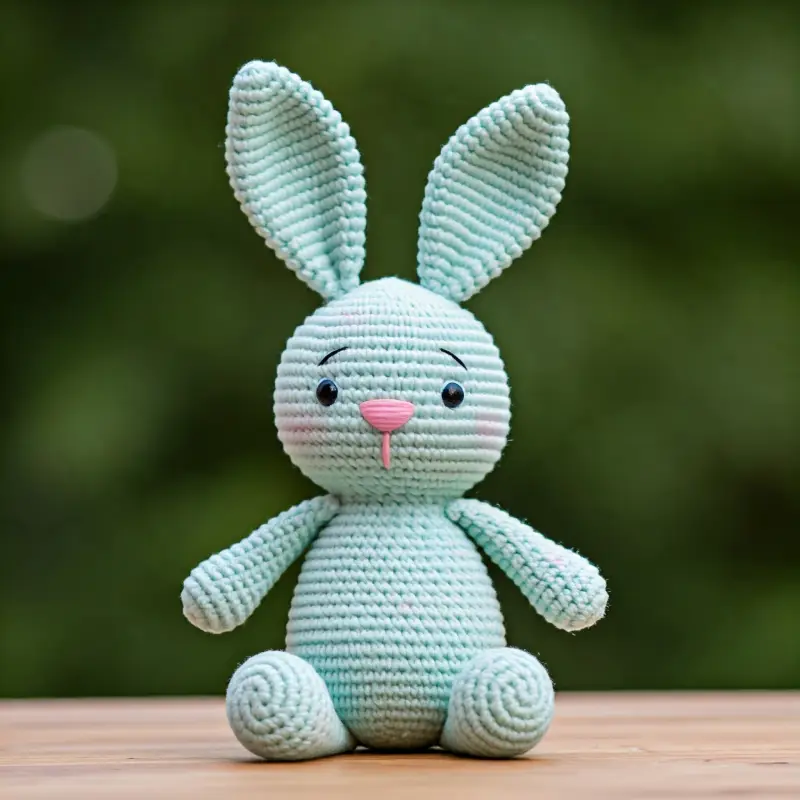
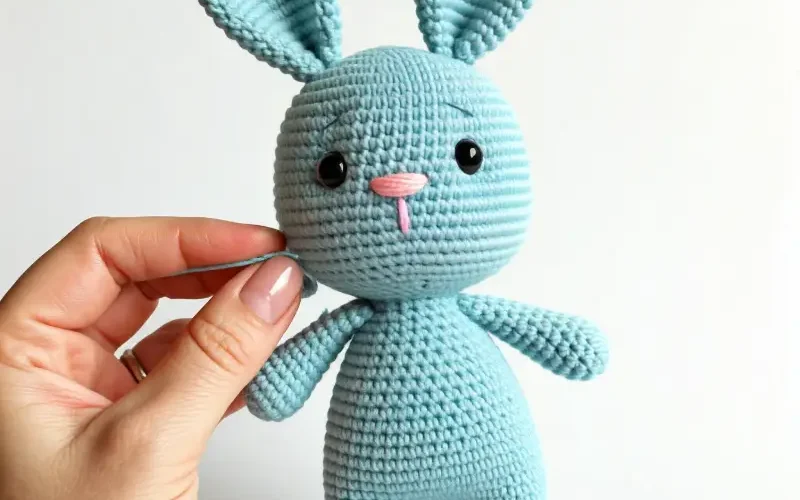
Today, we’re diving into the world of amigurumi with a project that’s cute, cuddly, and irresistibly huggable—a light blue Amigurumi Bunny!
With its sweet, round body and a charming pink nose, this bunny is the perfect project for beginners and seasoned crocheters alike.
Whether you’re making it for a baby shower gift, Easter decor, or just because, this bunny is sure to become a favorite.
So grab your yarn and hook, and let’s hop into this project together!

Materials You’ll Need:
Before we get started, let’s gather all the materials you’ll need for this adorable amigurumi bunny:
Yarn: For this project, we’ll use soft, pastel colors to create a soothing, cute bunny.
Light blue: For the body, head, ears, arms, and legs.
Pink: For the nose.
White: For the tail (optional, if you want a fluffy bunny tail).
Crochet Hook: A 3.5 mm hook (or a size appropriate for your yarn) works well for amigurumi.
Safety Eyes: 6mm or 8mm black safety eyes.
Stuffing: Polyfill to make the bunny plush and cuddly.
Tapestry Needle: For sewing the parts together and weaving in the ends.
Stitch Marker: To keep track of rounds (very helpful in amigurumi!).
Scissors: For cutting yarn.
Stitches You’ll Use:
Here’s a quick guide to the stitches you’ll be using throughout the project.
If you’re new to amigurumi, don’t worry—they’re all simple!
Magic ring (MR): A great way to start your crochet in the round, ensuring there’s no hole in the center.
Chain (ch): Foundation stitch.
Single crochet (sc): The basic stitch for amigurumi.
Increase (inc): Two single crochets in the same stitch to increase the stitch count.
Decrease (dec): Single crochet two stitches together to decrease the stitch count.
Slip stitch (sl st): Used to join rounds or fasten off.
Fasten off: To secure your work when finishing a piece.
Crochet Pattern: A Step by Step Guide

Step 1: Crochet the Bunny’s Head
Let’s start by making the bunny’s head, which will give our bunny its round, sweet look.
With light blue yarn:
- Start with a magic ring.
- Round 1: 6 sc into the ring. (6)
- Round 2: Inc in each stitch around. (12)
- Round 3: (Sc in the next stitch, inc) repeat around. (18)
- Round 4: (Sc in the next 2 stitches, inc) repeat around. (24)
- Round 5: (Sc in the next 3 stitches, inc) repeat around. (30)
- Round 6-12: Sc around. (30)
- Round 13: (Sc in the next 3 stitches, dec) repeat around. (24)
- Round 14: (Sc in the next 2 stitches, dec) repeat around. (18)
At this point, attach the safety eyes between rounds 9 and 10, leaving about 8 stitches between them. This gives the bunny its adorable, wide-eyed look.
- Round 15: (Sc in the next stitch, dec) repeat around. (12)
- Round 16: Dec around. (6)
Stuff the head firmly with polyfill, then fasten off and leave a long tail for sewing.
Step 2: Crochet the Bunny’s Body
Next up, we’ll crochet the body, which will be small and round, giving our bunny that signature amigurumi cuteness.
With light blue yarn:
- Start with a magic ring.
- Round 1: 6 sc into the ring. (6)
- Round 2: Inc in each stitch around. (12)
- Round 3: (Sc in the next stitch, inc) repeat around. (18)
- Round 4: (Sc in the next 2 stitches, inc) repeat around. (24)
- Round 5: (Sc in the next 3 stitches, inc) repeat around. (30)
- Round 6-10: Sc around. (30)
- Round 11: (Sc in the next 3 stitches, dec) repeat around. (24)
- Round 12: (Sc in the next 2 stitches, dec) repeat around. (18)
- Round 13: (Sc in the next stitch, dec) repeat around. (12)
Stuff the body firmly with polyfill, then fasten off and leave a long tail for sewing to the head.
Step 3: Crochet the Bunny’s Ears
Now for the ears! Bunny ears are long and floppy, so we’ll make them in an oval shape.
With light blue yarn:
- Start with a magic ring.
- Round 1: 6 sc into the ring. (6)
- Round 2: Inc in each stitch around. (12)
- Round 3-7: Sc around. (12)
- Round 8: (Sc in the next stitch, dec) repeat around. (9)
- Round 9-12: Sc around. (9)
Fasten off, leaving a long tail for sewing. Make two ears, and set them aside.
Step 4: Crochet the Bunny’s Arms and Legs
The arms and legs are small and simple but add so much personality to the bunny. They’ll be short and slightly rounded.
Arms:
With light blue yarn:
- Start with a magic ring.
- Round 1: 6 sc into the ring. (6)
- Round 2-6: Sc around. (6)
Fasten off, leaving a long tail for sewing. Make two arms.
Legs:
With light blue yarn:
- Start with a magic ring.
- Round 1: 6 sc into the ring. (6)
- Round 2: Inc in each stitch around. (12)
- Round 3-6: Sc around. (12)
Fasten off, leaving a long tail for sewing. Make two legs.
Step 5: Crochet the Bunny’s Pink Nose
A bunny without a cute pink nose? Not possible! This little detail adds so much charm.
With pink yarn:
- Start with a magic ring.
- Round 1: 6 sc into the ring. (6)
- Round 2: Inc in each stitch around. (12)
- Round 3: Sc around. (12)
Fasten off, leaving a long tail for sewing. The nose is small but adds that finishing touch.
Step 6: Assemble the Bunny
Now that we’ve crocheted all the pieces, it’s time to assemble the bunny!
- Attach the head to the body: Use the long tail from the body to sew the head securely onto the top of the body.
- Sew on the ears: Position the ears on the top sides of the head and sew them in place. You can angle them outward or leave them floppy for added cuteness.
- Attach the arms and legs: Sew the arms to the sides of the body, just below the head. Then attach the legs at the bottom of the body.
- Sew on the pink nose: Position the nose right between the eyes and sew it in place. You can also embroider a small mouth beneath the nose using pink or black yarn.
- Optional: Add a fluffy tail: If you’d like, crochet a small white ball for the tail and sew it to the back of the body for that classic bunny look.
Step 7: Add Final Details
Your light blue amigurumi bunny is nearly complete! Here are a few final touches to make it even cuter:
Add a bow: You can crochet a small bow to place on the bunny’s ear or around its neck for a playful touch.
Personalize it: Use different yarn textures or colors to create stripes or patterns on your bunny.
Make a family: Experiment with different sizes of yarn and hooks to create a whole family of bunnies in various sizes.
Wrapping It Up!

Congratulations, you’ve just crocheted a sweet Amigurumi Bunny with a light blue body and a cute pink nose!
This project is not only fun to make, but it’s also a wonderful way to add a handmade touch to any gift or home decor.
Whether you’re giving it as a gift or keeping it for yourself, this bunny will surely bring joy to anyone who sees it.
As always, I’d love to see your finished bunnies!
Share your creations with me on crochet patternz community and tag me so we can spread some crochet love.
Have fun personalizing your bunny, and happy crocheting!
Until next time,


