Winter is the perfect time to cozy up with a crochet project that’s as cute as it is festive.
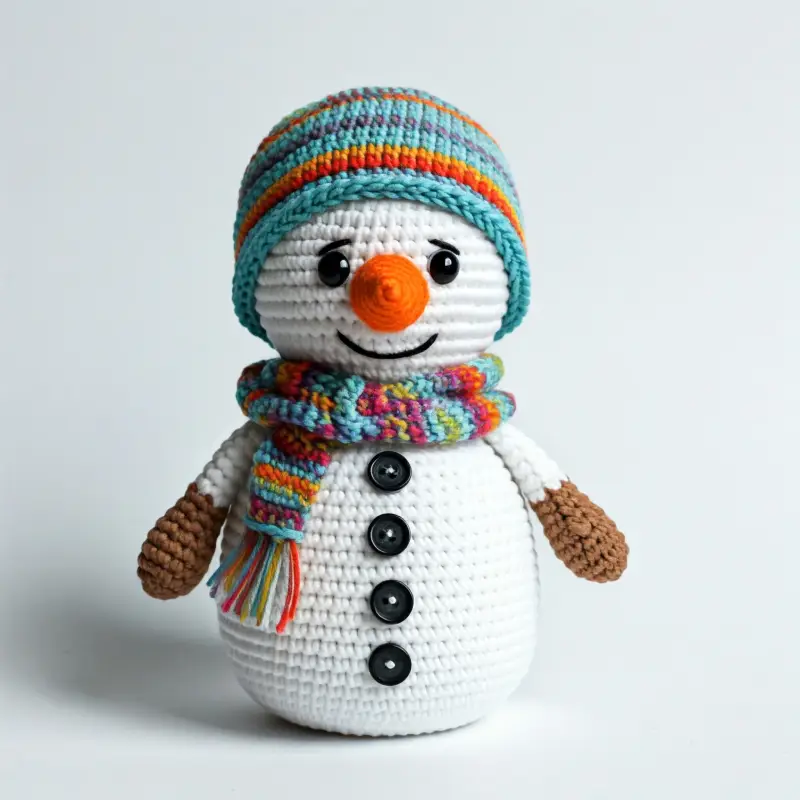
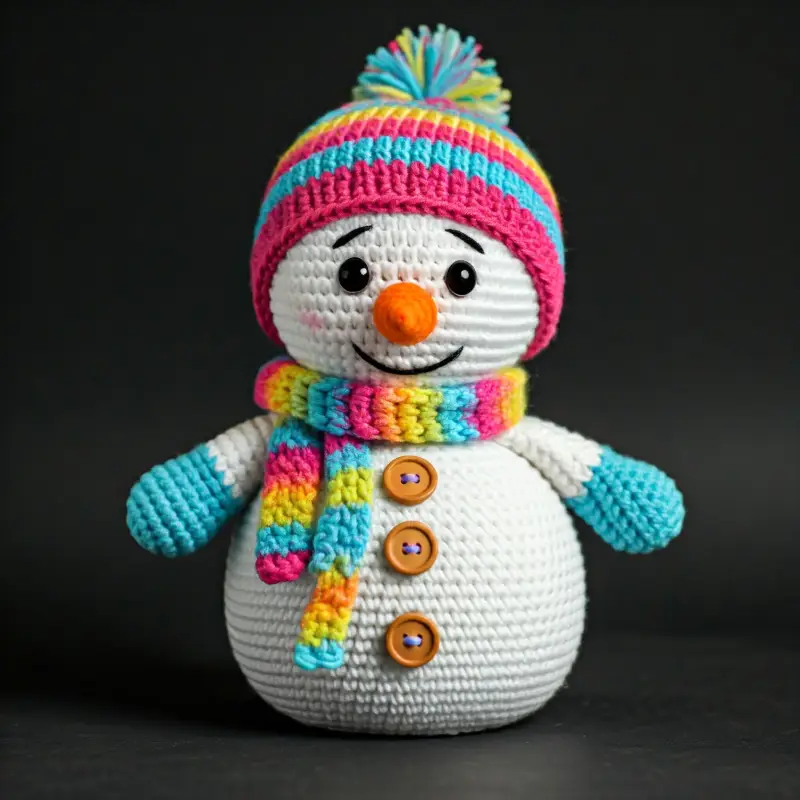
Today, I’m sharing a step-by-step guide on how to crochet an Amigurumi Snowman.
Whether you’re looking to make a charming decoration, a winter gift, or just something to bring a little holiday cheer, this adorable snowman is sure to become a favorite.
Amigurumi, the Japanese art of crocheting small, stuffed yarn creatures, is a beloved craft for crocheters of all levels.
This snowman is a beginner-friendly pattern that uses simple stitches to create a cuddly winter character that’s fun to make and display.
So, grab your favorite hot beverage, settle in with your yarn and hook, and let’s get started!
Why Crochet an Amigurumi Snowman?

There are so many reasons to love this project:
Festive and Fun
The snowman brings winter joy to your home, whether displayed on a shelf, hung on a Christmas tree, or given as a thoughtful handmade gift.
Beginner Friendly
The pattern uses basic stitches like single crochet, increases, and decreases, making it perfect for beginners or a quick project for seasoned crocheters.
Customizable
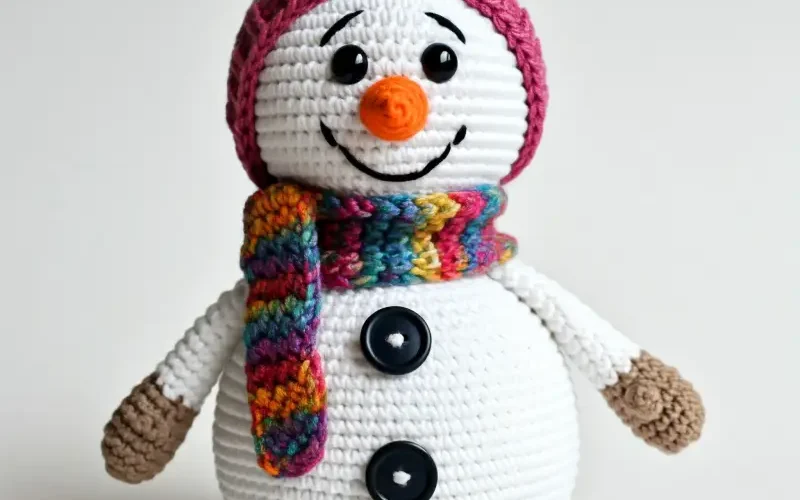
You can personalize your snowman with colorful scarves, hats, and buttons—making each snowman truly unique.
Quick to Crochet
Amigurumi projects are small and can often be completed in a single afternoon or weekend, making them ideal for quick wins.
Materials You’ll Need
To crochet your amigurumi snowman, here’s what you’ll need:
Yarn:
White yarn for the snowman’s body.
Orange yarn for the carrot nose.
Black yarn for the eyes, buttons, and mouth (or you can use safety eyes and a pre-made mouth).
A colorful yarn of your choice for the scarf and hat.
I recommend using worsted weight yarn (Category 4) or cotton yarn for a sturdy, easy-to-work-with material.
Crochet Hook: A 3.5 mm (E) or 4.0 mm (G) hook works well for amigurumi projects.
Stuffing: Polyester fiberfill or other soft stuffing for the snowman’s body.
Yarn Needle: To sew the pieces together and weave in ends.
Stitch Marker (optional): Useful for marking the beginning of each round.
Safety Eyes (optional): For the snowman’s eyes, or you can crochet them.
Scissors: To cut your yarn.
Basic Stitches and Techniques
Before we get started, here’s a quick refresher on the basic stitches you’ll need:
Magic Ring: A technique to start crocheting in the round, essential for amigurumi.
Single Crochet (sc): A simple stitch that makes up most of the pattern.
Increase (inc): Work two single crochets in the same stitch to widen your work.
Decrease (dec): Crochet two stitches together to narrow your work.
Slip Stitch (sl st): Used to join and finish off rounds.
If you’re new to amigurumi, don’t worry! These stitches are easy to pick up, and I’ll guide you step-by-step.
Step-by-Step Pattern: Amigurumi Snowman

Our snowman will have a simple construction: a head and body, a carrot nose, arms, a cozy scarf, and a hat. We’ll start with the head and body.
Step 1: Crocheting the Snowman’s Head
Magic Ring: Begin with a magic ring using white yarn.
Round 1: Work 6 single crochets (sc) into the ring. Pull tight to close. (6 stitches)
Round 2: Work 2 sc in each stitch around. (12 stitches)
Round 3: 1 sc in the next stitch, 2 sc in the following stitch—repeat around. (18 stitches)
Round 4: 1 sc in the next 2 stitches, 2 sc in the following stitch—repeat around. (24 stitches)
Round 5-8: Work 1 sc in each stitch around. (24 stitches)
Round 9: 1 sc in the next 2 stitches, sc2tog (decrease over the next 2 stitches)—repeat around. (18 stitches)
Round 10: 1 sc in the next stitch, sc2tog—repeat around. (12 stitches)
Stuff the head firmly with fiberfill as you go, making sure it’s evenly filled.
Round 11: sc2tog around. (6 stitches)
Fasten off, leaving a long tail to sew the head to the body.
Step 2: Crocheting the Snowman’s Body
Magic Ring: Begin with a magic ring using white yarn.
Round 1: Work 6 sc into the ring. (6 stitches)
Round 2: Work 2 sc in each stitch around. (12 stitches)
Round 3: 1 sc in the next stitch, 2 sc in the following stitch—repeat around. (18 stitches)
Round 4: 1 sc in the next 2 stitches, 2 sc in the following stitch—repeat around. (24 stitches)
Round 5-10: Work 1 sc in each stitch around. (24 stitches)
Round 11: 1 sc in the next 2 stitches, sc2tog—repeat around. (18 stitches)
Round 12: 1 sc in the next stitch, sc2tog—repeat around. (12 stitches)
Stuff the body as you go, keeping it nice and firm.
Round 13: sc2tog around. (6 stitches)
Fasten off, leaving a long tail to sew the body to the head.
Step 3: Crocheting the Carrot Nose
Magic Ring: Begin with a magic ring using orange yarn.
Round 1: Work 4 sc into the ring. (4 stitches)
Round 2: 1 sc in the next stitch, 2 sc in the following stitch—repeat twice. (6 stitches)
Round 3: Work 1 sc in each stitch around. (6 stitches)
Fasten off, leaving a long tail for sewing. Lightly stuff the nose if desired, and attach it to the center of the snowman’s face.
Step 4: Adding the Arms
Magic Ring: Begin with a magic ring using white yarn.
Round 1: Work 6 sc into the ring. (6 stitches)
Round 2-5: Work 1 sc in each stitch around. (6 stitches)
Fasten off, leaving a tail for sewing. Make two arms and attach them to each side of the snowman’s body.
Step 5: Crocheting the Hat
Magic Ring: Begin with a magic ring in your chosen hat color.
Round 1: Work 6 sc into the ring. (6 stitches)
Round 2: Work 2 sc in each stitch around. (12 stitches)
Round 3: 1 sc in the next stitch, 2 sc in the following stitch—repeat around. (18 stitches)
Round 4-6: Work 1 sc in each stitch around. (18 stitches)
Fasten off and place the hat on the snowman’s head, sewing it securely in place.
Step 6: Crocheting the Scarf
Chain 50 (or as long as you like for the scarf’s length).
Row 1: Work 1 sc in the second chain from the hook and each chain across. Chain 1 and turn.
Row 2: Work 1 sc in each stitch across. Fasten off.
Wrap the scarf around the snowman’s neck and tie a little knot or sew it down to keep it in place.
Step 7: Adding Facial Details
Use black yarn or embroidery thread to create the snowman’s eyes, mouth, and buttons.
Alternatively, you can use safety eyes for a more polished look. Here’s how to add some charming details:
Eyes: Attach safety eyes between Rounds 7 and 8 of the head or embroider them using black yarn.
Mouth: Using black yarn, create small stitches in a smiling pattern below the eyes.
Buttons: Sew two or three black circles along the body for the buttons.
Feel free to customize your snowman’s expression to make it as happy and playful as you like!
Final Thoughts
Congratulations! You’ve now completed your very own Amigurumi Snowman.
This charming little winter friend is a perfect project to bring some warmth to those chilly winter days, and it’s a delightful decoration for your home or a thoughtful gift for a loved one.
Feel free to experiment with colors, add more details like rosy cheeks or mittens, and truly make the snowman

