How to Crochet an Acorn Amigurumi: A Perfect Autumn Craft
As the seasons change and the crisp autumn air rolls in, it’s the perfect time to cozy up with your crochet projects.
One charming little craft that fits the fall season beautifully is an acorn amigurumi.
These adorable miniatures are a great way to add a touch of nature to your decor, give as gifts, or even use as fun keychain or bag charms.
In this blog post, I’ll walk you through a simple step-by-step guide on how to crochet an acorn amigurumi.
Whether you’re a beginner or an experienced crocheter, this project is fun, quick, and full of creative possibilities.
So, grab your hook and let’s get started!

Why Crochet an Acorn Amigurumi?
If you’re wondering why you should crochet these tiny acorns, here are a few reasons to inspire you:
Perfect for Fall
Acorns symbolize autumn, and crocheted versions make a great seasonal decoration.
Quick and Fun
This is a fast project that you can whip up in under an hour, perfect for those times when you need a satisfying quick win.
Beginner-Friendly
The pattern uses simple stitches like single crochet and basic amigurumi techniques, making it accessible for crocheters of all skill levels.
Great for Scraps
You only need a small amount of yarn for this project, so it’s ideal for using up those leftover bits from other projects.
Customizable
You can easily make your acorns in different sizes and colors, or even add cute details like tiny faces to turn them into playful characters.
What You’ll Need
Before we jump into the pattern, let’s gather our supplies. Here’s what you’ll need to crochet your acorn amigurumi:
- Yarn: You’ll need two colors of worsted weight yarn (category 4). Choose brown or tan for the acorn body (nut) and a darker brown for the cap. Feel free to mix it up with autumn shades like mustard or orange.
- Crochet Hook: A 3.5 mm (E) hook is ideal for making small, tight stitches that will hold the stuffing in place.
- Stuffing: A small amount of polyester fiberfill or yarn scraps for stuffing your acorn.
- Yarn Needle: For sewing the cap to the body and weaving in your ends.
- Scissors: To cut your yarn.
- Stitch Marker (optional): Since this project is worked in continuous rounds, a stitch marker will help you keep track of where each round starts.

Basic Stitches and Techniques
Here are the basic crochet stitches and techniques you’ll need for this project:
Magic Ring: A method used to start crocheting in the round. If you’re unfamiliar with this, you can also begin with a chain 2 and work into the first chain.
Single Crochet (sc): The main stitch used in amigurumi. Insert the hook into the stitch, yarn over, pull up a loop, yarn over, and pull through both loops on the hook.
Increase: Work two single crochets into the same stitch.
Decrease: Single crochet two stitches together to reduce the stitch count.
Invisible Decrease: A more seamless decrease for amigurumi, which involves working the decrease through the front loops of two stitches.
How to Crochet an Acorn Amigurumi - Step by Step Guide

Now, let’s get to the fun part! Follow this pattern to create your acorn amigurumi.
Acorn Nut (Body)
Magic Ring or Chain 2: Begin with a magic ring or chain 2, working in continuous rounds.
Round 1: Work 6 single crochets (sc) into the magic ring or second chain from the hook. (6 stitches)
Round 2: Increase in every stitch around. Work 2 single crochets in each stitch. (12 stitches)
Round 3: 1 sc in the next stitch, 2 sc in the following stitch—repeat around. (18 stitches)
Round 4: 1 sc in the next 2 stitches, 2 sc in the following stitch—repeat around. (24 stitches)
Round 5-8: Work 1 sc in each stitch around. (24 stitches)
At this point, your acorn should start to resemble a small sphere.
Round 9: 1 sc in the next 2 stitches, decrease—repeat around. (18 stitches)
Round 10: 1 sc in the next stitch, decrease—repeat around. (12 stitches)
Stuff the Body: Add a small amount of fiberfill or yarn scraps inside to stuff the acorn body. You want it to be firm but not overly tight.
Round 11: Decrease around until you have 6 stitches. (6 stitches)
Fasten off, leaving a tail for sewing.
Use your yarn needle to close the hole by weaving the tail through the front loops of the remaining stitches, pulling tight to close.
Weave in the end and set the acorn body aside.
Acorn Cap
Magic Ring or Chain 2: Begin with a magic ring or chain 2, just like you did for the body.
Round 1: Work 6 single crochets into the magic ring or second chain from the hook. (6 stitches)
Round 2: Increase in every stitch around. Work 2 single crochets in each stitch. (12 stitches)
Round 3: 1 sc in the next stitch, 2 sc in the following stitch—repeat around. (18 stitches)
Round 4: Work 1 sc in each stitch around. (18 stitches)
Round 5: Work 1 sc in each stitch around again. (18 stitches)
At this point, the cap should be a small dome that fits snugly over the top of the acorn body.
Fasten Off: Leave a long tail for sewing the cap to the body.
You can also add a small loop on top of the cap by chaining 6 stitches, then slip stitching into the same spot where the chain started.
This loop can be used to attach the acorn to a keychain or string it into a garland.
Assembly
Attach the Cap: Using your yarn needle and the tail from the cap, sew the cap onto the top of the acorn body.
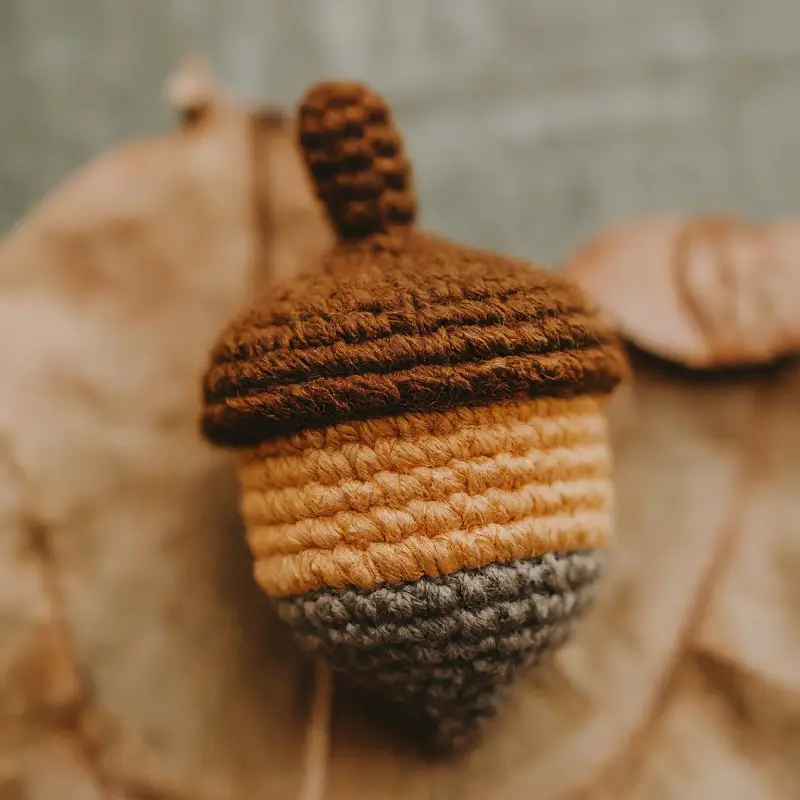
Place the cap slightly off-center so it covers just the top third of the acorn body, giving it that natural, nestled look.
Weave in Ends: Once the cap is securely attached, weave in any remaining ends using your yarn needle.
Customizing Your Acorn Amigurumi

One of the best things about crocheting amigurumi is how easy it is to customize!
Here are a few ideas for making your acorn unique:
Vary the Sizes
Use different hook sizes or thicker/thinner yarn to create acorns in varying sizes.
A larger acorn might make a great fall table centerpiece, while smaller ones are perfect for keychains or garlands.
Add a Face
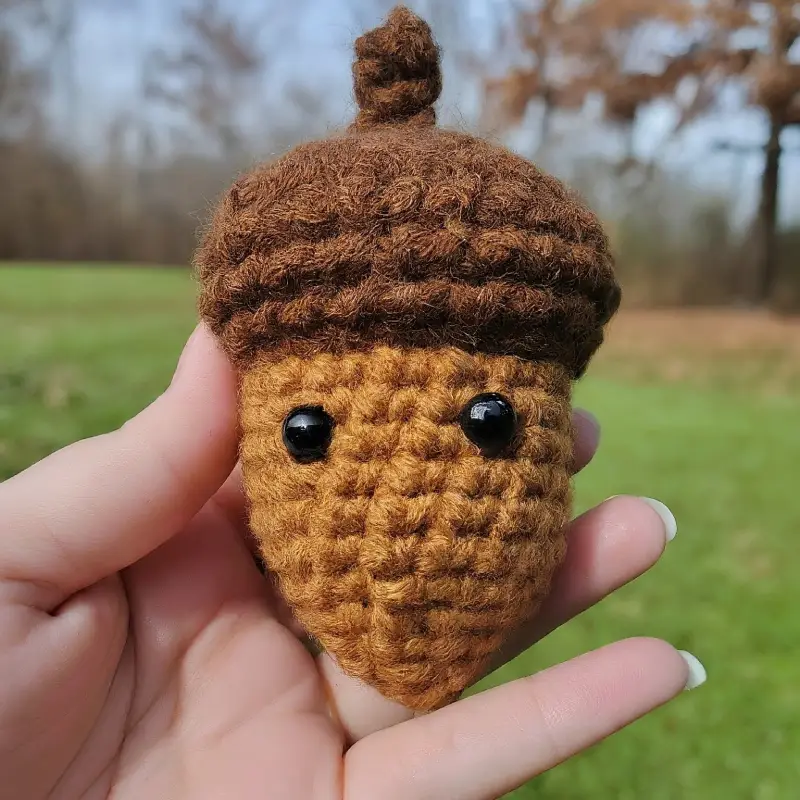
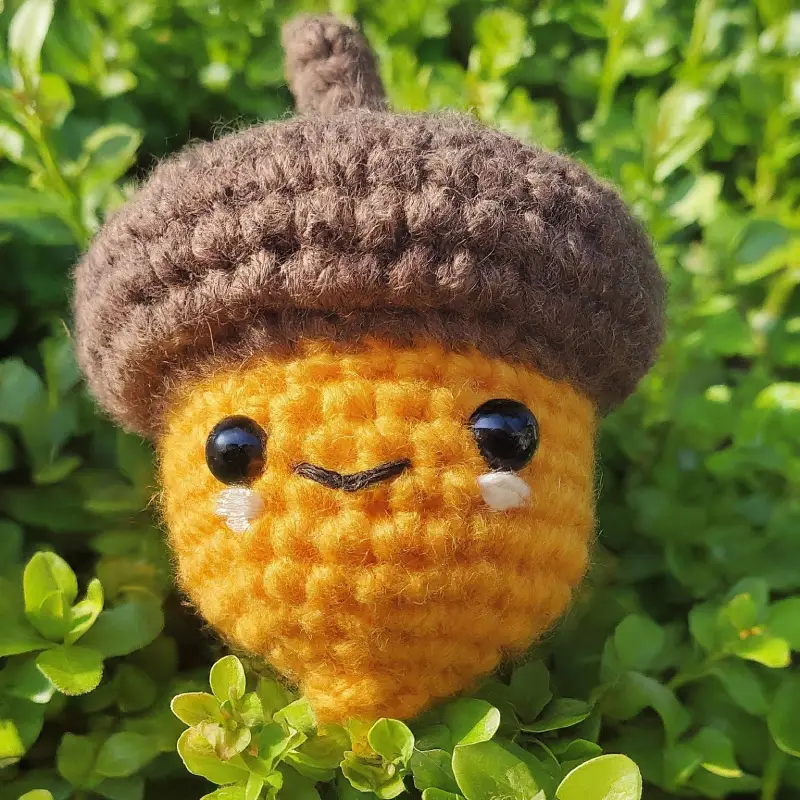
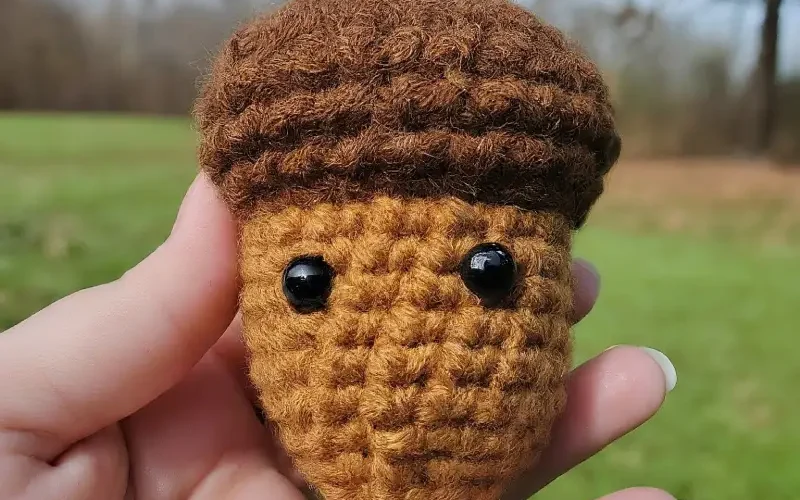
Turn your acorn into a cute character by adding a tiny face! Use black embroidery thread or safety eyes, and a small bit of pink yarn for a smile or blush.
Make a Garland
Create several acorns and string them together for a charming autumn garland.
You can alternate between acorns and crocheted leaves for extra variety.
Use Color
Don’t feel confined to traditional brown hues, try experimenting with bold, bright colors for a whimsical twist!
Final Thoughts
Crocheting acorn amigurumi is a fun and quick way to embrace the cozy vibes of fall.
Whether you’re making them as decorations, gifts, or just for the joy of crocheting something small and cute, these little acorns are sure to bring a smile to your face.
Plus, they’re the perfect project for using up yarn scraps and practicing your amigurumi skills.
I hope you enjoyed this tutorial and feel inspired to crochet your own acorn amigurumi! As always, feel free to share your finished acorns in the comments or on social media, I’d love to see your creations!
As always, feel free to share your finished garlands on Crochet Patternz Community. I’d love to see your creations!
Happy crocheting, and enjoy the season!


