How to Crochet a Beanie: A Step-by-Step Guide
As the weather cools down and the leaves start to fall, there’s nothing quite like the satisfaction of making your own cozy beanie.
Whether you’re crafting a hat for yourself, a loved one, or as a gift, crocheting a beanie is a fun and rewarding project that you can complete in just a few hours.
Plus, it’s a great way to show off your crochet skills!
In this blog post, I’ll guide you through the process of crocheting a beanie from start to finish.
Whether you’re a beginner or an experienced crocheter, this step by step guide will help you create a beautiful, warm beanie that’s perfect for the chilly months ahead.
Why Crochet a Beanie?


Before we dive into the instructions, let’s talk about why beanies are such a fantastic crochet project:
Quick and Easy
Beanies are relatively quick to make, making them an ideal project for those who want to see fast results.
Great for Beginners
Even if you’re new to crochet, a beanie is a manageable project that will help you build your skills.
Customizable
Beanies can be easily customized with different yarn colors, stitch patterns, and embellishments like pom-poms or buttons.
Practical and Stylish
Beanies are not only functional, keeping you warm in cold weather, but they’re also a stylish accessory that you can wear all season long.
What You’ll Need
Before you start crocheting, gather the following materials:
- Yarn: Choose a medium-weight (worsted) yarn for a warm, cozy beanie. You’ll need approximately 100-150 grams of yarn, depending on the size of the beanie and the stitch pattern you choose.
- Crochet Hook: Use a hook size that matches your yarn. For worsted weight yarn, a 5.0 mm (H-8) hook is typically recommended, but check your yarn label for the best match.
- Stitch Marker: Optional, but helpful for keeping track of your rounds, especially if you’re working in continuous rounds.
- Scissors: To cut your yarn.
- Yarn Needle: For weaving in the ends and sewing up any seams.
Understanding the Basics of crocheting a beanie
Before we get into the pattern, it’s important to understand a few key concepts that are essential when crocheting a beanie.
Magic Circle
The magic circle (also known as the magic ring) is a technique used to start crochet projects worked in the round.
It allows you to pull the center of your work tight, eliminating any hole in the middle. If you’re new to this technique, don’t worry, I’ll explain it step by step in the pattern.
Working in the Round
Most beanies are worked in the round, starting at the top and gradually increasing in size until you reach the desired circumference.
You can work in joined rounds (where each round is finished with a slip stitch and a new round begins with a chain) or continuous rounds (where you crochet in a spiral without joining).
Both methods have their benefits, and you can choose whichever you prefer.
Increasing Stitches
To shape your beanie, you’ll need to increase stitches in each round.
This is done by making two stitches in the same stitch from the previous round.
The pattern will guide you on when and where to increase.
Measuring for Fit
To ensure your beanie fits perfectly, you’ll need to measure the circumference of your head (or the head of the person you’re making it for).
Most adult beanies have a circumference of about 21-23 inches, but you can adjust the size by adding or subtracting rounds as needed.
Step by Step Beanie Pattern

Now, let’s get to the fun part, crocheting your beanie!
This pattern is designed for an adult-sized beanie, but you can easily adjust it for different sizes by changing the number of rounds or the type of yarn and hook you use.
Step 1: Create a Magic Circle
Start by making a magic circle. Hold the tail of your yarn in your left hand (if you’re right-handed) and wrap the yarn around your fingers to create a loop.
Insert your hook into the loop, yarn over, and pull up a loop.
Chain 2 (this does not count as a stitch, but it brings your hook up to the correct height).
Step 2: Work the First Round
In the magic circle, make 12 double crochet (dc) stitches.
Once you’ve completed the 12 stitches, pull the tail of the yarn to close the circle tightly.
Join the round with a slip stitch to the first double crochet.
Step 3: Increase in the Second Round
For the second round, chain 2 (again, this does not count as a stitch).
Work 2 double crochets in each stitch around (this is called an increase).
You should have 24 stitches at the end of this round.
Join with a slip stitch to the first double crochet.
Step 4: Continue Increasing
In the next rounds, you’ll continue increasing the number of stitches to shape the crown of the beanie. Here’s how:
Round 3: Chain 2. 1 double crochet in the first stitch, 2 double crochets in the next stitch.
You should have 36 stitches. Join with a slip stitch.
Round 4: Chain 2. 1 double crochet in each of the first 2 stitches, 2 double crochets in the next stitch.
You should have 48 stitches. Join with a slip stitch.
Round 5: Chain 2. 1 double crochet in each of the first 3 stitches, 2 double crochets in the next stitch.
You should have 60 stitches. Join with a slip stitch.
You can continue increasing in this manner until your beanie reaches the desired diameter.
For an adult-sized beanie, 60 stitches is usually sufficient, but you can add more rounds if you’re making a larger hat.
Step 5: Work Even Rounds
Once you’ve finished increasing, you’ll work even rounds (one double crochet in each stitch) to build the body of the beanie.
Continue working even rounds until the beanie measures about 7-8 inches from the top to the bottom edge, or until it’s the desired length.
Step 6: Add the Ribbed Edge (Optional)
If you want to add a ribbed edge to your beanie, switch to working in front and back post double crochets. Here’s how:
Round 1 of Ribbing: Chain 2. Front post double crochet (fpdc) around the first stitch, back post double crochet (bpdc) around the next stitch. Join with a slip stitch.
Round 2 of Ribbing: Chain 2. Fpdc around the first fpdc from the previous round, bpdc around the next bpdc. Join with a slip stitch.
Repeat the ribbing rounds until the ribbing is the desired length.
Typically, 3-4 rounds of ribbing are enough for a neat edge.
Step 7: Finish Off
Once your beanie is the desired length, finish off by cutting your yarn, leaving a 6-inch tail.
Pull the tail through the last loop on your hook to secure it.
Use your yarn needle to weave in any loose ends.
Customizing Your Beanie


One of the best things about crocheting your own beanie is that you can customize it to suit your style.
Here are a few ideas to make your beanie unique:
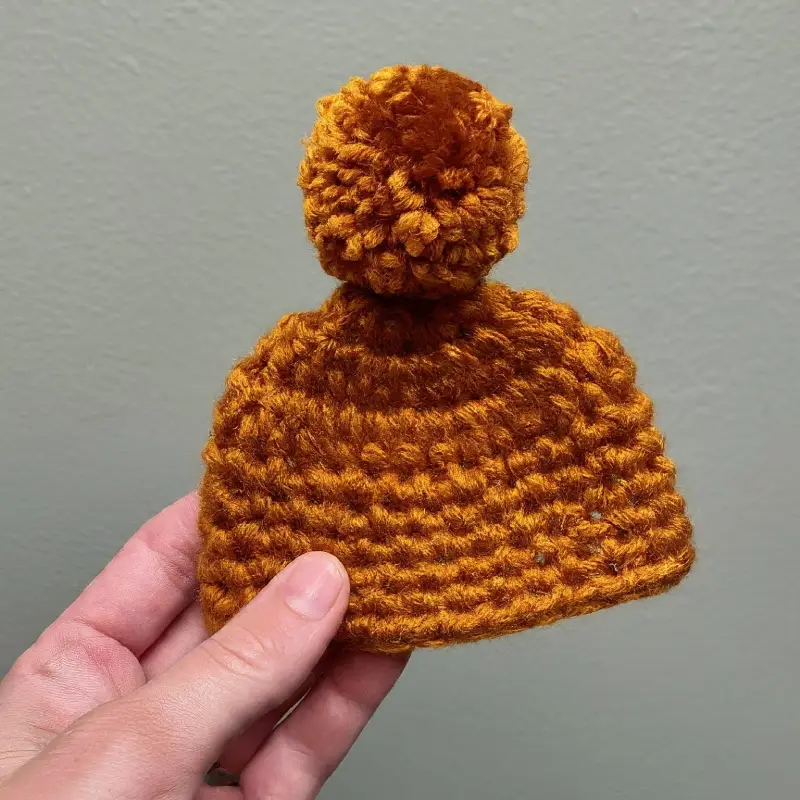
Add a Pom-Pom: Top off your beanie with a fluffy pom-pom for a fun and playful look.
You can use matching yarn or a contrasting color for a pop of color.
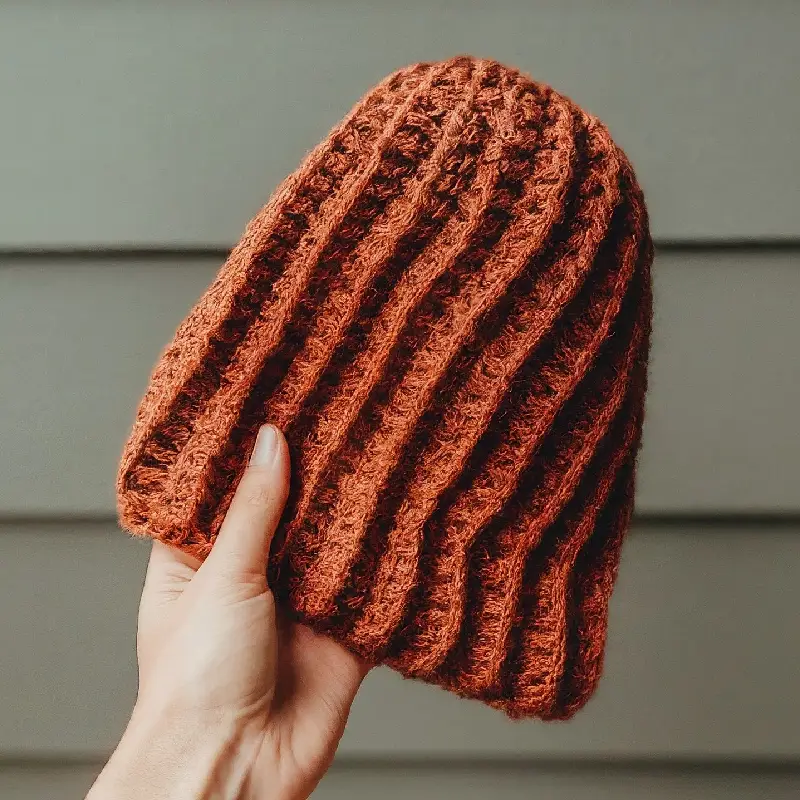
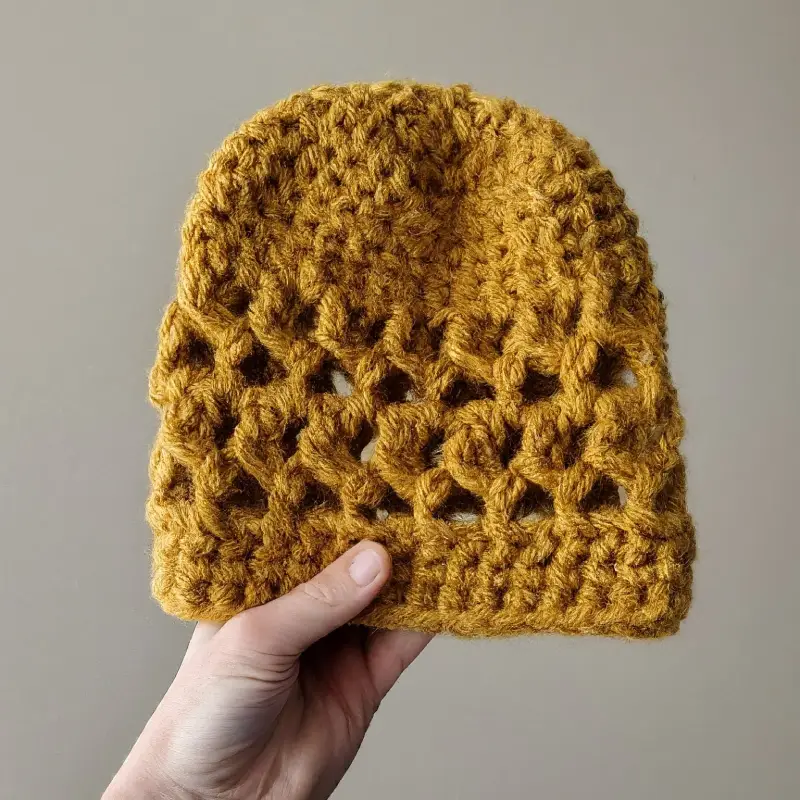
Try Different Stitches: Once you’re comfortable with the basic double crochet beanie, experiment with different stitches like half double crochet, single crochet, or even a textured stitch like the popcorn or bobble stitch.
Mix and Match Colors: Use stripes, color blocks, or even variegated yarn to add visual interest to your beanie.
Embellishments: Sew on buttons, patches, or appliqués to personalize your beanie even further.
Some Common Issues
Even the most experienced crocheters encounter challenges from time to time.
Here are some common issues you might face when crocheting a beanie and how to fix them:
Beanie is Too Tight or Too Loose
If your beanie is too tight, try using a larger hook or adding more increases.
If it’s too loose, use a smaller hook or reduce the number of stitches in each round.
Uneven Stitches
Uneven stitches can be caused by inconsistent tension.
Focus on keeping an even tension as you crochet, and practice will help you achieve more consistent stitches.
Gaping at the Top
If you notice a gap at the top of your beanie, make sure to pull the magic circle tight after the first round and secure it well.
You can also sew the hole closed with a yarn needle if needed.
Wrapping It Up
Crocheting a beanie is a fun and rewarding project that’s perfect for all skill levels.
Whether you’re making a simple, classic beanie or adding your own creative touches, the process of crafting something with your own hands is incredibly satisfying
Be sure to share your beautiful work on crochet patternz community. I’d love to see how you personalize your project!
Happy crocheting


