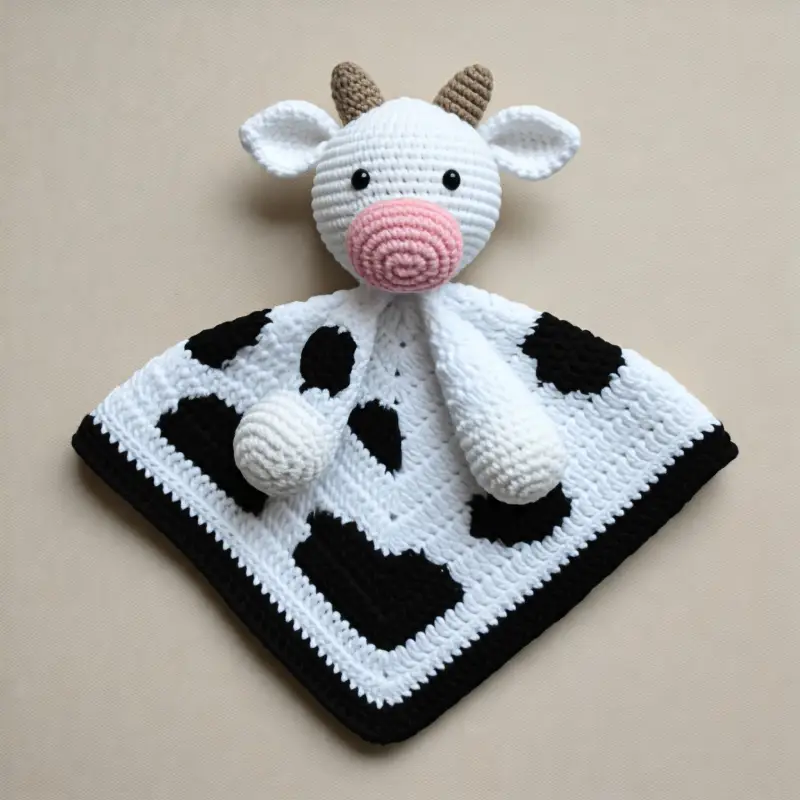
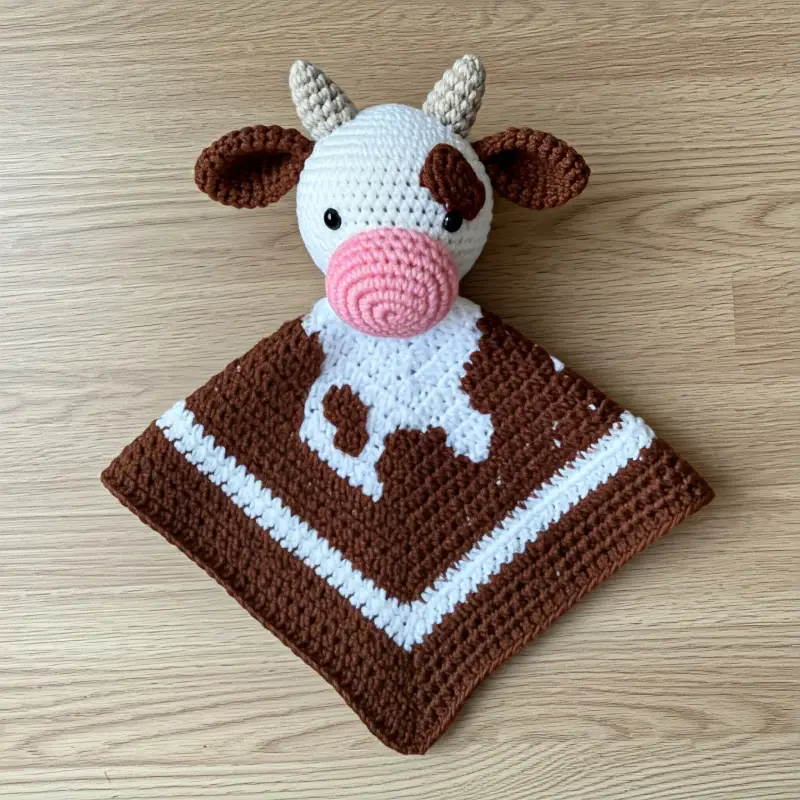
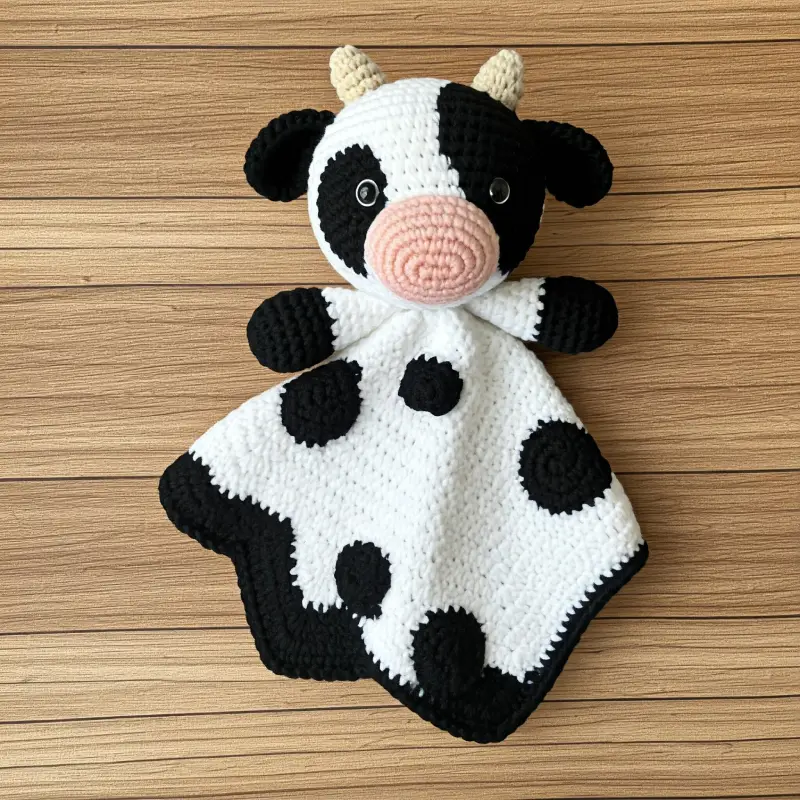
Are you ready to make the cutest, coziest, and most adorable crochet project ever?
Today, I’m going to walk you through how to crochet a Cow Baby Blanket.
Whether you’re crafting this for a baby shower gift, your little one, or just because you love cows (who doesn’t?!), this blanket is sure to steal hearts and keep babies warm and snug.
Not only is this blanket functional, but it also adds a touch of farmhouse charm to any nursery.
Plus, the cow motif brings a playful and whimsical element that makes it a perfect gift for animal-loving parents.
So, grab your yarn and hook, and let’s get ready to crochet a cuddly, charming cow-themed blanket!


Why Crochet a Cow Baby Blanket?
There are plenty of reasons why you’ll love making this cow-themed blanket:
Adorable Design: The cow theme makes it fun and cute for babies, perfect for a farm or animal-themed nursery.
Beginner-Friendly: Even if you’re new to crochet, this project uses basic stitches and repetitive patterns, making it a great learning experience.
Customizable: You can play around with colors, make the cow’s spots unique, or even add a little cow face to one corner for extra cuteness.
Great Gift: Handmade baby blankets are always a treasured gift at baby showers or special occasions. This one is sure to stand out with its fun, farm-inspired theme.
Materials You’ll Need
To get started on your cow baby blanket, here’s what you’ll need:
Yarn: Choose soft, baby-friendly yarn in the following colors:
White for the main body of the blanket.
Black or brown for the cow’s spots.
Pink or light brown for the cow’s ears or nose if you plan to add a cow face.
Optional: Green if you want to add a grassy border or edging.
I recommend using worsted weight yarn (Category 4) or a soft baby yarn for a plush, comfortable feel.
Crochet Hook: A 5.0 mm (H) or 5.5 mm (I) hook works well for a baby blanket, depending on the yarn weight you choose.
Yarn Needle: For weaving in ends and attaching the cow’s spots, face, and ears.
Scissors: To trim your yarn.
Stitch Marker (optional): Helpful for keeping track of rounds or rows.
Measuring Tape: To ensure your blanket reaches the desired size.
Basic Stitches and Techniques
Before diving into the pattern, let’s review the basic stitches and techniques you’ll need:
Chain (ch): The foundation stitch used to start most crochet projects.
Single Crochet (sc): A simple and tight stitch used for structure.
Double Crochet (dc): A taller stitch that creates soft texture and drape.
Slip Stitch (sl st): Used to join rounds and finish off work.
Magic Ring: A method used to start crocheting in the round, especially useful for cow’s spots.
Increase: Working two stitches into the same stitch to widen your work.
Decrease: Crocheting two stitches together to make your work narrower.

Cow Baby Blanket Crochet Pattern: Step By Step
For this project, we’ll be creating a basic crochet blanket with cow spots sewn on top.
If you want to go the extra mile, I’ll also show you how to make a cow face in one of the corners as a bonus touch!
Step 1: Crocheting the Main Blanket
We’ll begin by crocheting the base of the blanket.
You can adjust the size to fit your needs, but I’ll provide instructions for a blanket approximately 36 x 36 inches—a perfect size for babies.
Foundation Chain: Start by chaining 120 (or any even number depending on the desired width of your blanket).
Row 1: Starting in the second chain from the hook, work 1 single crochet (sc) in each chain across. Chain 1 and turn.
Row 2: Work 1 sc in each stitch across. Chain 1 and turn.
Rows 3-100: Repeat Row 2 until your blanket reaches the desired length.
You can adjust this depending on how big or small you want the blanket.
You can also use double crochet (dc) for a looser stitch pattern if you prefer a more airy feel.
Simply substitute single crochet with double crochet and follow the same row-by-row instructions.
Step 2: Crocheting the Cow Spots
Now that the blanket is complete, it’s time to add those cute cow spots!
These spots will be made separately and sewn onto the blanket after completion.
Cow Spots Pattern:
We’ll make various sizes of cow spots to scatter across the blanket.
Here’s how to make small, medium, and large cow spots.
Small Spot:
Magic Ring: Start with a magic ring.
Round 1: Work 6 single crochets (sc) into the ring. Pull tight to close the ring. (6 stitches)
Round 2: Work 2 sc in each stitch around. (12 stitches)
Round 3: 1 sc in the next stitch, 2 sc in the following stitch—repeat around. (18 stitches)
Fasten off, leaving a long tail for sewing onto the blanket.
Medium Spot:
Magic Ring: Start with a magic ring.
Round 1: Work 6 sc into the ring. (6 stitches)
Round 2: Work 2 sc in each stitch around. (12 stitches)
Round 3: 1 sc in the next stitch, 2 sc in the following stitch—repeat around. (18 stitches)
Round 4: 1 sc in the next 2 stitches, 2 sc in the following stitch—repeat around. (24 stitches)
Fasten off, leaving a long tail for sewing.
Large Spot:
Magic Ring: Start with a magic ring.
Round 1: Work 6 sc into the ring. (6 stitches)
Round 2: Work 2 sc in each stitch around. (12 stitches)
Round 3: 1 sc in the next stitch, 2 sc in the following stitch—repeat around. (18 stitches)
Round 4: 1 sc in the next 2 stitches, 2 sc in the following stitch—repeat around. (24 stitches)
Round 5: 1 sc in the next 3 stitches, 2 sc in the following stitch—repeat around. (30 stitches)
Fasten off, leaving a long tail for sewing.
Make several spots in varying sizes, depending on how many you’d like to scatter across the blanket.
These irregular shapes give the cow pattern its charm, so don’t be afraid to mix it up!
Step 3: Attaching the Cow Spots
Once your spots are ready, it’s time to sew them onto the blanket.
Lay your blanket flat and arrange the cow spots in a random pattern.
You can place them sporadically across the blanket to mimic real cow markings.
Use the long tails from the cow spots and a yarn needle to sew each spot securely onto the blanket.
Weave in any remaining ends to keep the back of the blanket neat.
Step 4: Adding a Cow Face (Optional)
Want to make your cow baby blanket even more adorable? Add a cow face to one of the corners!
Cow Face Pattern:
For the cow’s face, we’ll make a small oval, two ears, and a little nose.
Cow Face:
Chain 8: Starting with pink or brown yarn, chain 8.
Round 1: Work 1 sc in the second chain from the hook and across.
In the last chain, work 3 sc.
Continue working on the other side of the chain, placing 1 sc in each stitch.
In the last stitch, work 3 sc to create an oval shape. (16 stitches)
Round 2: Work 2 sc in the first stitch, 1 sc in the next, and continue around the oval.
(Increase stitches evenly.) Fasten off when the face reaches the desired size.
Cow Ears:
Chain 4: Using black or brown yarn, chain 4.
Round 1: Work 1 sc in the second chain from the hook and across. Fasten off.
Make two ears and sew them onto the cow’s face.
Sew the completed face onto one corner of the blanket for an added touch of cuteness!
Congratulations!
You’ve just crocheted an adorable Cow Baby Blanket, perfect for snuggling and bringing joy to any little one.
Whether you’re gifting it for a special occasion or making it for your own home, this blanket is sure to be cherished for years to come.
I hope this step-by-step guide has inspired you to try your hand at making this cute farm-inspired crochet project.
Feel free to experiment with colors and make the blanket uniquely yours!
Don’t forget to share your progress and final results on our crochet community, nothing beats the joy of seeing everyone’s creative twists on such a timeless pattern.
Happy crocheting! 🐄
If you have any questions or want to share your completed blanket, I’d love to see how it turned out. Be sure to


