How to Crochet a Leaf Garland: A Perfect Fall Decoration
As the autumn season sets in, there’s something magical about bringing the beauty of nature into your home.
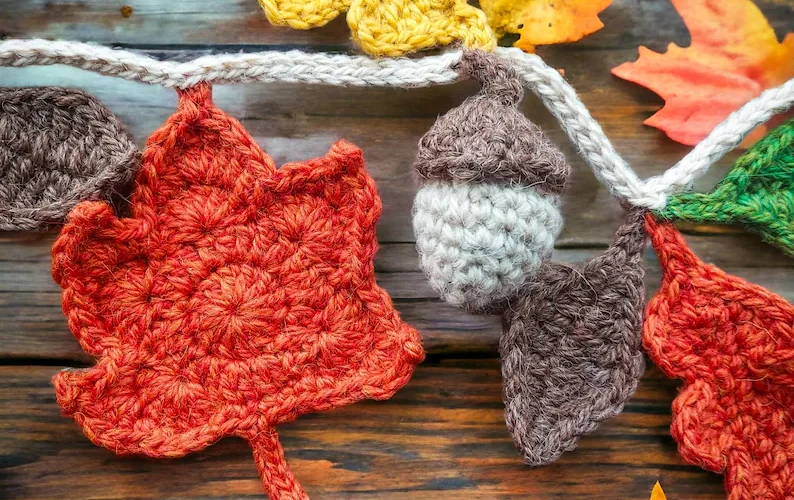
One way to do that is by crafting your own crochet leaf garland, a beautiful, handmade decoration that adds a warm, cozy touch to any space.
Whether you’re hanging it over a fireplace, draping it along a banister, or using it as a centerpiece for your fall-themed table, a leaf garland is a versatile and festive way to celebrate the season.
In this blog post, I’ll walk you through the process of crocheting a leaf garland from start to finish.
This project is perfect for all skill levels, and it’s a great way to use up scrap yarn while getting creative with colors and textures.
So, grab your hook, and let’s get started!
Why Crochet a Leaf Garland?

Before we dive into the pattern, let’s talk about why a crochet leaf garland is a fantastic project:
Seasonal Charm
A leaf garland captures the essence of fall, bringing the beauty of changing leaves indoors.
Customizable
You can choose the colors, sizes, and types of leaves to match your home decor or the specific look you’re going for.
Beginner-Friendly
While the leaves may look intricate, they’re actually quite simple to make, making this a great project for beginners.
Quick and Satisfying
You can crochet individual leaves in no time, and watching your garland grow is incredibly rewarding.
Great Use of Yarn Scraps
This project is ideal for using up small amounts of yarn left over from other projects.
What You’ll Need
Let’s start by gathering your materials:
- Yarn: You’ll need worsted weight yarn in fall colors like orange, yellow, red, green, and brown. Feel free to mix and match to create a vibrant garland, or stick to a monochrome theme for a more elegant look.
- Crochet Hook: A 4.0 mm (G) or 5.0 mm (H) hook works well with worsted weight yarn. You can adjust the hook size based on the thickness of your yarn and the size of leaves you want.
- Yarn Needle: For weaving in ends and attaching the leaves to the garland.
- Scissors: To cut your yarn.
- Measuring Tape (optional): To measure the length of your garland as you go.
How to Crochet a Leaf Garland - Step by Step

Now, let’s get to the fun part, crocheting the leaves and assembling your garland!
Step 1: Crochet the Leaves
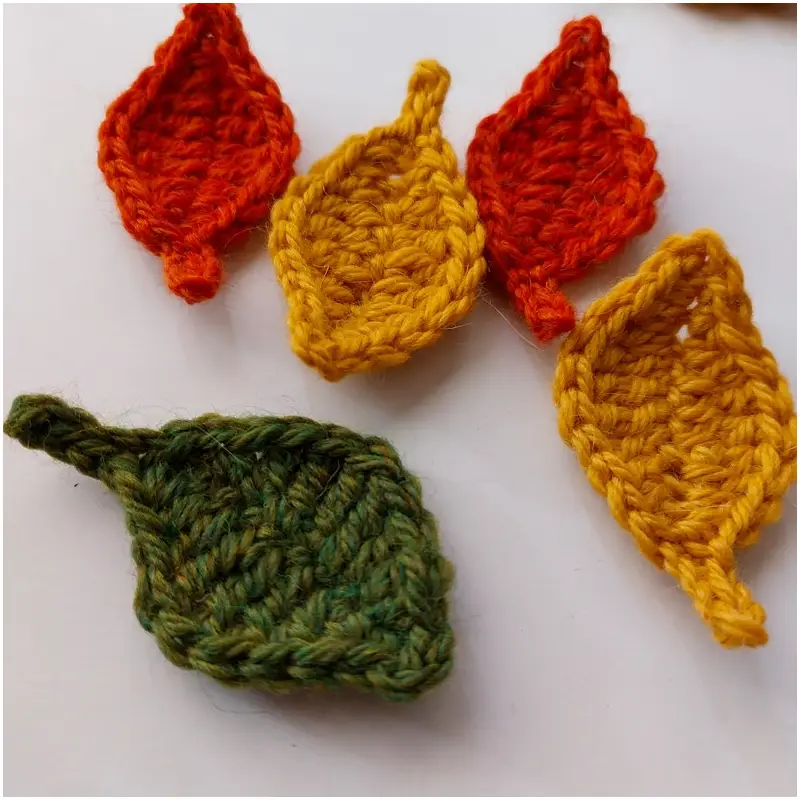
We’ll start by crocheting individual leaves. You can make several different types of leaves to add variety to your garland, or stick to one type for a more uniform look.
Here’s a simple leaf pattern to get you started:
Chain 10: This forms the foundation chain of your leaf.
Row 1: Starting in the second chain from the hook, work 1 single crochet (sc), 1 half double crochet (hdc), 1 double crochet (dc), 2 double crochets in the next chain, 1 double crochet, 1 half double crochet, and 1 single crochet. This forms one side of the leaf.
Now, chain 2, and continue working along the other side of the foundation chain: 1 single crochet, 1 half double crochet, 1 double crochet, 2 double crochets in the next chain, 1 double crochet, 1 half double crochet, and 1 single crochet.
Row 2: To add more dimension to your leaf, you can work a slip stitch (sl st) into each stitch around.
This will give your leaf a nice, defined edge. Fasten off and weave in the ends.
Repeat this process to create as many leaves as you’d like for your garland.
You can mix up the colors and sizes by adjusting the number of foundation chains and using different yarn weights or hook sizes.
Step 2: Add Veins (Optional)
For a more realistic look, you can add veins to your leaves. Here’s how:
Reattach Yarn: Attach a contrasting color yarn at the tip of the leaf.
Surface Slip Stitch: Work a surface slip stitch down the center of the leaf, following the natural curve of the stitches.
This will create a subtle, textured vein that adds depth and detail.
Fasten Off: Cut the yarn and weave in the ends.
Step 3: Create the Garland String
Now that your leaves are ready, it’s time to make the string that will hold them together. There are a few different ways you can do this, depending on the look you’re going for:
Simple Chain: The easiest option is to simply chain a long length of yarn (about 5-6 feet, or as long as you’d like your garland to be).
Leave a tail at each end for hanging.
You can then attach the leaves by either sewing them directly onto the chain or slipping them through the chain stitches.
Braided Cord: For a thicker, more decorative string, braid three strands of yarn together.
This will give your garland a bit more heft and visual interest.
Crocheted Cord: You can also crochet a cord by working a foundation chain and then slip stitching back through the chain.
This method creates a sturdier garland that holds its shape well.
Step 4: Attach the Leaves to the Garland
Once your string is ready, it’s time to attach the leaves. Here’s how:
Lay Out the Leaves: Arrange the leaves along the string to determine the placement.
You can space them evenly or group them in clusters for a more organic look.
Attach with Yarn: Using your yarn needle, sew the leaves onto the string by stitching through the top of each leaf and around the string.
Make sure to secure them tightly so they don’t slide around.
Even Distribution: Continue attaching leaves until you’ve covered the length of the string.
If you’re using a simple chain, you can also slip stitch the leaves directly onto the chain instead of sewing.
Step 5: Finishing Touches
Now that your leaves are attached, you can add some finishing touches to your garland:
Tassels: Add a tassel to each end of the garland for an extra decorative touch.
Beads or Buttons: For a bit of sparkle or additional texture, you can sew small beads or buttons between the leaves.
Custom Length: Adjust the length of the garland by adding or removing leaves until it’s just right for your space.

Customizing Your Leaf Garland
The beauty of this project lies in its versatility. Here are a few ways to make your garland uniquely yours:
Different Leaf Shapes
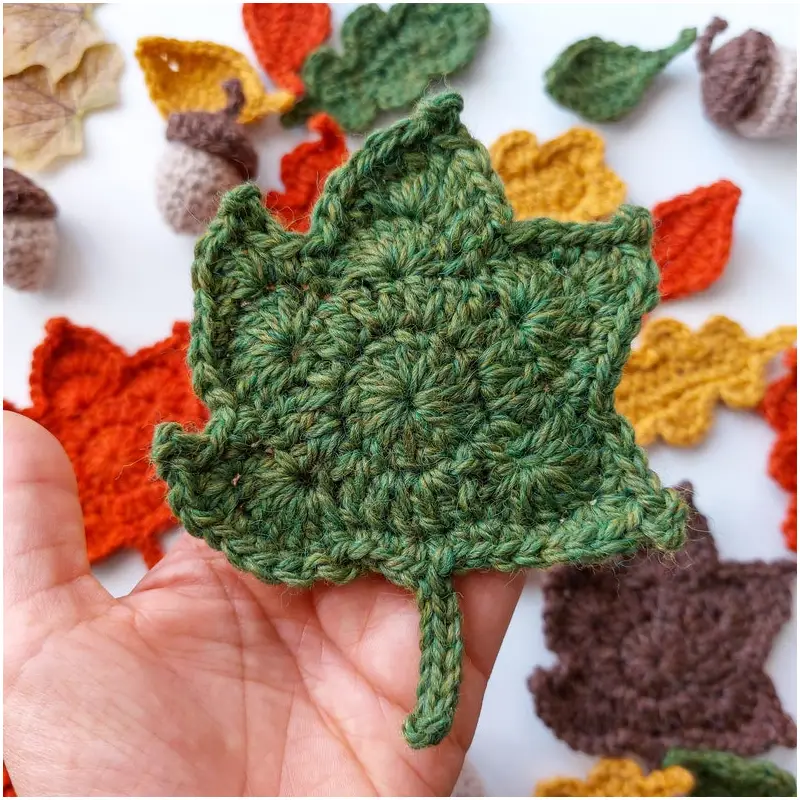
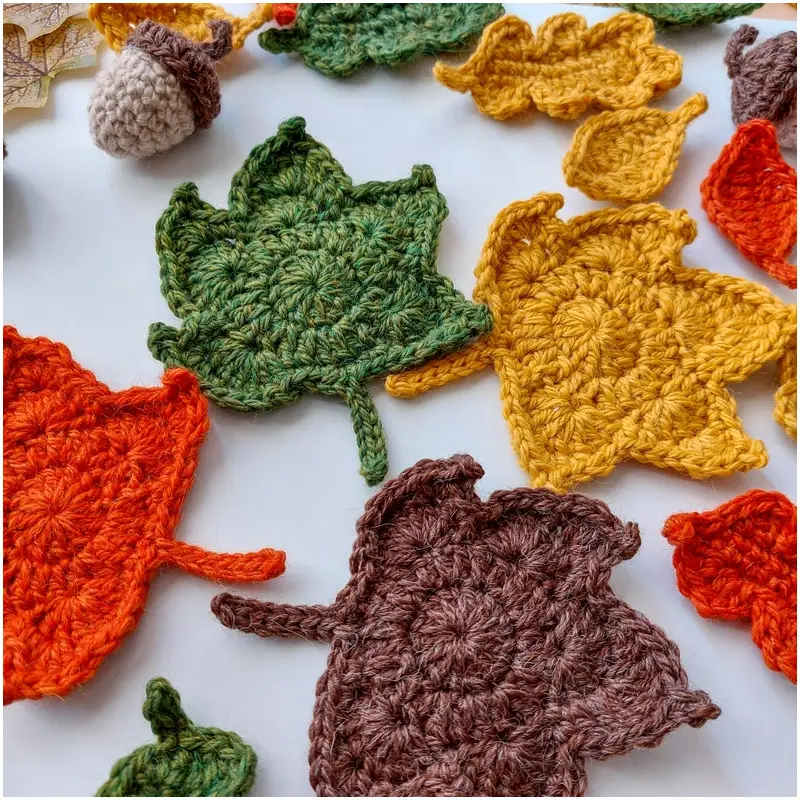
Experiment with different leaf patterns, such as maple, oak, or even whimsical fantasy leaves.
Variegated Yarn
Use variegated yarn for leaves that naturally change colors as you crochet, mimicking the look of real autumn leaves.
Add Flowers or Acorns
For a more elaborate garland, mix in crocheted flowers or acorns between the leaves.
Seasonal Variations
This garland isn’t just for fall! Try making a spring version with pastel-colored leaves and flowers, or a winter garland with snowflakes and evergreen leaves.
VOILA!
Crocheting a leaf garland is a wonderful way to welcome the fall season into your home.
It’s a fun, creative project that’s perfect for all skill levels, and it allows you to play with colors and textures to create a decoration that’s truly one-of-a-kind.
Whether you hang it on your mantle, drape it over a window, or use it as a table runner, your handmade leaf garland will bring a cozy, seasonal charm to your space.
Plus, it’s a great project for using up yarn scraps and getting into the autumn spirit!
I hope this tutorial has inspired you to start your own crochet leaf garland.
As always, feel free to share your finished garlands on Crochet Patternz Community. I’d love to see your creations!
Happy crocheting, and enjoy the beauty of fall!


