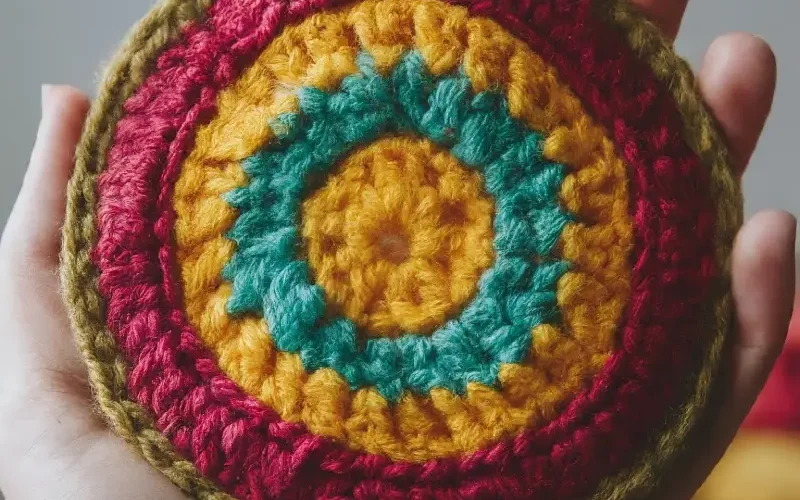
Now, let’s get into the fun part, actually making the magic circle!
Step 1: Form the Loop
Start by holding the tail end of your yarn in your left hand (if you’re right-handed) and loop the working yarn (the yarn connected to the ball) around your fingers.
The key here is to cross the yarn over itself to form an “X” on the front of your fingers.
Step 2: Insert Your Hook
Slide your hook under the first strand of yarn (the part that crosses over) and grab the second strand of yarn (the working yarn) with your hook.
Pull it through the loop, but don’t let the loop slip off your fingers just yet.
Step 3: Chain 1 (or more)
With the loop still on your hook, chain 1 to secure the loop.
Depending on the pattern you’re following, you may need to chain more (usually 1-3 chains) to get the right height for your first row of stitches.
Step 4: Crochet Into the Loop
Here comes the magic part! Work your first row of stitches into the loop.
Typically, you’ll need 6 single crochets (sc) for a basic magic circle.
Insert your hook into the loop, yarn over, pull up a loop, yarn over again, and pull through both loops on your hook.
Repeat this process until you’ve made the required number of stitches.
Remember, all of these stitches are going into the same loop! It might feel a bit fiddly at first, but trust me, it gets easier with practice.
Step 5: Close the Circle
Once you’ve crocheted all your stitches into the loop, it’s time to pull that tail tight and close the circle.
Gently tug on the tail end of the yarn to cinch the loop closed.
Voila! The hole disappears, leaving you with a beautifully tight, seamless circle.
Step 6: Join Your Round (Optional)
Depending on your pattern, you may need to join your round with a slip stitch.
Simply insert your hook into the first stitch of the round, yarn over, and pull through both loops on your hook.
And just like that, you’ve completed your magic circle!
