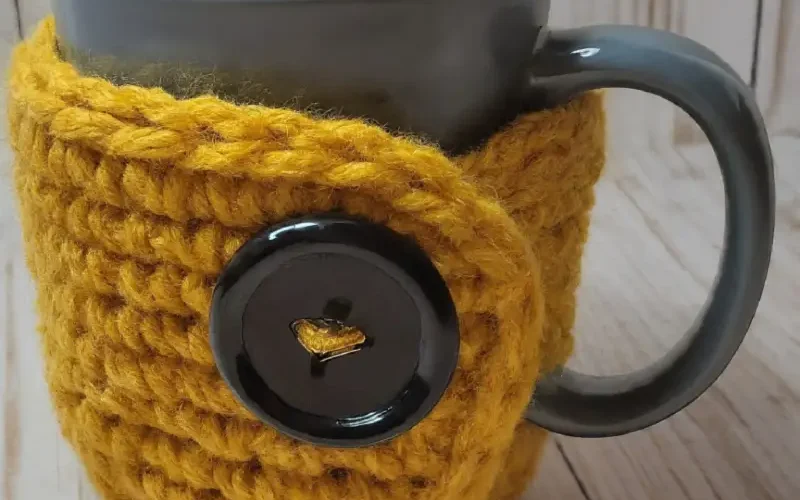
Step 1: Measure Your Mug
Get the Dimensions
First, grab the mug you’ll be making the cozy for. Measure the height of your mug and the circumference (the distance around the mug).
You’ll use these measurements to determine how long and wide to make your cozy.
Chain the Foundation
Start by chaining a length that matches the height of your mug.
For example, if your mug is 4 inches tall, chain enough stitches to create a 4-inch-long chain.
This will be the height of your cozy.
Step 2: Crochet the Main Body of the Cozy
Single Crochet Rows:
- Row 1: Starting in the second chain from the hook, single crochet across the row. Chain 1 and turn.
- Row 2: Single crochet in each stitch across, chain 1, and turn.
Repeat Row 2 until the cozy is long enough to wrap around your mug, leaving a small gap for the handle.
Make sure to measure as you go to ensure a good fit!
Add Some Texture (Optional)
If you want to jazz up your mug cozy a bit, you can use a textured stitch like the half double crochet (hdc) or the bobble stitch. Here’s how:
Half Double Crochet
Simply replace the single crochet stitches with hdc stitches for a slightly thicker and more textured cozy.
Bobble Stitch
Work a bobble stitch every few stitches across the row for a fun, bumpy texture.
Just make sure your cozy still fits snugly around your mug!
Once your cozy is the right length, finish off your last row, leaving a tail long enough to weave in.
Step 3: Add the Buttonholes
Create the Buttonhole Row
On your last row, you’ll want to create spaces for the buttons.
Chain 1, single crochet in the first few stitches.
Buttonhole
Chain 2-3 stitches (depending on the size of your buttons), skip the same number of stitches, and single crochet in the next stitch.
Repeat for as many buttonholes as you need.
Test the Fit
Before moving on, make sure your buttons fit snugly through the holes you’ve created.
Adjust the chain length if necessary.
Final Row
Single crochet across, working into the chains you made for the buttonholes.
This row will give the buttonholes a neat finish.
Step 4: Attach the Buttons
Position the Buttons
Lay your cozy flat and fold it over as it would wrap around your mug.
Mark where the buttons should go—these should line up with the buttonholes you created.
Sew on the Buttons
Thread your tapestry needle with a length of yarn, and sew the buttons onto the cozy, making sure they’re securely attached.
Weave in Ends
Once your buttons are in place, weave in any loose ends to tidy up your work.
Step 5: Try It On and Enjoy! 
Now that your mug cozy is complete, it’s time for the best part—trying it out! Wrap it around your favorite mug, secure it with the buttons, and pour yourself a hot drink.
Not only will your cozy keep your hands safe from the heat, but it’ll also keep your drink warm for longer.
Plus, it looks super cute!
