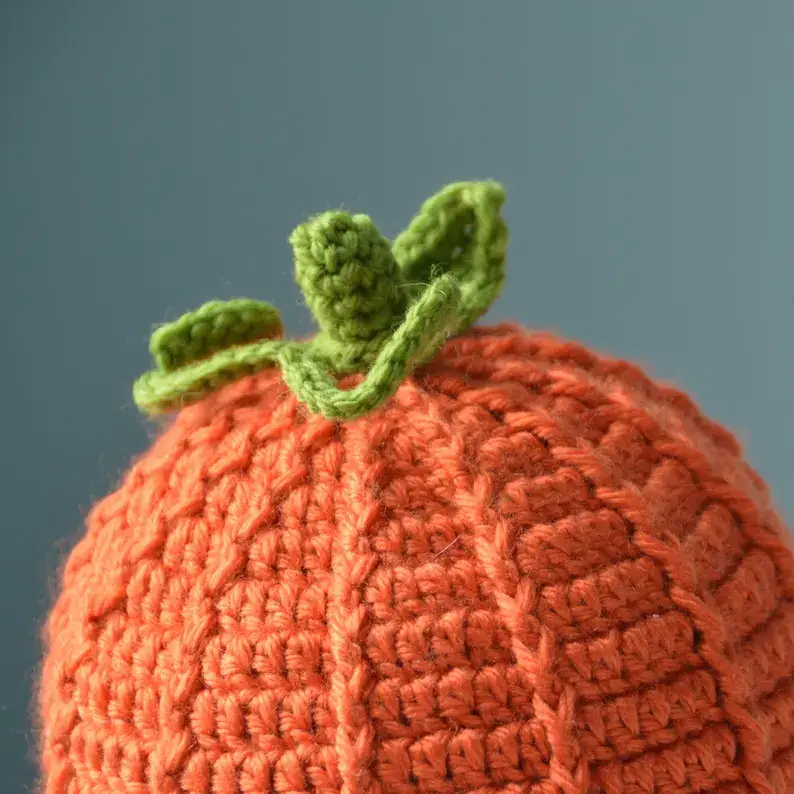
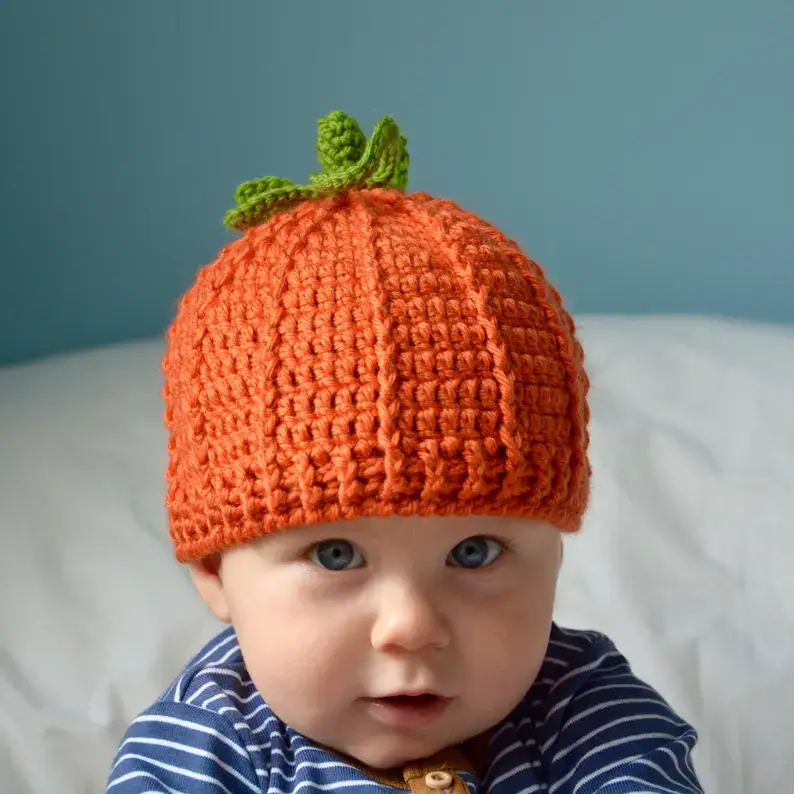
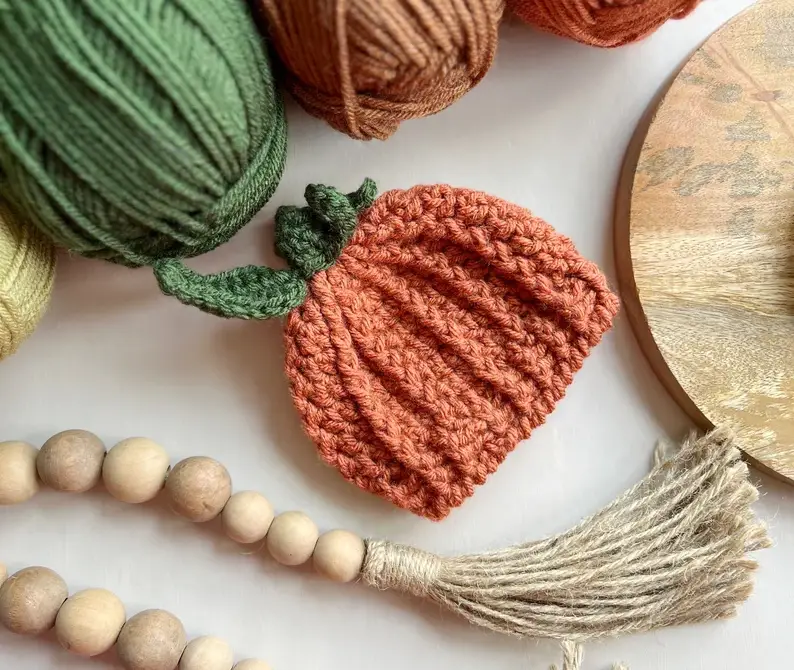
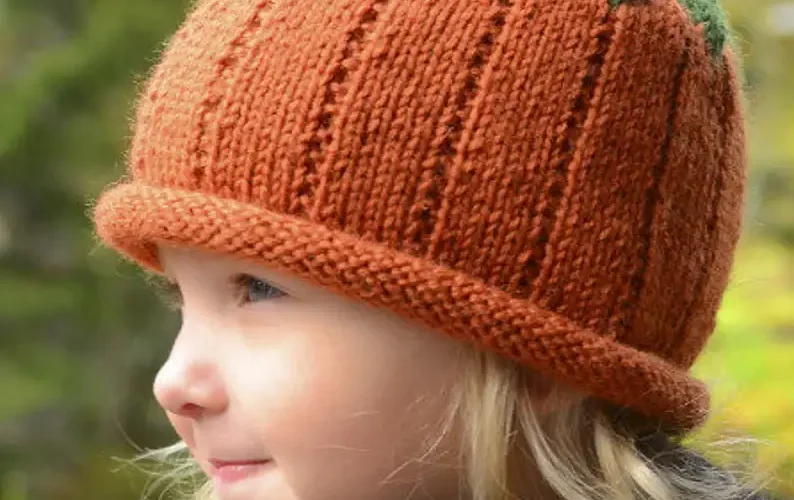
Halloween is coming, and what could be cuter than your little one wearing an adorable Pumpkin Halloween Hat?
Whether they’re trick or treating, attending a Halloween party, or just enjoying the festive season, this pumpkin hat will keep them cozy while adding a delightful, spooky touch to their look.
In this step-by-step guide, I’ll show you how to crochet a pumpkin hat for children aged 0-8 years old.
Don’t worry if you’re new to crochet this project is beginner friendly, fun to make, and doesn’t take too long.
Plus, it’s customizable for different sizes, so you can make one for every kiddo in your life!
So, grab your hook, yarn, and let’s create something festive and fun for Halloween!

Why Crochet a Pumpkin Halloween Hat?
There are so many reasons to crochet a pumpkin hat for Halloween:
Adorable Fall Accessory
The pumpkin design is perfect for the season, and it can double as a cute hat for chilly fall days.
Beginner Friendly
With basic stitches like single crochet, double crochet, and slip stitches, this pattern is easy for beginners but also fun for experienced crocheters.
Customizable
You can adjust the size, colors, and even add a cute stem or leaves to make it uniquely your own.
Quick to Make
This project can be completed in just a few hours, making it a great last-minute Halloween craft.
Great for Photos
Imagine how cute your little ones will look in their handmade pumpkin hats perfect for Halloween photoshoots or fall family pictures.
Materials You’ll Need
Here’s what you’ll need to crochet your pumpkin Halloween hat:
- Yarn: Worsted weight yarn (category 4) in orange for the pumpkin body. You’ll also need brown or green yarn for the stem, and optionally, some green for leaves or vines.
- Crochet Hook: For most children’s sizes, a 4.0 mm (G) or 5.0 mm (H) hook will work well.
- Yarn Needle: To weave in ends and sew the stem or any other embellishments.
- Scissors: To cut your yarn.
- Measuring Tape: To help size the hat for the perfect fit.
- Stitch Marker (optional): To help keep track of your rounds.

Sizing Information
This pattern includes instructions for multiple child sizes. Here are some general guidelines:
0-6 Months: Hat circumference 14-16 inches
6-12 Months: Hat circumference 16-18 inches
Toddler (1-3 Years): Hat circumference 18-20 inches
Child (3-8 Years): Hat circumference 20-21 inches
You’ll start with the crown of the hat and work your way down to the brim, adjusting the size as needed.
If you’re unsure of the child’s head size, you can always adjust the number of rounds as you go to get the perfect fit.
Stitches and Techniques
This pattern uses simple stitches, so if you’re a beginner, don’t worry! Here are the key stitches you’ll need:
Magic Ring: Used to start the hat in the round.
Single Crochet (sc): A basic crochet stitch that will be used throughout the hat.
Half Double Crochet (hdc): Used to give the hat some stretch and texture.
Slip Stitch (sl st): Used to join rounds and fasten off.
Increase: Two single crochets in one stitch to expand the hat.
Step by Step Pumpkin Hat Pattern

Let’s get crocheting! Follow these step-by-step instructions to create your pumpkin Halloween hat.
Step 1: Starting the Crown
We’ll start with the crown of the hat, working in rounds from the top down.
Magic Ring or Chain 2: Begin with a magic ring or chain 2 to work in the round.
Round 1: Work 6 single crochets (sc) into the magic ring or second chain. Pull the magic ring tight to close. (6 stitches)
Round 2: Work 2 sc in each stitch around. (12 stitches)
Round 3: 1 sc in the next stitch, 2 sc in the following stitch—repeat around. (18 stitches)
Round 4: 1 sc in the next 2 stitches, 2 sc in the following stitch—repeat around. (24 stitches)
Round 5: 1 sc in the next 3 stitches, 2 sc in the following stitch—repeat around. (30 stitches)
Continue increasing in this pattern, adding one more stitch between each increase in every round, until you reach the desired crown size for your hat.
Here’s a rough guide for crown diameters:
0-6 Months: 4.5 inches
6-12 Months: 5 inches
1-3 Years: 5.5 inches
3-8 Years: 6 inches
Once the crown is the right size, you’re ready to stop increasing and move on to building the body of the hat.
Step 2: Building the Body of the Pumpkin Hat
Now that the crown is complete, we’ll work on the body of the hat, which forms the pumpkin shape.
Rounds 6-14: Work 1 sc in each stitch around.
Continue working in rounds until the hat reaches the desired length for your child’s size.
You can measure from the crown to the brim to check the length as you go.
Here are some guidelines for hat lengths:
0-6 Months: 5-5.5 inches
6-12 Months: 5.5-6 inches
1-3 Years: 6.5 inches
3-8 Years: 7-7.5 inches
If you want a more textured look to mimic the ridges of a pumpkin, you can alternate rounds of half double crochet (hdc) with single crochet (sc).
Step 3: Creating the Brim
The brim adds a nice finish to the hat, making it look more polished and helping it fit snugly.
Round 15: Switch to half double crochet (hdc) for this round to create a slightly wider brim. Work 1 hdc in each stitch around.
Rounds 16-17: Work 1 sc in each stitch around to finish off the brim. Slip stitch to join at the end of the final round and fasten off.
Step 4: Making the Pumpkin Stem
Now that the main body of the hat is finished, it’s time to add the signature pumpkin stem on top!
Magic Ring or Chain 2: Using brown or green yarn, start with a magic ring or chain 2.
Round 1: Work 6 sc into the magic ring. (6 stitches)
Round 2: Work 1 sc in each stitch around.
Continue this for about 4-5 rounds to create a small, stubby stem.
You can make it longer if you like!
Once the stem is complete, fasten off and leave a long tail for sewing.
Step 5: Attaching the Stem
Now, sew the stem onto the top center of the hat using the long tail.
Use a yarn needle to secure it tightly in place, and weave in the ends.
Step 6: Optional Embellishments
Want to make your pumpkin hat extra special?
Here are some optional embellishments you can add:
Leaves: Crochet a few small green leaves and attach them near the stem.
Vines: Use green yarn to crochet a chain, then twist it into a spiral to create cute curly pumpkin vines.
Jack-o’-Lantern Face: For a spookier look, use black yarn to embroider or sew a jack-o’-lantern face onto the front of the hat.
Thoughts
Congratulations! You’ve just crocheted an adorable Pumpkin Halloween Hat for your little one.
This festive hat is not only cute but also practical for keeping kids warm on chilly fall days.
Whether it’s for Halloween, fall family photos, or just for fun, this hat is sure to be a hit.
I hope you enjoyed this tutorial and feel inspired to create more festive crochet projects!
Don’t forget to share your finished hats, I’d love to see how they turn out.
Join us on Crochet Patternz Community
Happy crocheting


