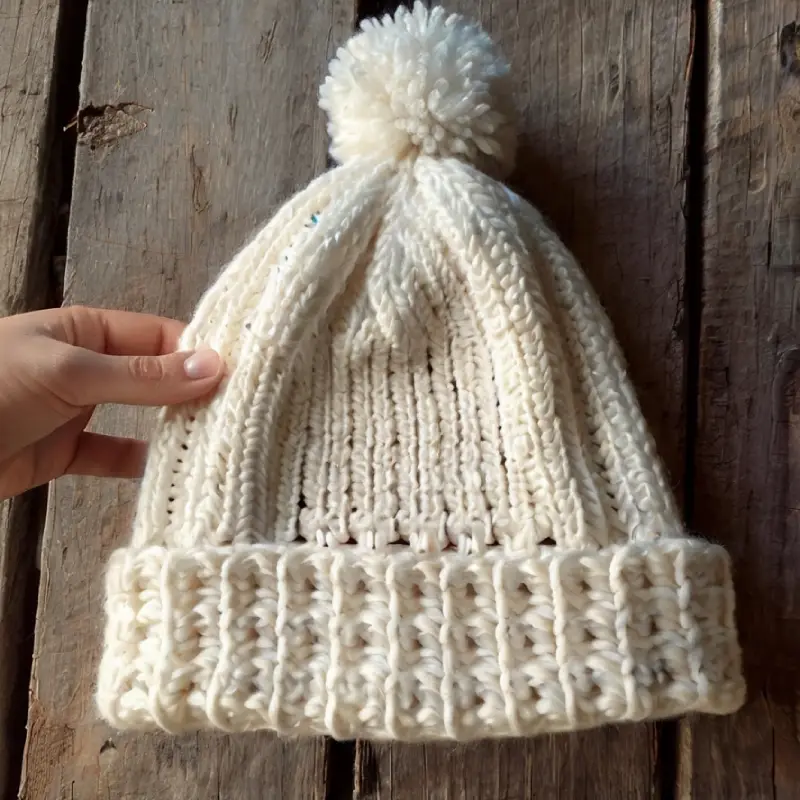
A Cozy Project for Beginners and Seasoned Crocheters
There’s something magical about winter
the chill in the air, cozy blankets, and the perfect excuse to bundle up in handmade accessories.
One of the most essential (and fashionable!) winter staples is the beanie.
Whether you’re looking to make a quick gift, add to your winter wardrobe, or just want a simple and satisfying crochet project, learning how to crochet an easy winter beanie is the way to go.
This step by step guide is designed for both beginners and seasoned crocheters.
It’s a versatile pattern that can be adapted with different yarns and colors, so you can make it your own.
Plus, once you master this easy pattern, you’ll be whipping up beanies for everyone in no time!

Materials You’ll Need:
- Yarn: A medium-weight (size 4) yarn works best for this beanie. Choose something soft and warm, like acrylic or wool blend, in your favorite winter color.
- Crochet Hook: A 5.5 mm (I-9) hook is recommended for this project, but feel free to adjust the hook size depending on your yarn and desired fit.
- Tapestry Needle: For weaving in ends.
- Scissors
- Pom-pom Maker (optional): You can also make a pom-pom by hand using yarn and cardboard.
Abbreviations (U.S. terms):
- ch = chain
- sl st = slip stitch
- sc = single crochet
- hdc = half double crochet
- dc = double crochet
- blo = back loop only
- st(s) = stitch(es)
Now, let’s get started on making your winter beanie!
Easy Winter Beanie: Crochet Pattern

Step 1: Crocheting the Ribbed Brim
The first step in creating your winter beanie is making the ribbed brim, which adds a stretchy and snug fit around the forehead.
For this, we’ll use single crochet in the back loops only (blo), which gives the brim a stretchy, ribbed texture.
Row 1: Start the Brim
Ch 8 (or more if you want a wider brim).
In the second chain from the hook, sc in each stitch across. You should have 7 sc at the end of this row.
Ch 1, turn.
Rows 2-50 (or until the brim fits your head):
Sc in the blo of each stitch across. This technique creates that lovely ribbed texture.
Ch 1, turn at the end of each row.
The brim will stretch, so be sure to wrap it around your head as you go to check the fit. Once the brim is long enough to fit comfortably around your head (usually around 50 rows for an adult beanie), it’s time to join the ends.
Joining the Brim:
Bring the two short ends of the brim together, making sure not to twist the brim.
Sl st the two ends together through both loops of each stitch. This will form a ring.
You’ve now completed the ribbed brim of your beanie!
Now it’s time to move on to the main body of the hat.
Step 2: Crocheting the Body of the Beanie
For the body of the beanie, we’ll switch to half double crochet (hdc) stitches.
This stitch is great for beanies because it creates a warm, flexible fabric that works up quickly.
Round 1: Setting Up the Foundation
With the brim facing you, ch 1, and work 50 hdc evenly around the edge of the brim.
You’ll want to space the stitches out evenly, so the top of the brim doesn’t bunch or stretch.
Sl st to the first hdc to join the round.
Ch 1 to start the next round.
Round 2-15: Building the Beanie
Hdc in each stitch around. Sl st to the first hdc at the end of each round and ch 1 to begin the next round.
Repeat this process for about 14 more rounds, or until your beanie reaches your desired length.
You can make it longer for a slouchy fit or shorter for a snug, fitted style.
This section of the hat should start to look like a cylinder as you work your way up.
Don’t worry if it looks a little big, it will gather nicely once you finish.
Step 3: Shaping the Top of the Beanie
Now that the main body of the beanie is done, it’s time to shape the top by gradually decreasing the number of stitches.
This will close off the top of the hat, giving it a rounded, snug shape.
Round 16: Start Decreasing
Hdc in the next 8 sts, hdc2tog (half double crochet two together to decrease).
Repeat this pattern around the hat. Sl st to join.
Ch 1 to start the next round.
Round 17: Decreasing Further
Hdc in the next 7 sts, hdc2tog. Repeat this pattern around. Sl st to join.
Ch 1 to start the next round.
Round 18: Continuing to Decrease
Hdc in the next 6 sts, hdc2tog. Repeat around. Sl st to join.
Keep decreasing in this manner working one fewer hdc stitch before the decrease in each round—until the top of the beanie is nearly closed.
You should be left with about 10-12 stitches by the end.
Step 4: Closing the Top
Once you’ve decreased down to a small number of stitches, it’s time to close off the top of your beanie.
Fasten off, leaving a long tail of yarn.
Thread your tapestry needle with the tail and weave it through the remaining stitches.
Pull the tail tight to close the hole at the top of the beanie.
Secure the end and weave in any loose ends.
At this point, your beanie is done!
But if you want to add a little extra flair, keep reading to learn how to make a pom-pom for the top.
Step 5: Adding a Pom-Pom (Optional)
What’s a winter beanie without a cute pom-pom on top?
You can make a pom-pom by hand or with a pom-pom maker.
To Make a Pom-Pom by Hand:
Wrap your yarn around a piece of cardboard or your fingers about 50 times (depending on how big and fluffy you want your pom-pom).
Carefully slide the yarn off and tie a long piece of yarn around the center of the loops.
Cut the loops on both sides and fluff out the yarn.
Trim the pom-pom to shape it into a nice, round ball.
Attaching the Pom-Pom:
Use the long yarn tails from the pom-pom to sew it onto the top of your beanie.
Secure it with a few stitches, then weave in the ends.
Now your easy winter beanie is complete—and it has a fun pom-pom to top it off!
Tips for Customizing Your Beanie:
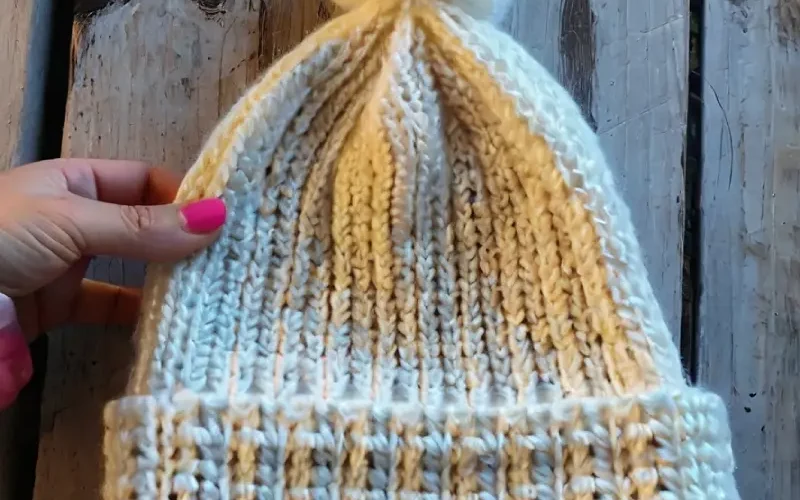
Change Colors: Add stripes or a color block effect by switching yarn colors as you work the rounds.
Add Texture: If you’re feeling adventurous, try alternating between hdc and sc rounds to create a textured beanie.
Make It Slouchy: Add extra rounds to the body of the hat to create a slouchy, relaxed fit.
Use Chunky Yarn: For a faster project or a more oversized, cozy look, use a chunky yarn and a larger hook size.
Congratulations! you’ve just made your own winter beanie!
This easy crochet project is a great way to stay warm and stylish all winter long.
Plus, once you’ve mastered the basics, you can experiment with different colors, textures, and embellishments to make a beanie that’s uniquely you.
Whether you keep it simple or add a fun pom-pom, your handmade winter beanie will keep you toasty on even the coldest days.
And the best part? You made it with your own two hands.
So grab your yarn, cozy up with a warm cup of tea, and start crocheting your way to winter warmth.
Be sure to share your beautiful work on crochet patternz community. I’d love to see how you personalize your project!
Happy crocheting!


