How to Crochet Autumn Wheat Mittens: Cozy Accessories for Chilly Days
As the air gets crisp and the leaves start to turn, there’s nothing like cozying up with a crochet hook and yarn to make some warm, seasonal accessories.
If you’re looking for a fun and functional fall project, you’re in the right place!
Today, I’m going to walk you through how to crochet a pair of Autumn Wheat Mittens that will keep your hands toasty on those brisk autumn mornings.
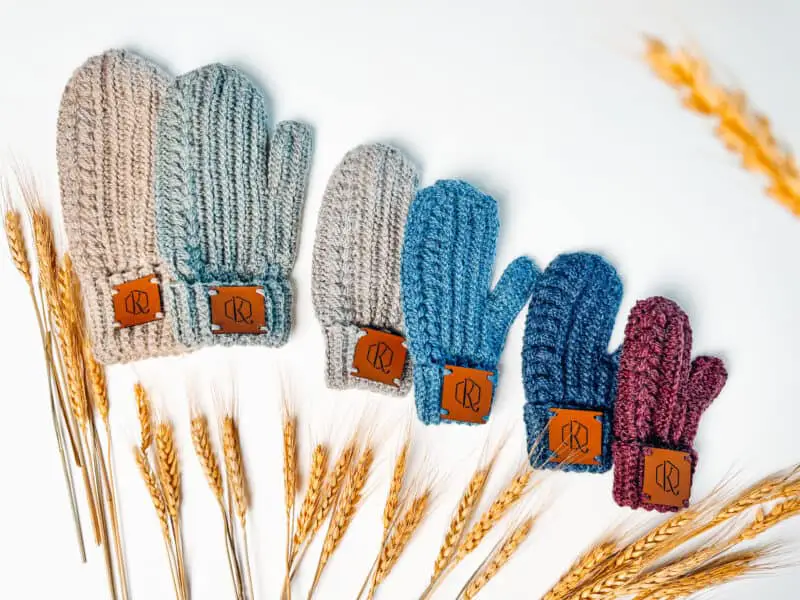
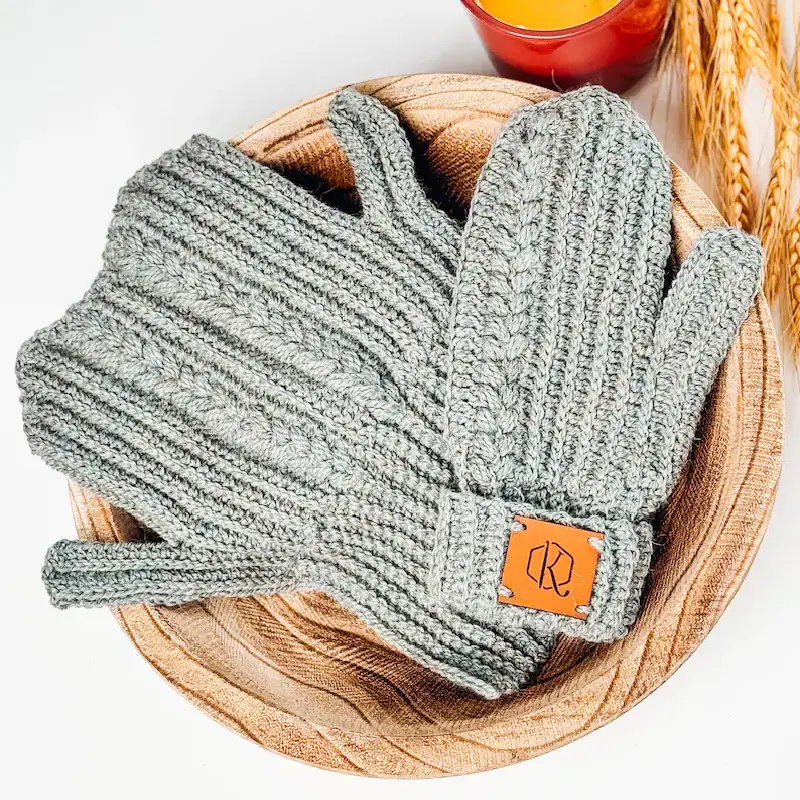
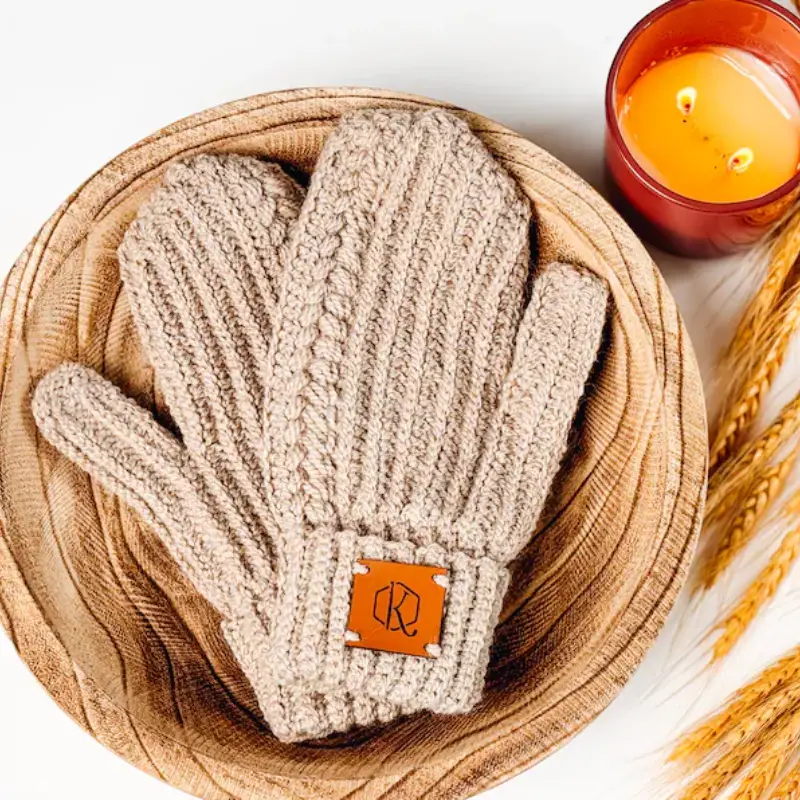
These mittens are perfect for beginners and intermediate crocheters alike, featuring a simple stitch pattern with a rustic texture reminiscent of wheat fields swaying in the fall breeze.
Grab your hook, your favorite fall-colored yarn, and let’s make something beautiful and practical for the season!

Materials You’ll Need:
Before we dive into crocheting, let’s gather everything we need:
Yarn: For these mittens, you’ll want a worsted weight yarn in warm, earthy tones—think shades of wheat, burnt orange, deep reds, or browns. A soft wool or wool-blend yarn works best for warmth and comfort.
Crochet Hook: A 5.0mm (H-8) hook is perfect for working with worsted weight yarn.
Stitch Markers: These will help keep track of rounds, especially around the thumb gusset.
Yarn Needle: For weaving in ends once your mittens are done.
Scissors: To cut your yarn.
Stitches You’ll Need to Know:
Here’s a quick review of the crochet stitches we’ll be using:
Chain (ch): A basic stitch used to create your foundation and spaces.
Single Crochet (sc): A tight, compact stitch that will give the mittens warmth and structure.
Double Crochet (dc): A taller stitch that adds texture and flexibility to the fabric.
Front Post Double Crochet (fpdc): This creates a raised, textured stitch, perfect for creating that “wheat” look.
How to Crochet Autumn Wheat Mittens - Step by Step

Step 1: Start with the Cuff
The first thing we’ll crochet is the cuff of the mitten, which will wrap snugly around your wrist.
Foundation Chain
Begin by chaining 11 stitches.
This will create a cuff that is about 3 inches wide, but you can add or subtract stitches here to adjust for a tighter or looser fit.
Row 1 – Single Crochet
Starting in the second chain from your hook, make 1 single crochet in each stitch across.
You should have 10 stitches at the end of the row. Chain 1 and turn.
Row 2 – Back Loop Single Crochet (BLO sc)
This row will create a ribbed effect, giving your cuff elasticity.
Work 1 single crochet into the back loop only of each stitch.
This creates that ribbed, stretchy texture that fits snugly around the wrist. Chain 1 and turn.
Repeat Rows
Repeat this back loop single crochet row until your cuff is long enough to wrap around your wrist snugly.
For most adults, this will be around 24 rows, but you can adjust to fit your wrist measurement.
Join the Cuff
Once your cuff is the right length, fold it in half and join the two ends together with slip stitches.
Slip stitch across to form a loop.
This will be the foundation for the rest of the mitten.
Step 2: Begin the Body of the Mitten
Now that the cuff is complete, it’s time to start working on the body of the mitten, which will cover your hand and fingers.
Round 1 – Single Crochet Around the Cuff
Starting where you joined the cuff, work a round of single crochet stitches along the edge of the cuff.
This forms the foundation for the body of the mitten.
You should aim for around 30-32 single crochets, evenly spaced around the cuff.
Slip stitch to the first single crochet to join the round.
Round 2 – Double Crochet with Texture
For the next few rounds, we’ll introduce some texture to give the mittens that rustic, “wheat” feel.
Work 1 double crochet in each stitch around, alternating between regular double crochet and front post double crochet (fpdc).
The front post stitches will create a raised texture that stands out from the fabric, mimicking the appearance of wheat stalks.
Pro Tip: If you’re unfamiliar with the front post double crochet, here’s how you do it: Yarn over, insert your hook around the post of the stitch from the previous row (instead of through the top loops), yarn over again and complete the double crochet as usual.
This gives your stitches a lovely, raised texture.
Repeat Rounds
Continue working rounds of double crochet with alternating front post double crochet stitches until the mitten reaches the base of your thumb.
Step 3: Create the Thumb Gusset
Now it’s time to create a space for your thumb.
Round 1 – Thumb Increases
In this round, we’ll begin to shape the thumb gusset.
Start by working in pattern (alternating double crochet and fpdc) for the first 12 stitches.
In the next stitch, make an increase by working 2 double crochets into the same stitch.
Repeat the increase two more times in the next two stitches.
You’ll have 3 increase points here. Continue working the rest of the round as normal.
Round 2 – Continue Increasing
Continue working in pattern across the mitten, but in the thumb gusset area, increase again.
Make 1 double crochet in the first thumb gusset stitch, then 2 double crochets in the next.
Continue this until your thumb gusset has a nice, rounded shape.
Repeat Rounds
Keep increasing in the thumb area for 3-4 rounds, or until you have enough room for the thumb.
Step 4: Separate the Thumb
Once the thumb gusset is wide enough, we’ll separate it from the rest of the mitten.
Crochet Across the Body
Crochet across the body of the mitten in pattern until you reach the thumb gusset.
Chain 3, skip the stitches of the gusset, and continue crocheting across the rest of the mitten.
Work the Hand
Now that the thumb is separated, continue crocheting the rest of the hand in pattern until it reaches the tip of your fingers.
This will be about 10 rounds, but feel free to adjust for your hand size.
Step 5: Finish the Thumb
Now that the main body of the mitten is complete, we’ll finish off the thumb.
Rejoin Yarn at the Thumb: Attach your yarn at the base of the thumb opening.
Work in Rounds: Work single crochet stitches around the thumb hole for 5-6 rounds, or until the thumb is long enough to cover your thumb comfortably.
Fasten Off: Once the thumb is the right length, fasten off your yarn and weave in any loose ends with your yarn needle.
Step 6: Repeat for the Second Mitten
You’re halfway done! Now that you’ve completed one mitten, it’s time to repeat the same process for the second mitten.
Since the pattern is symmetrical, there’s no need to worry about making any changes.
Finishing Touches:
Once both mittens are done, take a moment to weave in any loose ends and block the mittens if desired.
Blocking helps even out stitches and gives the mittens a polished, professional look.
To block, lightly wet the mittens, shape them, and let them air dry.

Thoughts:
Crocheting a pair of Autumn Wheat Mittens is not only a fun and relaxing project, but it’s also a great way to prepare for the chilly months ahead.
The texture created by the front post stitches gives these mittens a unique, cozy look that’s perfect for fall.
Whether you’re making these mittens for yourself or as a gift, they’re sure to be a hit.
Plus, with the simple stitch pattern and rustic style, these mittens are a versatile project that you can customize with different colors and yarns.
So grab your hook and yarn, and let’s get crocheting!
I can’t wait to see the beautiful Autumn Wheat Mittens you create.
As always, feel free to share your finished work on Crochet Patternz Community. I’d love to see your creations!
Happy crocheting, and enjoy the beauty of fall 🙂


