How to Decrease Crochet Stitches: A Complete Guide for Crocheters
Whether you’re whipping up a cozy scarf, a snug beanie, or an intricate amigurumi, learning how to decrease crochet stitches is an essential skill.
Decreasing stitches allows you to shape your projects, adding dimension and ensuring that your creations come out just right.
While increasing stitches helps your work expand, decreasing stitches lets you taper, narrow, and fine-tune your work, giving you greater control over your projects.
In this blog post, I’ll guide you through the ins and outs of decreasing crochet stitches.
From basic decreases to more advanced techniques, you’ll gain the confidence to tackle any pattern that calls for shaping.
So, grab your hook and yarn, and let’s get started!
What Does It Mean to Decrease Crochet Stitches?
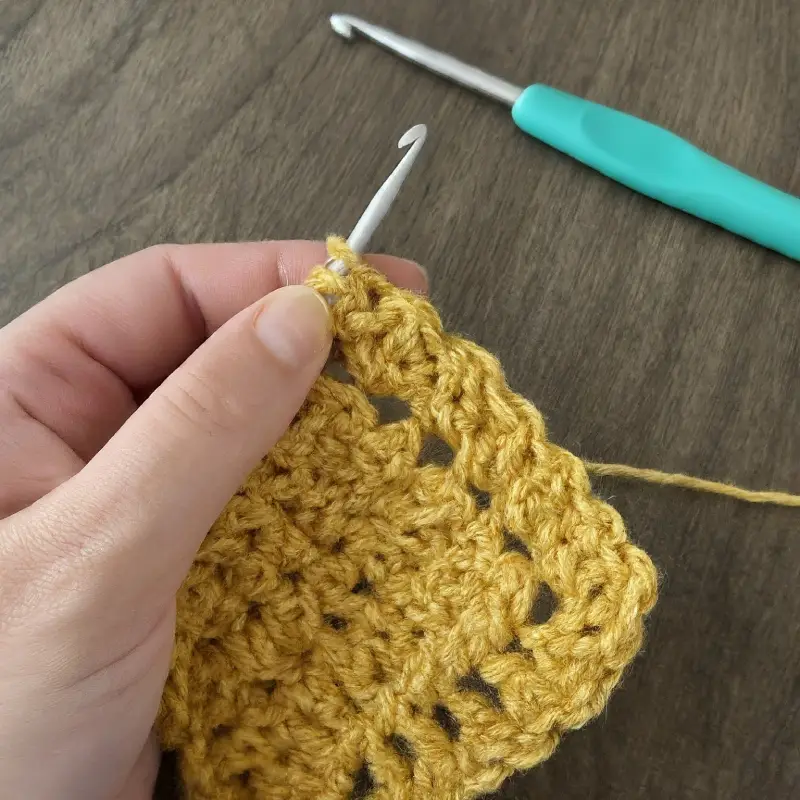
In crochet, decreasing stitches means combining two or more stitches into a single stitch, effectively reducing the number of stitches in your row or round.
Decreases are essential for shaping projects, such as creating the crown of a hat, the taper of a sleeve, or the rounded features of an amigurumi toy.
There are several ways to decrease stitches, depending on the type of stitch you’re working with, whether it’s single crochet, double crochet, or another stitch.
The good news is that once you understand the basic concept, you can apply it to any stitch.
Why Decrease Stitches?
Before we dive into the techniques, let’s quickly go over why decreasing stitches is so important in crochet:
Shaping
Decreases help you shape your project, allowing you to create curves, tapers, and angles.
Fitting
When making garments, decreases are used to create a snug, flattering fit, like shaping a waistline or narrowing a sleeve.
Detailing
For items like amigurumi, decreases are essential for adding details like facial features or the curves of a body.
Basic Decrease Techniques

Let’s start with the basics.
Here’s how to decrease stitches in the three most common crochet stitches:
single crochet, half double crochet, and double crochet.
1. Single Crochet Decrease (sc2tog)
The single crochet decrease, often abbreviated as sc2tog (single crochet two together), is one of the most common decreases. Here’s how to do it:
1-Insert your hook into the next stitch and yarn over, pulling up a loop.
You should have two loops on your hook.
2-Insert your hook into the next stitch and yarn over again, pulling up another loop.
You should now have three loops on your hook.
3-Yarn over and pull through all three loops on your hook.
And that’s it! You’ve just turned two single crochet stitches into one.
This decrease is commonly used in projects like amigurumi to create smooth, seamless curves.
2. Half Double Crochet Decrease (hdc2tog)
The half double crochet decrease (hdc2tog) is similar to the single crochet decrease, but with an extra yarn over at the beginning:
Yarn over your hook.
Insert your hook into the next stitch, yarn over, and pull up a loop.
You should have three loops on your hook.
Yarn over again, insert your hook into the next stitch, yarn over, and pull up another loop.
You should have five loops on your hook.
Yarn over and pull through all five loops on your hook.
This technique reduces two half double crochet stitches into one, making it perfect for projects where you need a slightly taller decrease than a single crochet.
3. Double Crochet Decrease (dc2tog)
The double crochet decrease (dc2tog) is used in projects that require a taller stitch, such as blankets, shawls, or garments:
Yarn over your hook.
Insert your hook into the next stitch, yarn over, and pull up a loop.
You should have three loops on your hook.
Yarn over and pull through the first two loops on your hook.
You should now have two loops left on your hook.
Yarn over again, insert your hook into the next stitch, yarn over, and pull up a loop.
You should have four loops on your hook.
Yarn over and pull through the first two loops on your hook.
You should now have three loops on your hook.
Yarn over and pull through all three loops on your hook.
This decrease is often used in patterns where a smooth, gradual decrease is needed.
Advanced Decrease Techniques
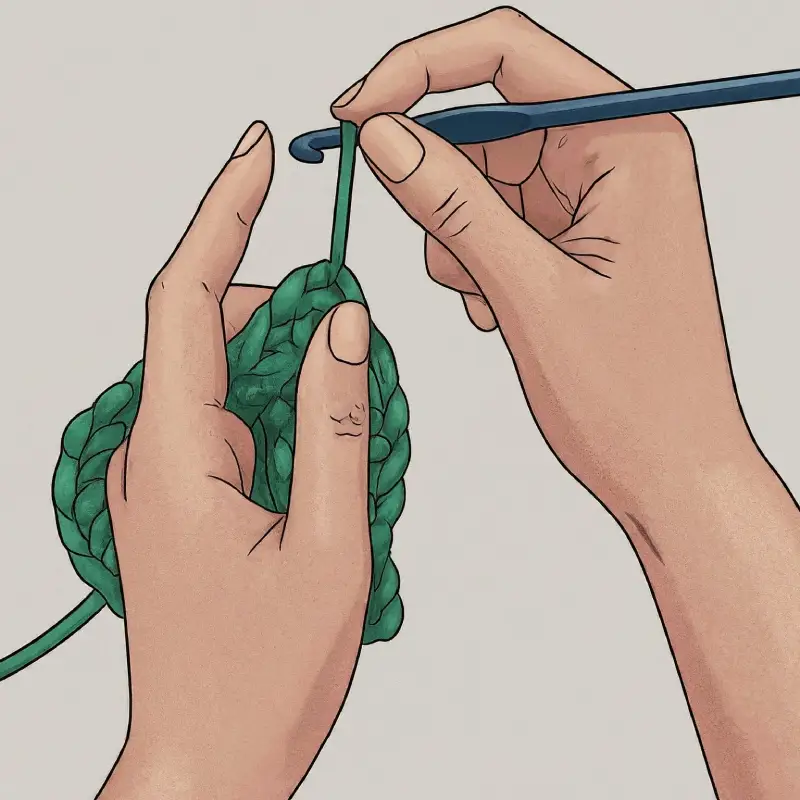
Once you’ve mastered the basic decreases, you might want to explore some more advanced techniques that can add even more finesse to your work.
Here are a couple of specialized decreases that can take your crochet skills to the next level.
1. Invisible Decrease (for Single Crochet)
The invisible decrease is a favorite among amigurumi makers because it creates a smooth, nearly undetectable decrease, perfect for projects where you want to avoid any noticeable lumps or bumps.
Insert your hook into the front loop only of the next stitch.
Insert your hook into the front loop only of the following stitch.
You should have three loops on your hook.
Yarn over and pull through the first two loops on your hook.
You should now have two loops on your hook.
Yarn over and pull through the remaining two loops.
This decrease is worked through the front loops only, making it “invisible” to the eye and ideal for seamless shaping.
2. Cluster Decrease (for Decorative Stitches)
A cluster decrease is often used in patterns that call for more decorative, textured stitches, such as puff stitches, bobbles, or clusters.
The technique can vary slightly depending on the stitch, but the principle is the same:
you work a partial stitch multiple times in the same or consecutive stitches, then finish them off together.
For example, in a double crochet cluster decrease:
1-Yarn over, insert your hook into the next stitch, and pull up a loop.
Yarn over and pull through two loops, leaving the remaining loops on your hook.
2-Yarn over, insert your hook into the next stitch, and pull up a loop.
Yarn over and pull through two loops, leaving all loops on your hook.
3-Yarn over and pull through all loops on your hook to complete the decrease.
This type of decrease is great for adding texture while shaping your project.
Common Decrease Issues
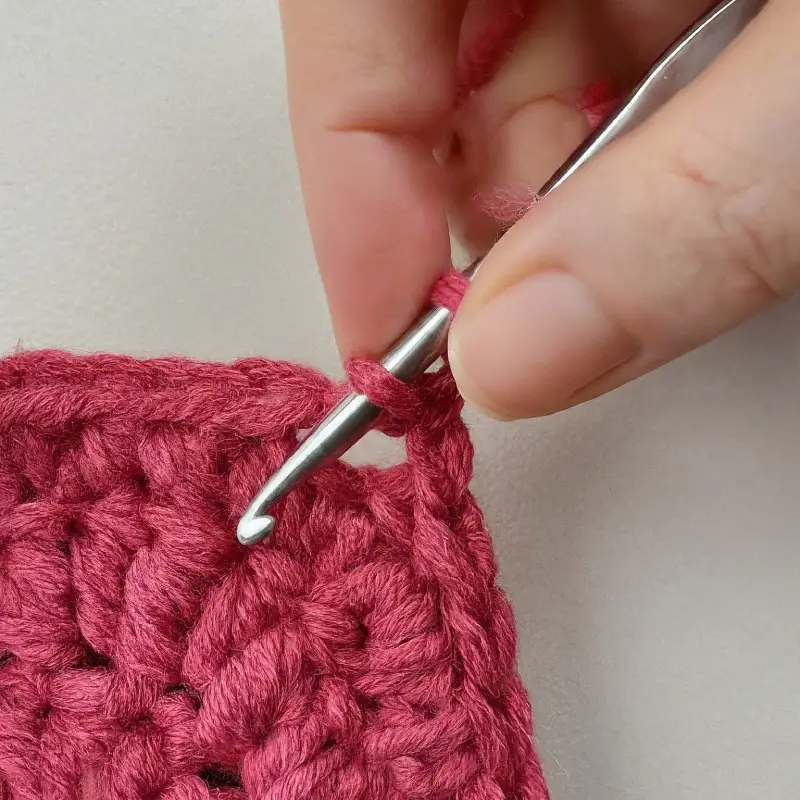
As with any crochet technique, decreases can sometimes be tricky.
Here are a few common issues you might encounter and how to fix them:
Gaps or Holes in Your Work
If you notice gaps or holes where you’ve decreased, it might be due to loose tension or incorrectly placed stitches.
To fix this, ensure you’re pulling your stitches tightly and that you’re inserting your hook into the correct parts of the stitches.
Uneven Edges
If your edges are uneven, double-check that you’re decreasing in the correct places.
For projects worked in rows, it’s important to maintain the correct stitch count.
You can also use stitch markers to help keep track of where decreases should occur.
Accidentally Skipping Decreases
It’s easy to get caught up in the rhythm of crocheting and accidentally skip a decrease.
To avoid this, count your stitches regularly and keep an eye on your pattern.
If you do miss a decrease, you can often go back a few stitches and correct it without too much trouble.
Applying Decreases in Your Projects
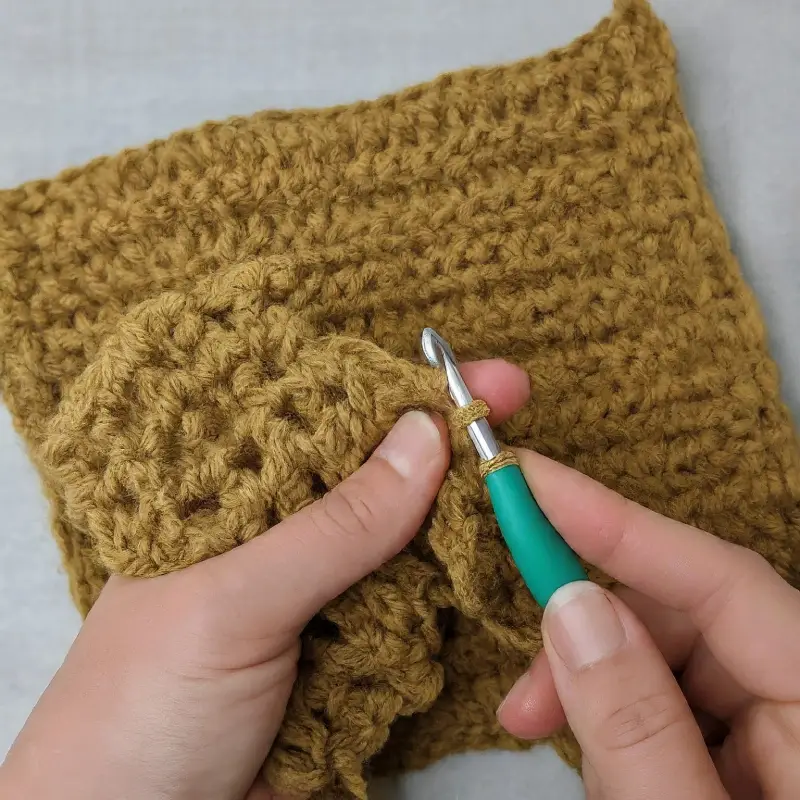
Now that you’ve learned how to decrease stitches, you can start applying this technique to your crochet projects. Here are a few common scenarios where decreases come in handy:
Shaping Garments
Decreases are essential for shaping the neckline, armholes, and waist of garments.
They help create a tailored fit that flatters the body.
Amigurumi
When making amigurumi, decreases are used to shape the head, limbs, and body, creating a smooth, rounded form.
Hats
Decreases are used to taper the crown of a hat, allowing it to fit snugly around the head.
Blankets and Afghans
Some blanket patterns use decreases to create interesting shapes, such as chevrons or ripples.
That’s it!
Learning how to decrease crochet stitches is an important milestone in your crochet journey.
Whether you’re shaping a cozy hat, crafting adorable amigurumi, or creating a tailored garment, mastering decreases will give you the confidence and flexibility to tackle more complex projects.
Remember, the key to successful decreases is practice.
The more you work with these techniques, the more natural they will become, and soon you’ll be able to execute decreases without even thinking about it.
So grab your yarn and hook, and start experimenting with decreases in your next crochet project.
Happy crocheting, and may your decreases be smooth and seamless!

