How to Fasten Off Crochet: A Complete Guide for Beginners
So, you’ve been working on your crochet project, and it’s finally time to finish it up.
Whether you’re completing a cozy blanket, a snuggly scarf, or a cute amigurumi, knowing how to properly fasten off your crochet work is essential.
Fastening off ensures that your stitches stay secure and your hard work doesn’t unravel.
In this post, I’ll walk you through the steps to fasten off crochet, explain when and why you need to do it, and share some tips to make sure your projects look neat and professional.
By the end of this guide, you’ll have the confidence to finish any crochet project with style and ease!
What Does It Mean to Fasten Off?
“Fastening off” is the process of securing the last stitch in your crochet project so that it doesn’t come undone.
It’s the final step in completing your work, and it’s crucial for ensuring that your stitches stay put, even after washing and wearing your item.
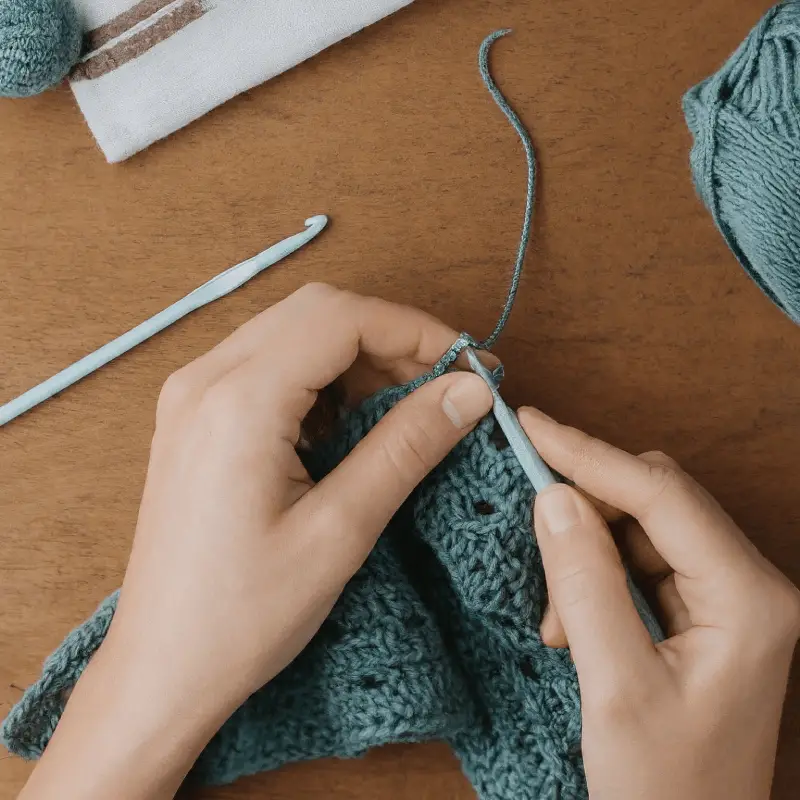
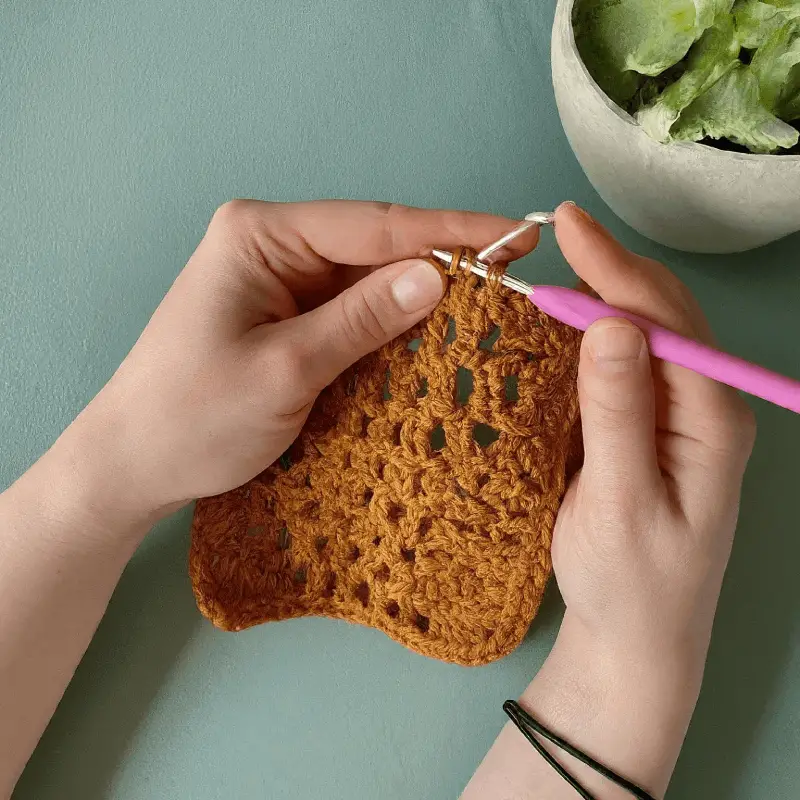
Fastening off involves cutting the yarn, pulling it through the last loop on your hook, and then weaving in the tail of the yarn into the stitches.
This creates a clean, finished edge and locks everything in place.

When Should You Fasten Off?
You’ll need to fasten off at the end of your project or when you’re changing colors or yarns within a project.
Here are a few scenarios where fastening off is necessary:
Completing a Project
When you’ve finished crocheting all the rows, rounds, or pieces of your project, you’ll fasten off to secure the final stitch.
Changing Colors
If your project involves multiple colors, you’ll need to fasten off one color before starting the next.
Joining Pieces
If you’re making a project with multiple pieces (like a granny square blanket or amigurumi), you’ll fasten off each piece before joining them together.
Correcting Mistakes
If you make a mistake and need to unravel some stitches, you might need to fasten off and rejoin the yarn to continue your work.

How to Fasten Off: Step by Step Guide
Let’s go through the process of fastening off your crochet work step by step.
Don’t worry, it’s simple, and once you’ve done it a few times, it’ll become second nature.
Step 1: Finish Your Last Stitch
Before you fasten off, complete your last stitch as usual.
For example, if you’re working with double crochet, finish the last double crochet stitch.
Step 2: Cut the Yarn
After you’ve completed your last stitch, it’s time to cut the yarn.
Leave a tail of about 4-6 inches (10-15 cm) so you have enough yarn to weave in later.
You don’t want to cut it too short, or it may come undone, but you also don’t need an excessively long tail.
Step 3: Pull the Yarn Through the Last Loop
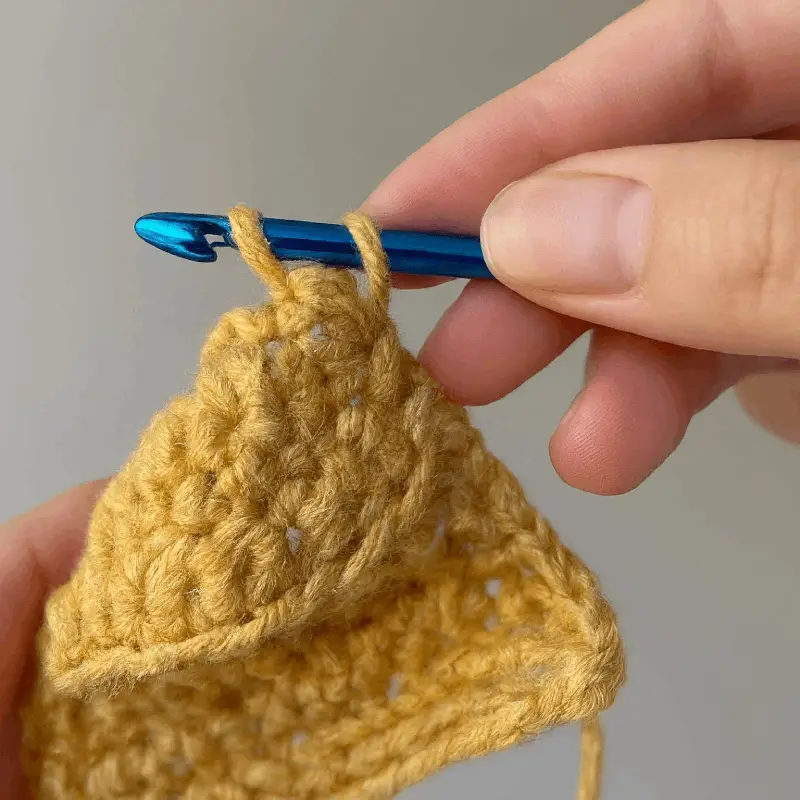
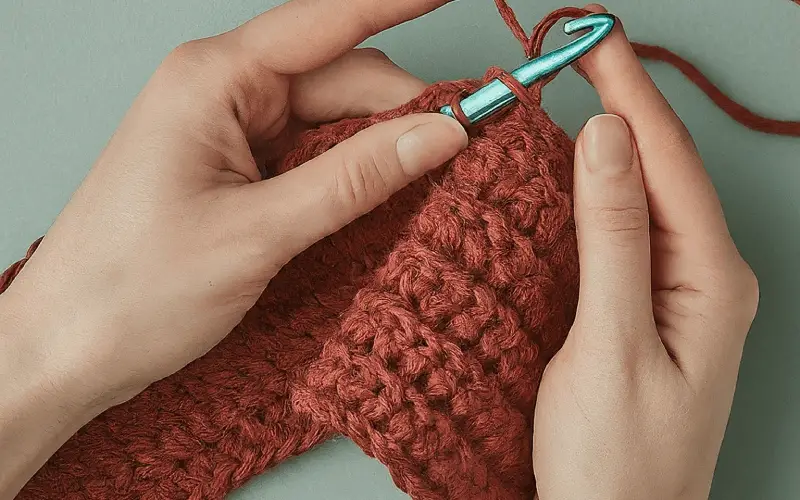
Once you’ve cut the yarn, use your hook to pull the tail through the last loop on your hook.
This step secures the last stitch and prevents it from unraveling.
To do this, yarn over with the tail and pull it all the way through the loop.
Step 4: Tighten the Loop
Gently pull on the tail to tighten the loop and secure the stitch.
This creates a small knot that locks everything in place.
Step 5: Weave in the Ends
The final step is to weave in the yarn tail to hide it and further secure your work.
Here’s how to do it:
Thread the yarn tail onto a yarn needle (a blunt-tipped needle specifically designed for working with yarn).
Weave the yarn tail through the back of your stitches, moving in and out of the loops and being careful not to pull too tight.
Weaving in about 3-4 inches (7-10 cm) is usually sufficient to keep the tail secure.
To make sure the tail doesn’t work its way out, try to weave it in different directions.
For example, go horizontally for a few stitches, then vertically, and then horizontally again.
Once the tail is securely woven in, trim any excess yarn close to the fabric, being careful not to cut any stitches.
And that’s it! You’ve successfully fastened off your crochet project.
Tips for a Professional Finish
Fastening off is a simple process, but there are a few tips you can follow to make sure your projects look neat and professional:
Use the Right Yarn Needle
Invest in a good set of yarn needles in different sizes.
This will make weaving in ends much easier, especially if you’re working with different weights of yarn.
A blunt-tipped needle is ideal because it won’t split the yarn fibers as you weave in the ends.
Weave in Multiple Directions
Weaving the yarn tail in multiple directions helps to secure it better.
This way, even if one part of the tail works loose over time, the rest will still be securely in place.
Don’t Pull Too Tight
When you’re tightening the last loop or weaving in the ends, be careful not to pull too tight.
If you do, it can distort the shape of your stitches or create an uneven edge.
The goal is to make the fastening off process almost invisible, so your project looks smooth and seamless.
Hide the Tail in a Seam
If your project has seams (like the sides of a hat or the join between granny squares), try to hide the yarn tail within the seam.
This helps to make the tail even less noticeable and ensures it’s securely anchored.
Practice Makes Perfect
Like anything in crochet, the more you practice fastening off, the better you’ll get at it.
Over time, you’ll develop a feel for how tight to pull the yarn and the best way to weave in ends for different types of projects.

Common Mistakes to Avoid
Even though fastening off is straightforward, there are a few common mistakes that beginners might make.
Here’s what to watch out for:
Cutting the Yarn Too Short
If you cut the yarn tail too short, it can be difficult to weave in securely.
Always leave at least 4-6 inches (10-15 cm) of yarn to work with.
Not Weaving in Ends Properly
If you don’t weave in the ends well, they can work their way out over time, causing your project to unravel or look messy.
Take your time to weave in ends securely.
Skipping the Fasten Off Step
Some beginners might be tempted to skip the fasten off step, thinking they can just tie a knot and call it a day.
However, this can lead to a project that unravels or looks unpolished.
Always take the time to fasten off properly.
Final Thoughts
Fastening off is a crucial step in finishing any crochet project, and while it’s a simple process, doing it correctly can make a big difference in the look and durability of your work.
By following the steps outlined in this guide, you’ll be able to fasten off with confidence, knowing that your projects will stay secure and look professional.
Remember, practice makes perfect, so don’t be afraid to try fastening off on different types of projects until you feel comfortable with the process.
Whether you’re working on a cozy blanket, a cute hat, or a detailed amigurumi, mastering the art of fastening off will help you create beautiful, lasting crochet pieces that you can be proud of.
Happy crocheting, and may your stitches always stay secure!
Join us on Crochet Patternz Community


