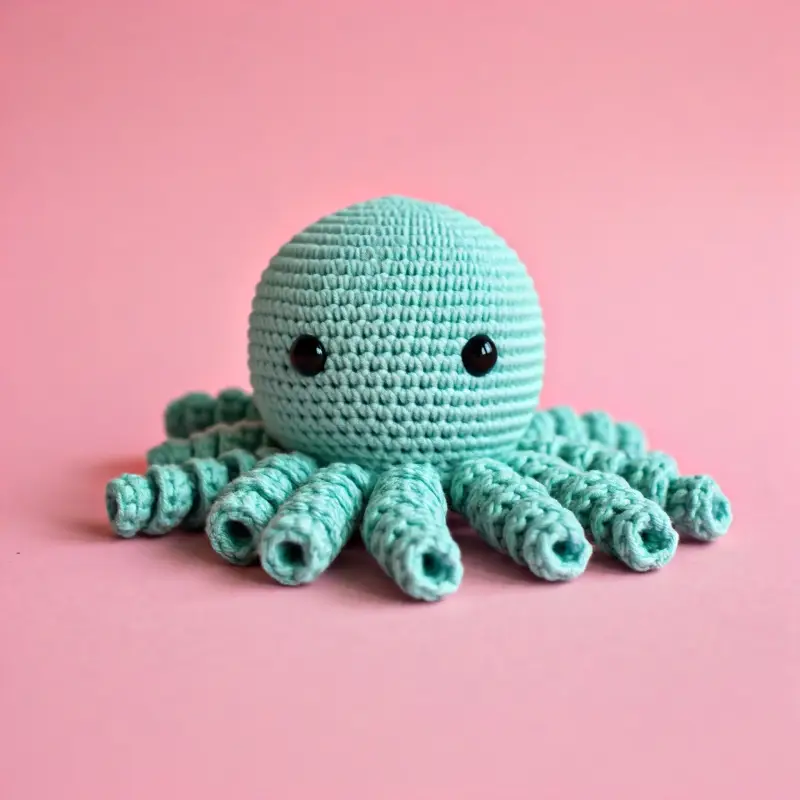
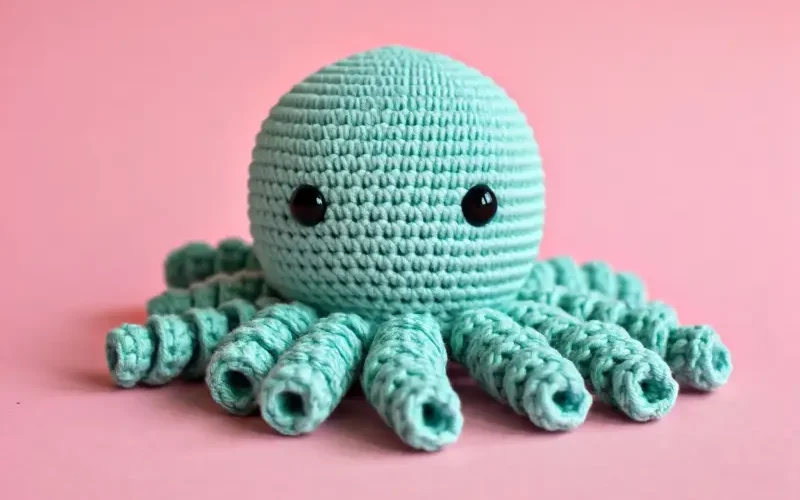
Have you seen those adorable reversible octopus plushies all over the internet?
They’re cute, clever, and perfect for showing off your mood—whether you’re happy or feeling a bit grumpy!
Now, imagine making one of these charming toys yourself, using nothing but yarn, a crochet hook, and some creativity.
In this step-by-step guide, I’ll show you how to crochet a reversible octopus amigurumi, a two-in-one toy that you can flip inside out to reveal different faces.
This reversible octopus makes a fantastic gift for children or a cute desk accessory for yourself.
Plus, it’s beginner-friendly and quick to crochet.
You can customize the colors and expressions to make your octopus truly unique.
Let’s dive in and get started!
Materials You’ll Need:
- Yarn: Two contrasting colors of medium-weight yarn (size 4). You’ll need one color for the “happy” side and another for the “grumpy” side. Acrylic yarn works well for this project.
- Crochet Hook: A 3.5mm (E) crochet hook.
- Stuffing: Polyester fiberfill for stuffing the octopus.
- Tapestry Needle: For weaving in ends.
- Scissors
- Safety Eyes (optional): You can use safety eyes for the face, or you can embroider eyes using yarn.
- Stitch Markers: To keep track of rounds, especially helpful for beginners.
Abbreviations (U.S. terms):
- ch = chain
- sc = single crochet
- inc = increase (2 single crochets in the same stitch)
- dec = decrease (single crochet two stitches together)
- sl st = slip stitch
- st(s) = stitch(es)
- FO = fasten off
Step By Step Crochet Pattern

Step 1: Creating the Octopus Body (Happy Side)
We’ll begin by crocheting the body of the octopus.
Start with the “happy” side first, which will form one half of your reversible amigurumi.
Make a magic ring and crochet 6 sc into the ring. Pull the ring tight to close the hole.
Round 1: Inc in each stitch around (12 sts).
Round 2: Sc in the next stitch, inc in the next repeat around (18 sts).
Round 3: Sc in the next 2 stitches, inc in the next repeat around (24 sts).
Round 4: Sc in the next 3 stitches, inc in the next repeat around (30 sts).
Round 5: Sc in the next 4 stitches, inc in the next repeat around (36 sts).
Round 6-10: Sc in each stitch around (36 sts per round).
At this point, you’ll have a nice round shape for the body. This will be one side of the reversible octopus.
Face:
If you’re using safety eyes, place them between rounds 4 and 5, spaced about 6 stitches apart.
Alternatively, you can embroider eyes using black yarn or thread.
To make the happy face, you can embroider a smile using a simple line of black yarn.
Make sure it sits neatly between the eyes.
Step 2: Creating the Tentacles
Now that you’ve finished the body for the happy side, it’s time to work on the tentacles. The tentacles will give your octopus its adorable, floppy look.
Tentacles:
Round 11: Sc in the next 4 stitches, inc in the next repeat around (45 sts).
Round 12: Sc in the next 5 stitches, inc in the next repeat around (54 sts).
Making the Tentacle Loops:
Now we’ll make the loops that form the base of the tentacles.
Ch 8, skip 2 sts, sl st into the next st. Repeat this pattern all the way around the bottom of the octopus. You’ll have 9 tentacle loops in total.
Step 3: Creating the Grumpy Side
Now it’s time to crochet the second half of the reversible octopus, the “grumpy” side.
This side will be made in the same way as the happy side, but with a different color of yarn.
Body (Grumpy Side):
Follow the same steps as in Step 1 to create the body of the octopus, using your second yarn color.
Magic Ring: 6 sc in the ring.
Round 1-10: Follow the same increase pattern and continue crocheting to make a round shape with 36 stitches at the end of Round 10.
Face:
Attach the safety eyes between rounds 4 and 5, just like the happy side, but with a different expression.
For the grumpy face, you can embroider a frown using black yarn.
This can be a simple upside-down “U” shape, or you can get creative with an angled, “annoyed” expression.
Step 4: Tentacles for the Grumpy Side
We’ll repeat the same process for the tentacles on the grumpy side.
Round 11-12:
Follow the instructions from Step 2 to create 54 sts.
Tentacle Loops:
Ch 8, skip 2 sts, sl st into the next stitch, and repeat this around, creating 9 loops for the tentacles.
Step 5: Joining the Two Sides
Now that you have two octopus bodies (one happy, one grumpy) with tentacles, it’s time to join them together.
We’ll do this by crocheting the edges of the two pieces together.
Joining:
Place the two sides of the octopus together with the wrong sides facing each other.
Make sure the faces are aligned so they match when you flip the octopus.
Insert your hook through both the happy side and the grumpy side at the same time, and sc around the edge of the octopus, working through both layers.
Leave a small opening to add stuffing.
Stuffing:
Lightly stuff the octopus with fiberfill, ensuring that it’s firm but not overstuffed.
Make sure to evenly distribute the stuffing between the two sides.
Once stuffed, continue crocheting around the edges, closing the opening with sc stitches.
Fasten Off:
When you’ve completely crocheted around the edges, fasten off your yarn and weave in the ends.
Step 6: Final Touches
Your reversible octopus amigurumi is almost done! Flip it inside out to check both sides. You should have a happy face on one side and a grumpy face on the other.
Adjust Tentacles:
Make sure the tentacles are all sitting neatly around the base.
Face Details:
If you want to add more detail to the faces, like blush marks or eyebrows, now is the time to embroider those onto your octopus.
Customizing Your Reversible Octopus

One of the best parts about this project is how customizable it is!
Here are a few fun ideas for personalizing your reversible octopus:
Color Combinations: Play with contrasting colors for the two sides. Bright colors can make your octopus pop, while pastel shades give a soft, cuddly look.
Expressions: Get creative with the facial expressions. Instead of just happy and grumpy, try making a sleepy side or a surprised face.
Add Accessories: Consider adding tiny embellishments like a bow, a small hat, or even crocheting little hearts to sew onto your octopus.
VOILA!
Crocheting a reversible octopus amigurumi is a fun and rewarding project that you can complete in just a few hours.
Whether you’re making it as a gift for a child or adding it to your own crochet collection, this cute little toy is sure to bring smiles (and maybe a few frowns) wherever it goes!
The best part? This project is beginner-friendly but also offers plenty of room for creativity.
You can mix and match colors, change up the expressions, or even make a whole collection of reversible animals. The possibilities are endless!
So grab your crochet hook, pick your favorite yarn, and start making your own adorable reversible octopus amigurumi today.
You’ll love how this cute little critter can flip between two fun moods with just a simple twist!
Join us on Crochet Patternz Community
Happy crocheting! 🐙


